Uploading Files via WebDAV
In this article, we show you one of the ways you can upload files on your own Boss Insights Portal tenant via WebDAV using the Cyberduck application.
Cyberduck is a free to use software designed to connect to servers for file management and other functions. In this walkthrough, we will be using Cyberduck to connect to your Boss Insights’ portal that using WebDAV. WebDAV is an extension of the Hypertext Transfer Protocol (HTTP) that allows clients to perform remote Web content authoring operations.
This walkthrough is for portal administrators only. Please contact your organisation’s portal administrator if you need any changes to your portal.
How to download Cyberduck
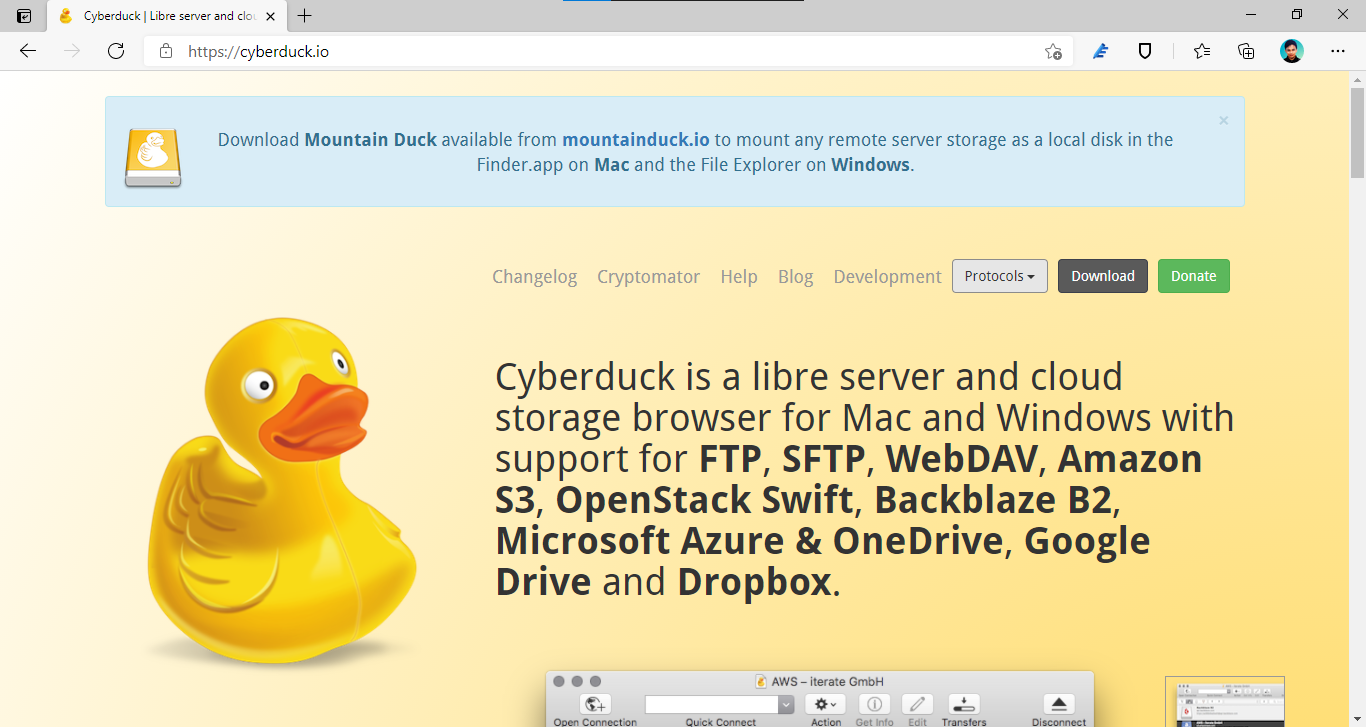
Go to cyberduck.io. On the top right, cllick on the “Download” button.
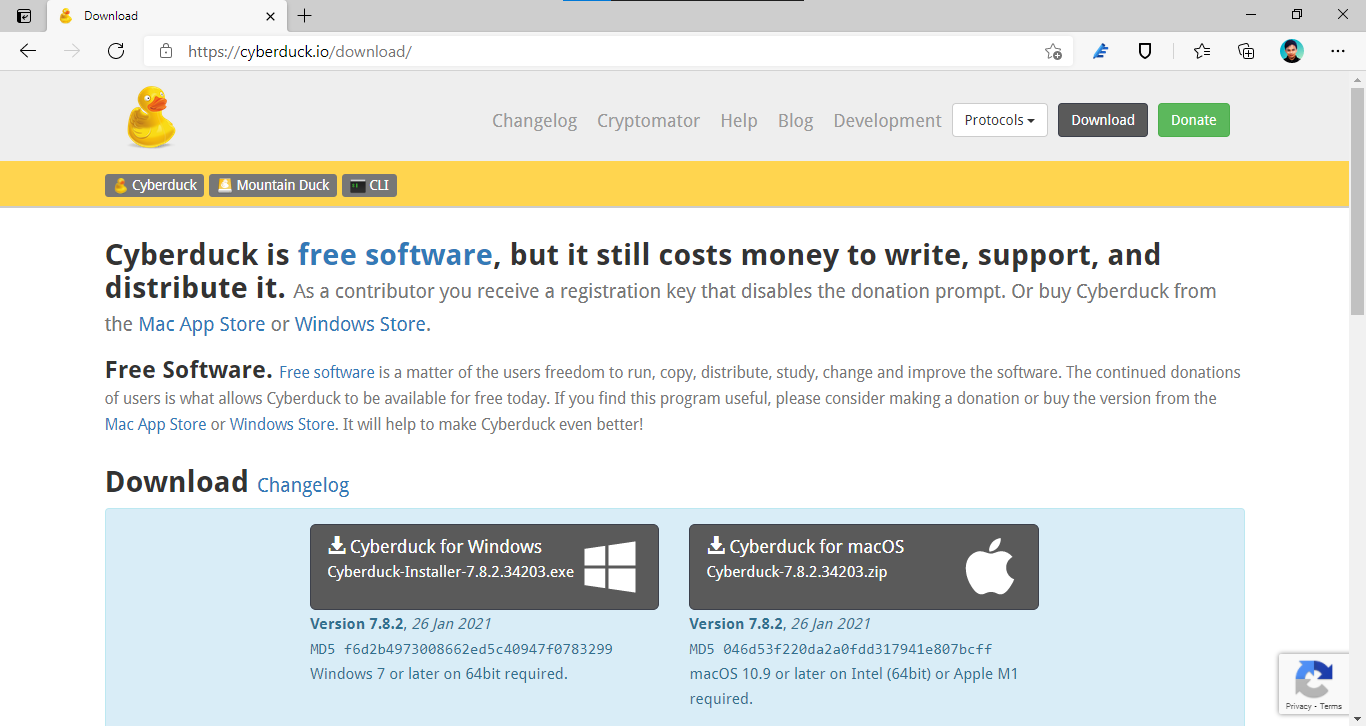
On the download page, click on the download button for your operating system. In this walkthrough, we will be using Windows 10.
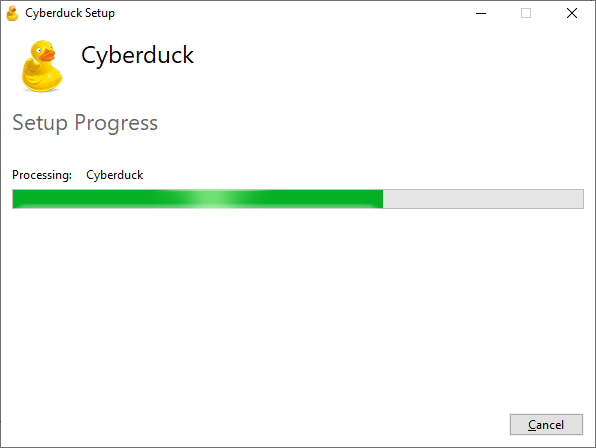
Step 3: Wait for the download to finish. Once it finishes, open the file, and follow the instructions to install the software on your computer.
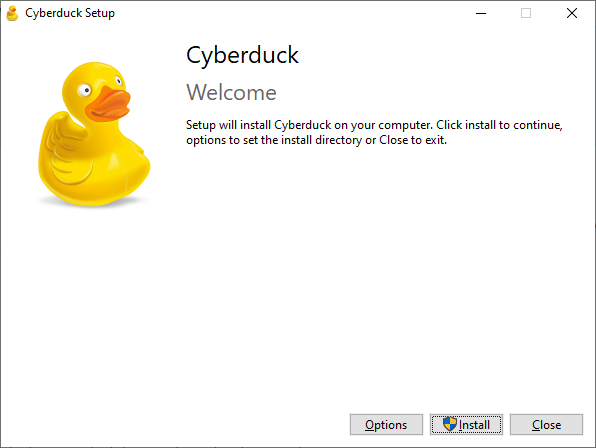

Step 4: WHen the installation has completed, close the installation window. Go to Start, type “Cyberduck” and click on Cyberduck. this will open the program.

This is how the program looks like when you first open it:
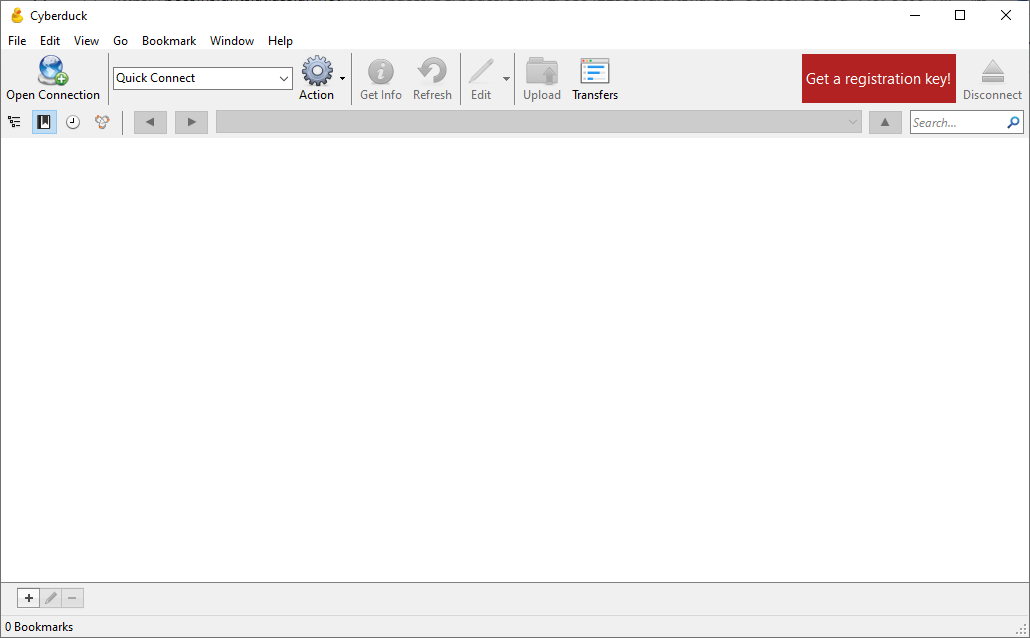
You have now downloaded Cyberduck and are ready to connect to your Boss Insights server.
You do not need a registration key to use Cyberduck, but the developers will appreciate the donations. When you donate and register, you will be given a registration key that will remove prompts for donation.
How to connect to your Boss Insights portal’s server
The following instructions will show you how to connect to your organisation’s own Boss Insights portal server.
You will need an account with admin rights to continue with this walkthrough.
Step 1: On the top left of the screen, click “Open Connection”. This will show the new connection prompt.
The open connection prompt will look like this:
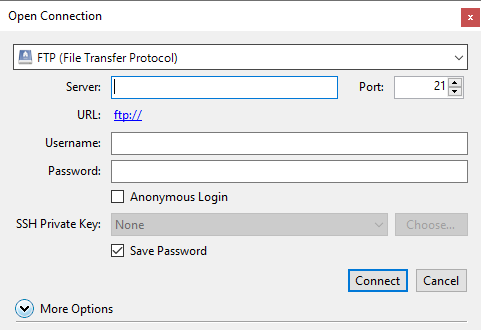
Step 2: On the open connection prompt, click on the top dropdown, and select “WebDAV (HTTPS)”.
Step 3: FIll in the following information:
Server: <Your organisation’s portal username>.myintranetapps.com
Username: <Your portal login username>
Password: <Your portal login password>
Path: (Expand “More options”)
CODE/dock/files.php
Then click “Connect”.
Your screen should look like this upon connection:
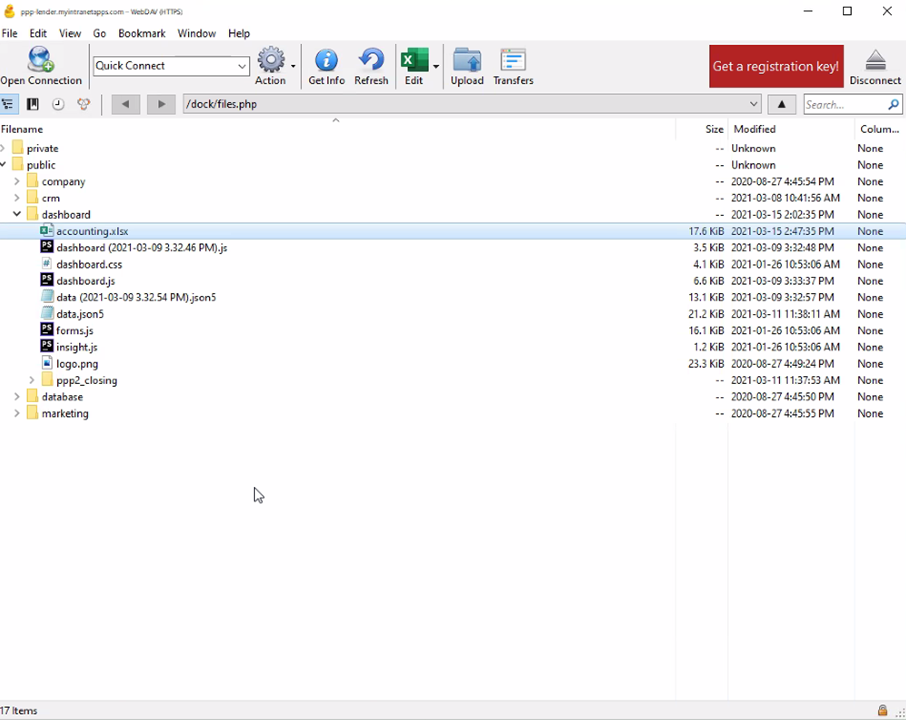
You have now successfully connected to your portal server.
How to upload files to the portal server
The portal server contains codes and configuration files that run your Boss Insights portal. Please do not make any unnecessary changes to any files.
In this walkthrough, we will try to upload a custom Chart of Accounts file to change the default Chart of Accounts (Common Data Model). To view the full walkthrough, go here: (link)
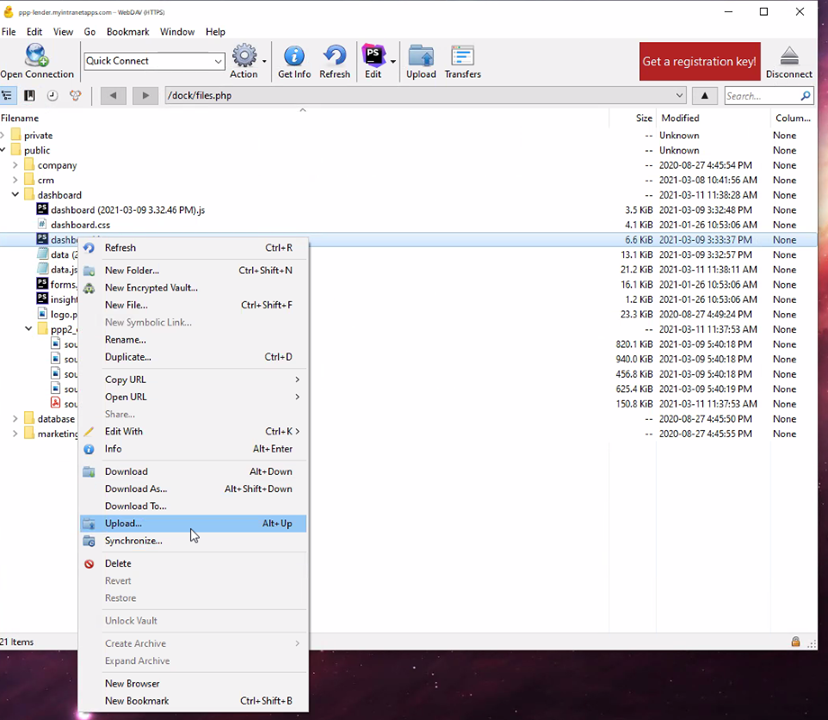
Step 1: Make sure you are connected to your portal server. You should see at least two folders named “public” and “private” in Cyberduck.
Step 2: Right click on the folder name or on any file inside the folder you want to upload a file into and select “upload”. In this screenshot, we are trying to upload to the “dashboard” folder. After selecting “upload”, click on the file, and select “Upload”.
Step 3: The File transfer manager will appear. Please wait for the upload to finish. The file transfer manager looks like this:
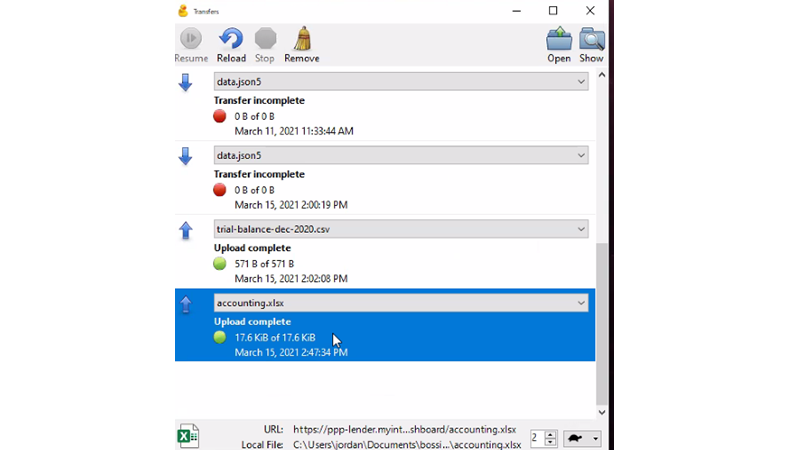
You have successfully uploaded a file in your portal server.
If you are replacing a configuration file, please make sure that the filename is exactly the same as the configuration file you are replacing. For example, if you are replacing the chart of accounts, please make sure that the filename is “accounting.xlsx”. All filenames are case sensitive.