Connecting to WebDAV as a Drive
To access Boss Insights as a network drive on your computer you can either use the connectivity provided by your operating system or use a third party tool.
We highly recommend and use the third party tool https://mountainduck.io/ to access our platform. In our experience our customers find this tool easier to work with than the built in connectivity provided by your operating system
For connection information see the page Uploading Files via WebDAV
Windows
To map WebDAV in Windows 11/10, please follow these steps:
Launch File Explorer by pressing Win + E.
Right-click on This PC and select Map network drive.
Select the Drive letter you want.
Click Browse and select the folder where you want to add or edit WebDAV files on your system.
Tick the “Reconnect at sign-in” and “Connect using different credentials”
Click on the link “Connect to a web site that you can use to store your documents and pictures.”
Click Next > Choose a custom network location > Next.
Finally, enter your credentials and follow the on-screen instructions.
If you get an error “Network discovery is turned off” you will need to:
Launch Settings by Win + I.
Click Network & Internet > Network and Sharing Center.
Click “Change advanced sharing center”.
Click on the drop-down menu of “Guest or Public” and select Turn on network discovery.
And click Save changes.
If you still cannot connect or get an error Cannot connect to WebDAV Directory , then the “Value data” of Basic Authentication Level is not set to 2. So, we will be altering a registry policy “BasicAuthLevel” to fix the error.
Launch Registry Editor from the Start Menu and navigate to the following location.
- NONE
HKEY_LOCAL_MACHINE\SYSTEM\CurrentControlSet\Services\WebClient\Parameters
Double-click on BasicAuthLevel, set the Value data to 2, and click Ok.
You should now be able to map a network drive using WebDAV
Mac
To access a WebDAV server from your Mac, use the Connect to Server command in the Finder.
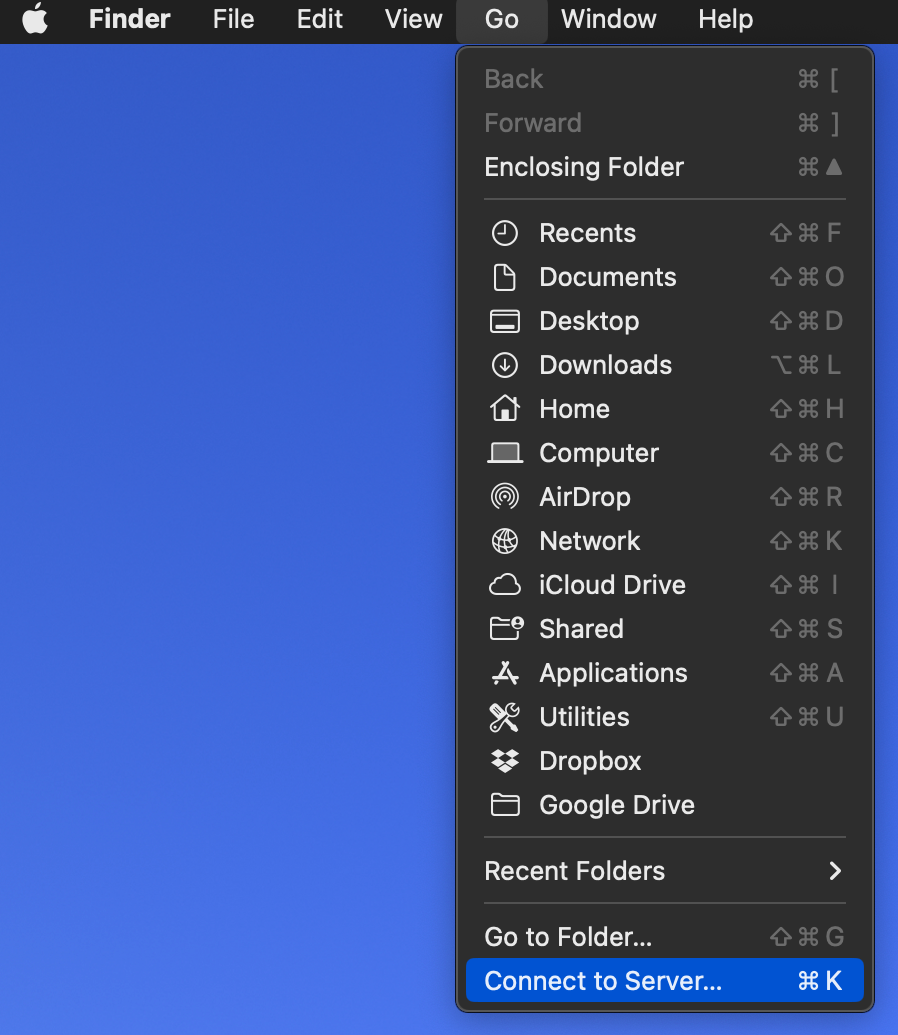
In the Finder on your Mac, choose Go > Connect to Server.
Enter the address of the server in the Server Address field.
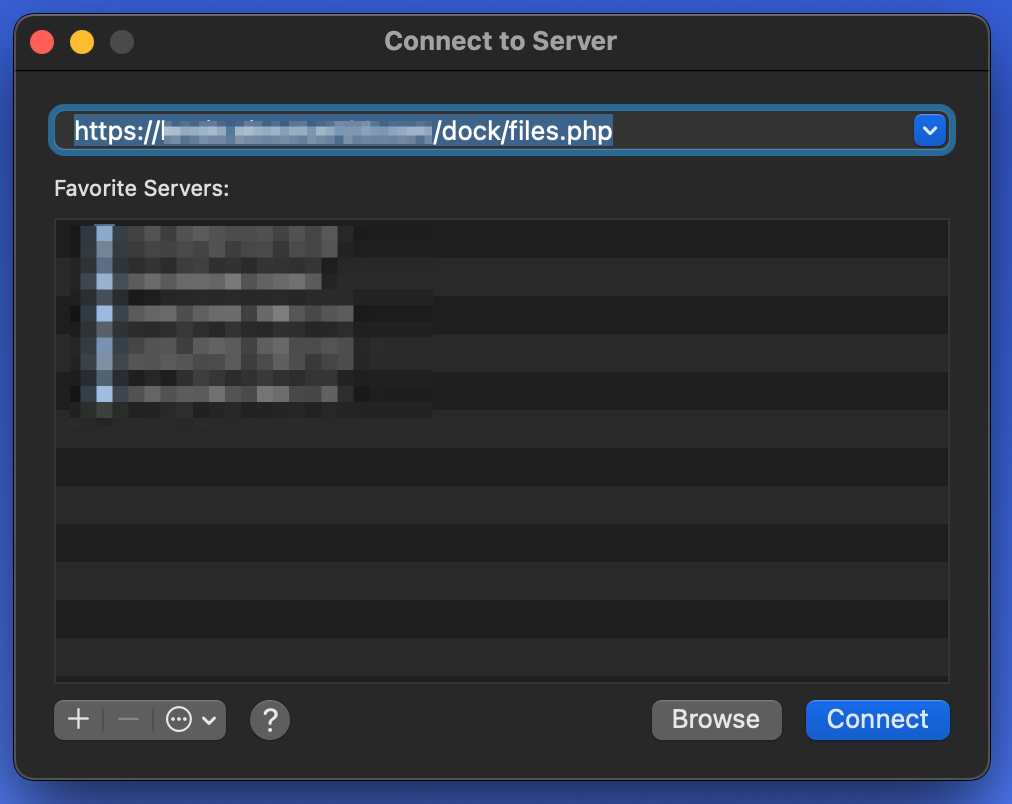
Click Connect and enter your username and password when prompted.
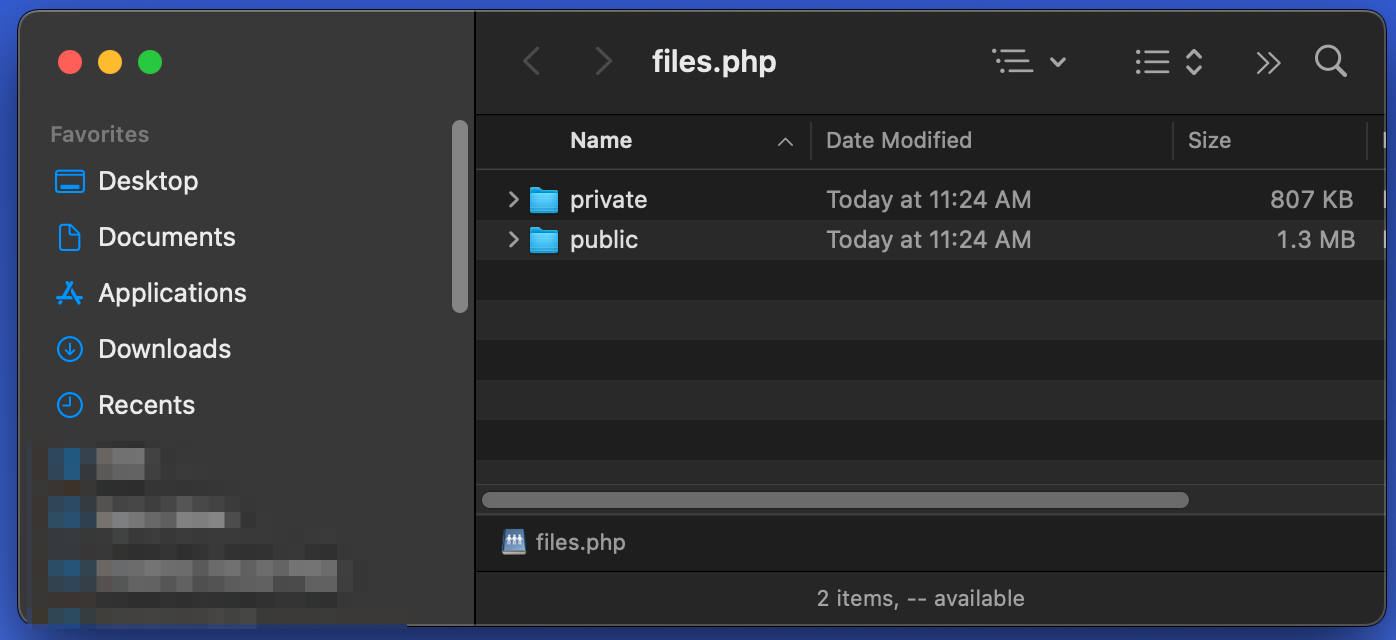
A new finder window with the connected drive will appear from where you can manage your files