Application Form Design
Adding form fields/questions
Navigate to ‘Forms’ under ‘Components’ on the sidebar. Select the form you would like to modify from the list of forms or click ‘+New’ to create a new form.
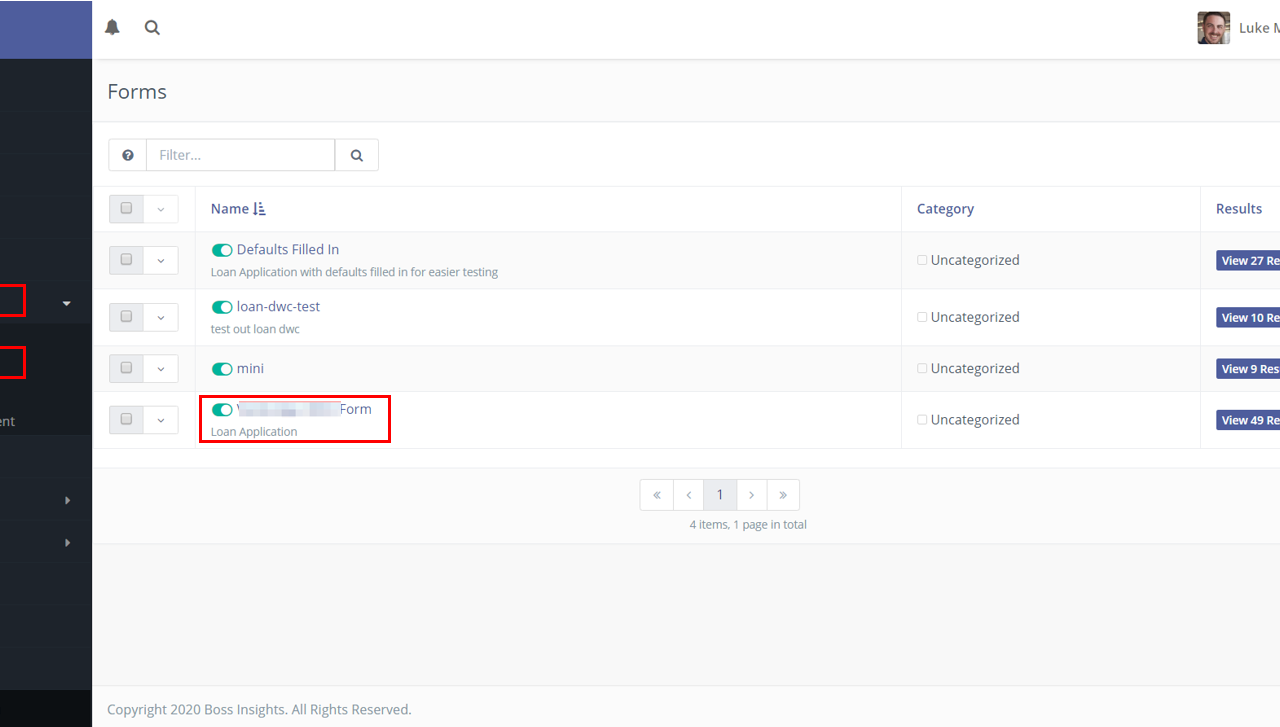
After selecting or creating the form you would like to edit, click on ‘Edit’ in the top right corner to start editing.
Click on the ‘Fields’ tab to add/modify fields in the form.
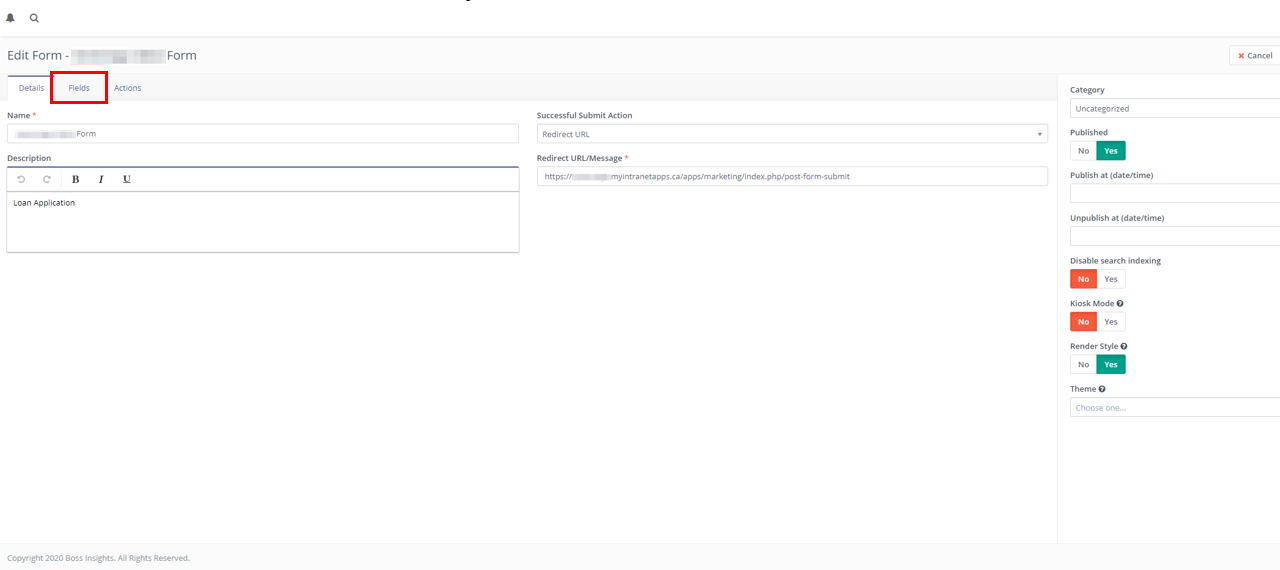
To create a new field, click the ‘Add a new field’ drop-down and select the input type of the new field you would like to add.
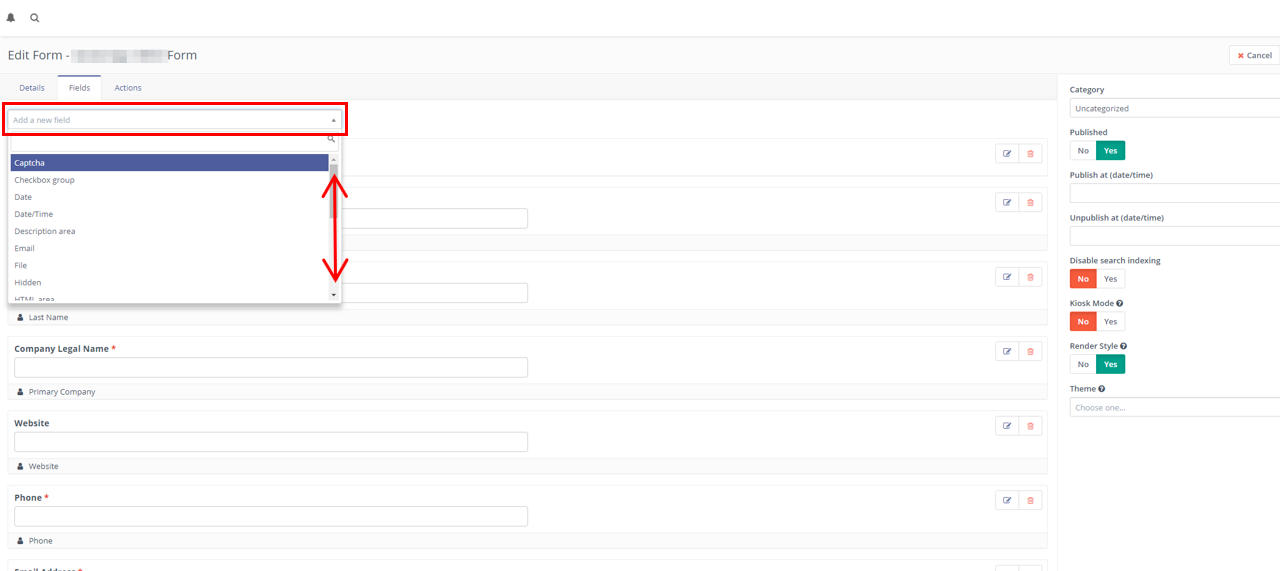
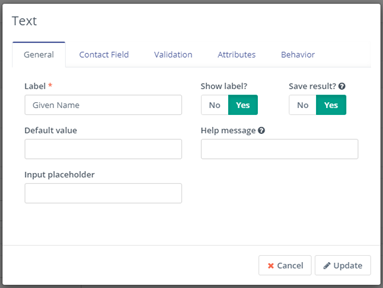
To add a text field, select 'Text' as the new field, the below box will then pop-up on your screen:
Give the first form field a label/question (e.g. Given Name), a default value if necessary (e.g. Bob), an input placeholder if necessary (e.g. Insert your name here). Select 'Yes' to show label and 'Yes to save results.
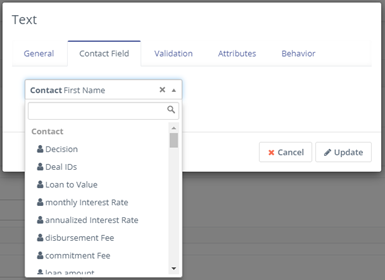
Next, navigate to the 'Contact Field' tab and select the field this new question will be collecting data into (e.g. First Name in this case)
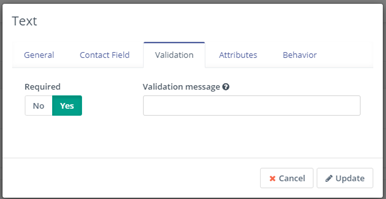
Next, navigate to the 'Validation' tab.and select 'Yes' for any required fields. Include a validation message if necessary (e.g. Required field cannot be left blank).
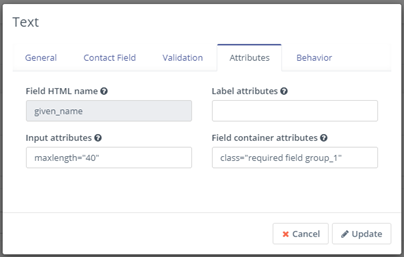
Next, navigate to the 'Attributes' tab. Add a field html name (e.g. given_name, note that this cannot be changed once saved). Add any input attributes (e.g. maxlength='40'), label attributes and field container attributes (e.g. class="required field", this is used to identify the element, where a theme or other components can be initialized on the element.)
Form page breaks
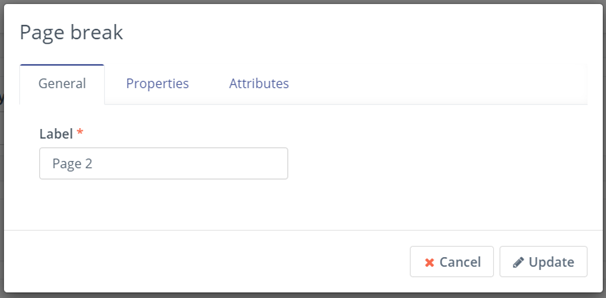
To create a page break, click the ‘Add a new field’ drop-down and select 'Page break'.
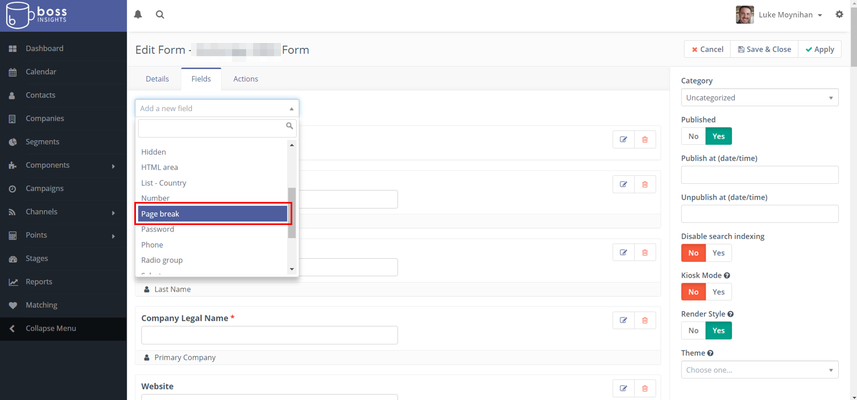
A pop up will appear, add a label for the page in the 'General' tab.
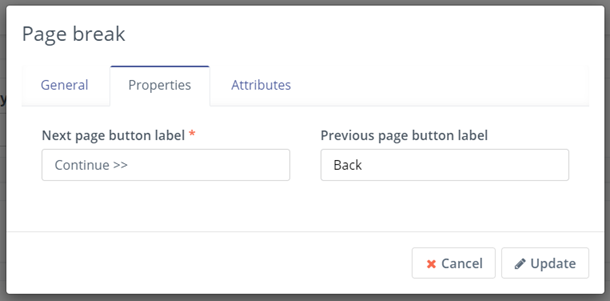
Navigate to the 'Properties' tab and add a label for the next page button and a label for the previous page button (if necessary).
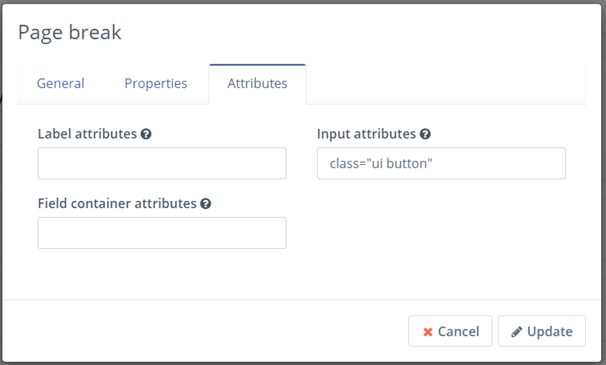
Navigate to the 'Attributes' tab and add any label, field container or input attributes you feel necessary.
Qualification success page/message
Qualification denied page/message
