CRM Integrations
This page contains instructions for configuring the integrations needed to connect the Boss Originate system to your CRM
You must contact support to have the CRM sync functionality enabled. It will not work without pre-configuration.
Zoho CRM
In order to configure the field mapping between the Boss Insights system and Zoho, you will need to edit the form submit action.
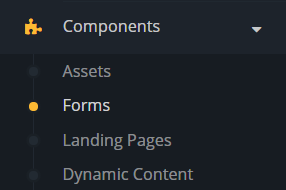
To go this go to {yoursubdomain}.myintranetapps.com/apps/marketing/index.php/s/login and choose Components→Form from the left navigation menu.
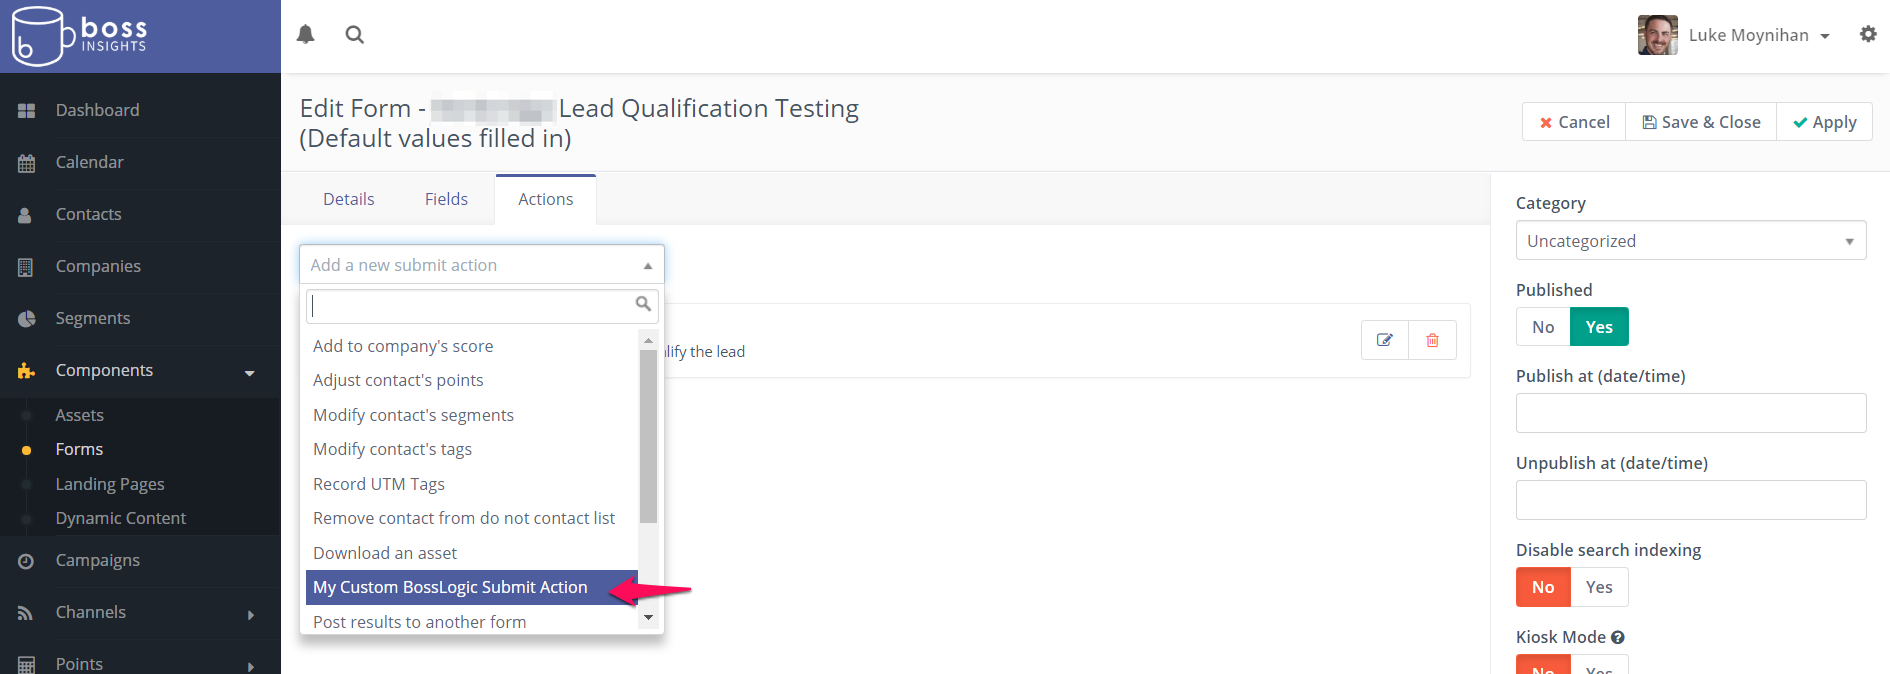
Select the form that you would like to connect to Zoho and then click the Edit button in the top right corner. Click the 'Actions' tab and in the dropdown menu that says 'Add a new submit action',
then find and click the action called 'My Custom BossLogic Submit Action'.
A form will pop-up and it is within this form where you can configure the mapping. Give the action a Name and Description. The Logic Code input box is where you should insert code that defines the Boss Insights to Zoho field mappings, and also defines the logic for qualifying a lead.
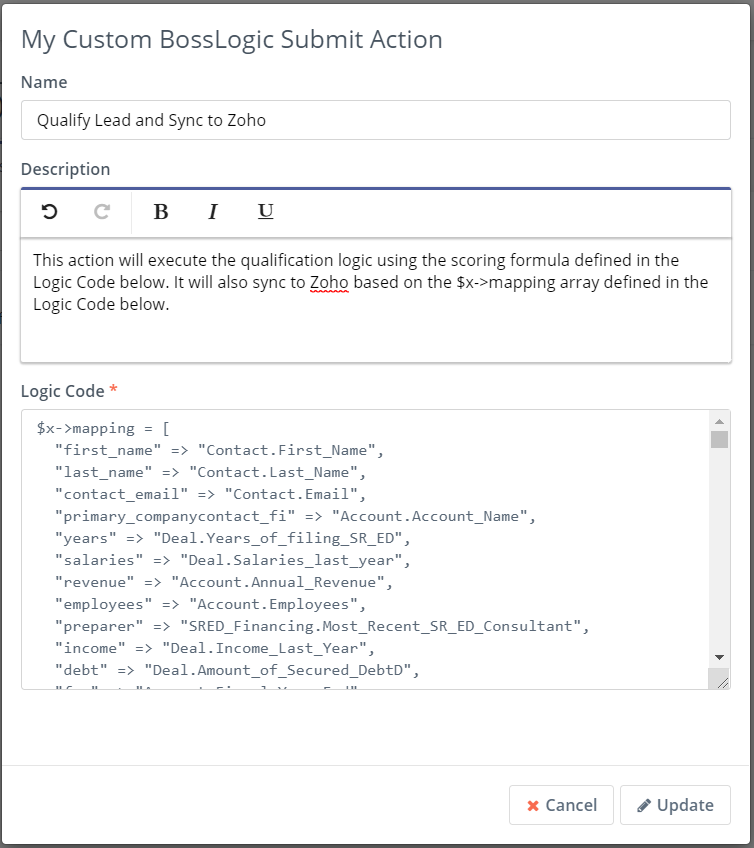
The mapping array should always be defined as $x→mapping = [ array ];
The keys will change depending on how the form fields are setup.
The values will change depending on which Zoho module and field you want the data to sync to.
$x->mapping = [
"first_name" => "Contact.First_Name",
"last_name" => "Contact.Last_Name",
"contact_email" => "Contact.Email",
"primary_companycontact" => "Account.Account_Name",
"salaries" => "Deal.Salaries_last_year",
"revenue" => "Account.Annual_Revenue",
"employees" => "Account.Employees",
"income" => "Deal.Income_Last_Year",
"debt" => "Deal.Amount_of_Secured_Debt",
"fye" => "Account.Fiscal_Year_End",
"arrears" => "Deal.Amount_Owing_to",
"location" => "Account.Type_of_Business_Location",
"decision" => "Deal.Qualification_Decision",
"ltv" => "Deal.Loan_to_Value",
"loan_amount" => "Deal.Amount",
"commitment_fee" => "Deal.Commitment_Fee",
"disbursement_fee" => "Deal.Placement_Fees",
"monthly_interest_rate" => "Deal.Monthly_Interest_Rate",
"annualized_interest_rate" => "Deal.Annual_Interest"
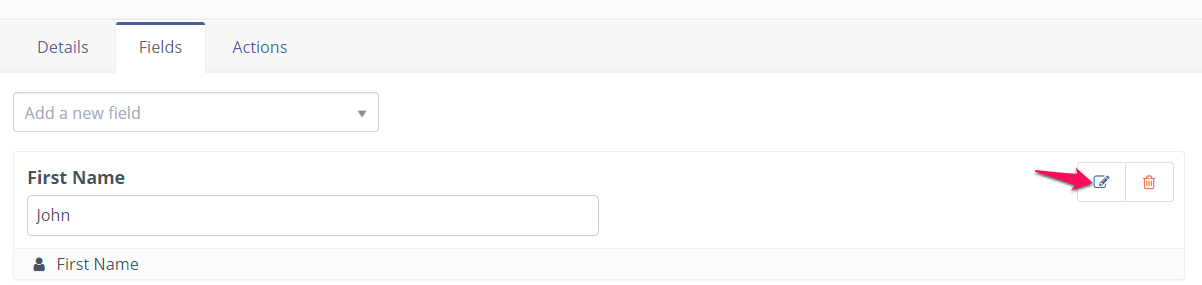
];The key should always be the 'Field HTML name' as defined in the form editing page. To find this field, first click the 'Fields' tab on the form editing page.
Then, click the pencil icon for the field you would like to see the 'Field HTML name' of.
A form/menu will pop up. Click the 'Attributes' tab. Here you will see the 'Field HTML name'. This is the value you must use as the key in the $x→mapping array.
This field is only editable upon creation of a field, so if you want to change it you must re-create the form field.

For the values of the $x→mapping array, you will need to make a string that is a composite of the Target Zoho Module, followed by a period, followed by the Target Field Name.
So it will look like "Module_Name.Field_Name".
For the Zoho Module, currently it must be one of three options: Account, Deal or Contact. But this will change to handle any module as long as it's API name is used.
For the Zoho Field name, you can go into the Zoho CRM, and go to the form for creating a record for the target module. For example, I could go into the Zoho CRM and try to create a contact.
On the create contact form, find the target field, right-click it and select 'Inspect'.
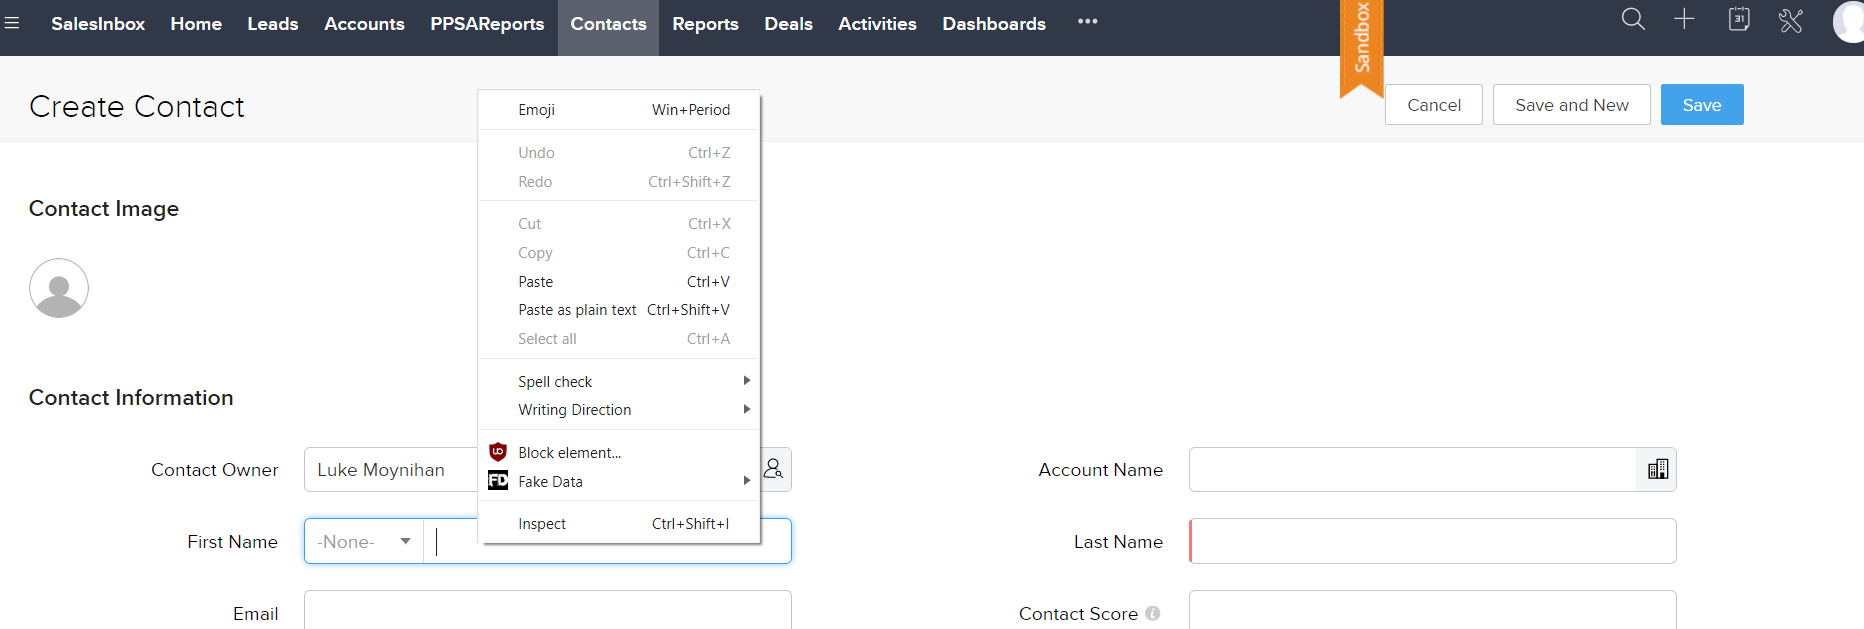
This will open up ChromeDevTools, and on the 'Elements' tab you will see the html for the field you inspected. the class called "data-sysrefname" is the field name you should use for the mapping.

So, the row to map first name from Boss Insights to Zoho will look like "first_name" => "Contact.First_Name"