How do I Create Reports and Restrict Access to Them?
This page covers how to give partners access to the platform and how to create forms and reports specifically for their leads
1. Financial Institution (administrator role)
1.1 - Creating a role
By creating a role, you can configure what actions users are allowed to perform and which pages they can access when logged to the platform. To create a role:
Click the cogwheel icon on the top right corner to open the
Settingsmenu and selectRoles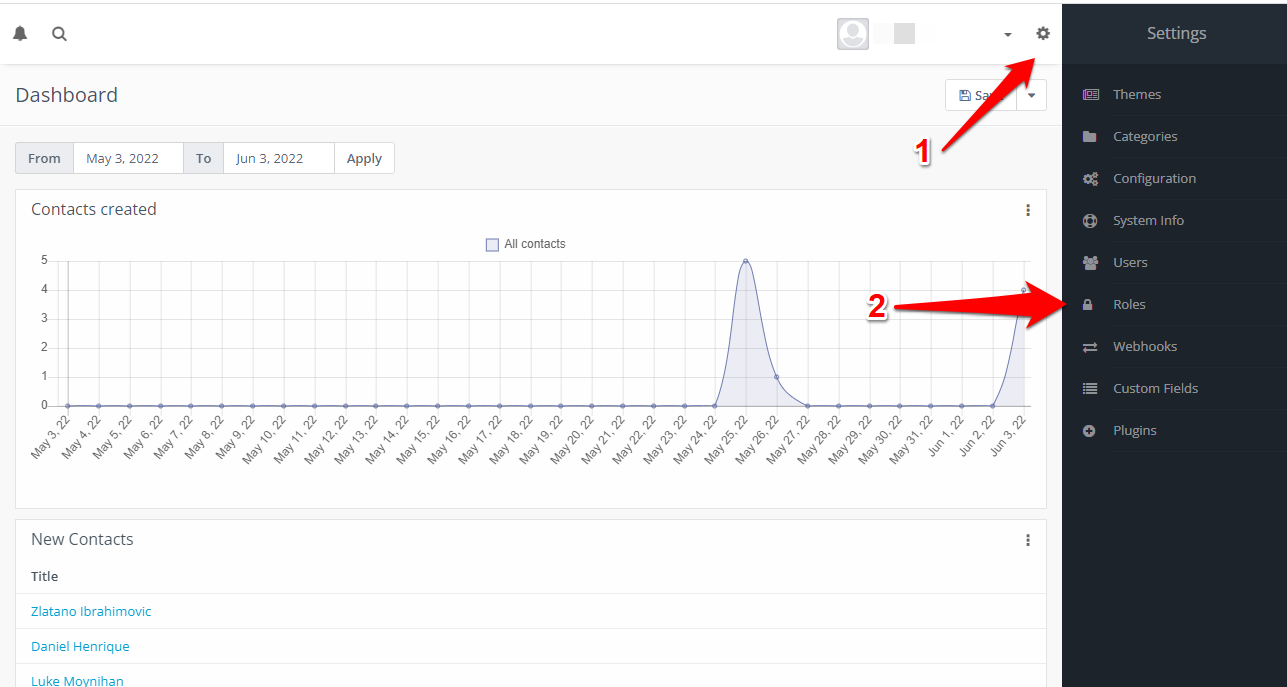
Click the
Newbutton on the top-right side of the window to open the form to create a new role
Assign a name to the role and a description (optional), then go to the
Permissionstab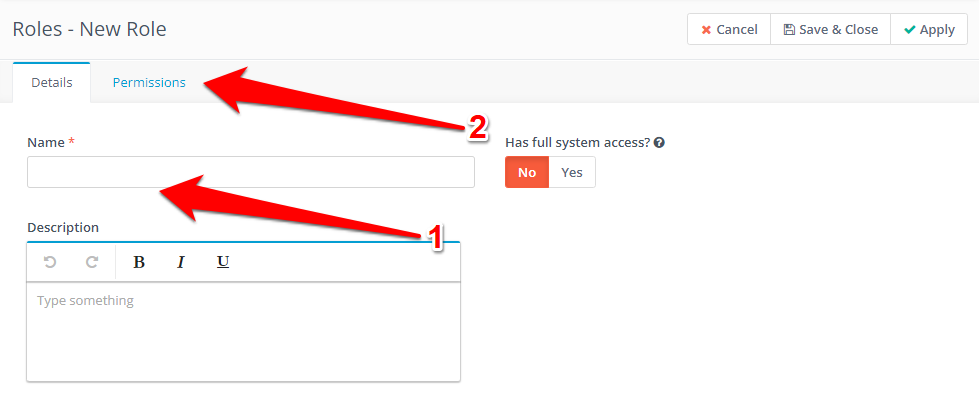
Search and click on
Reporting Permissions, tick theView Owncheckbox and clickSave & Closeto finish creating the new role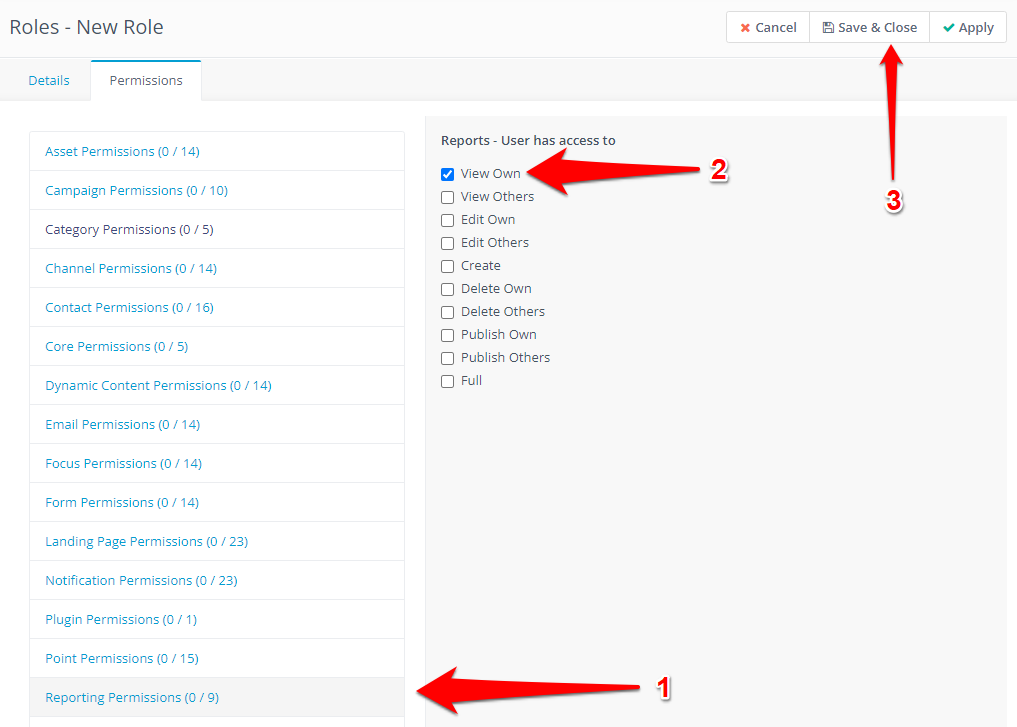
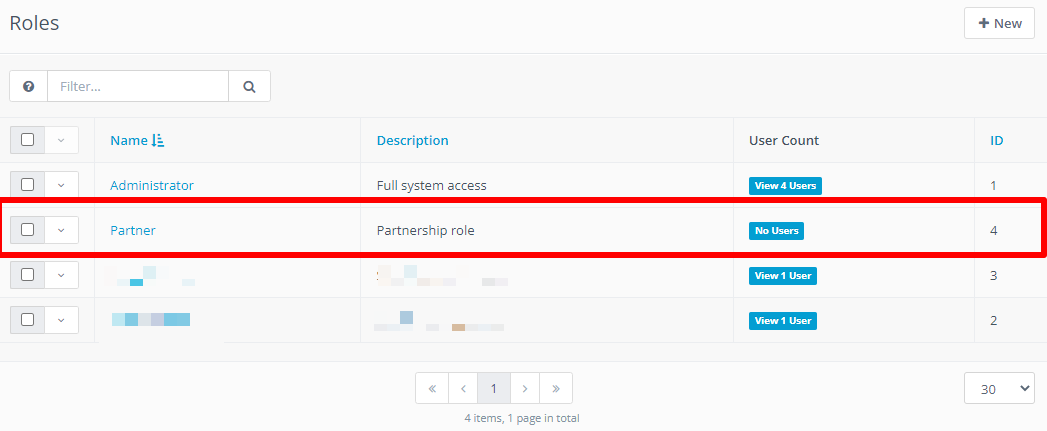
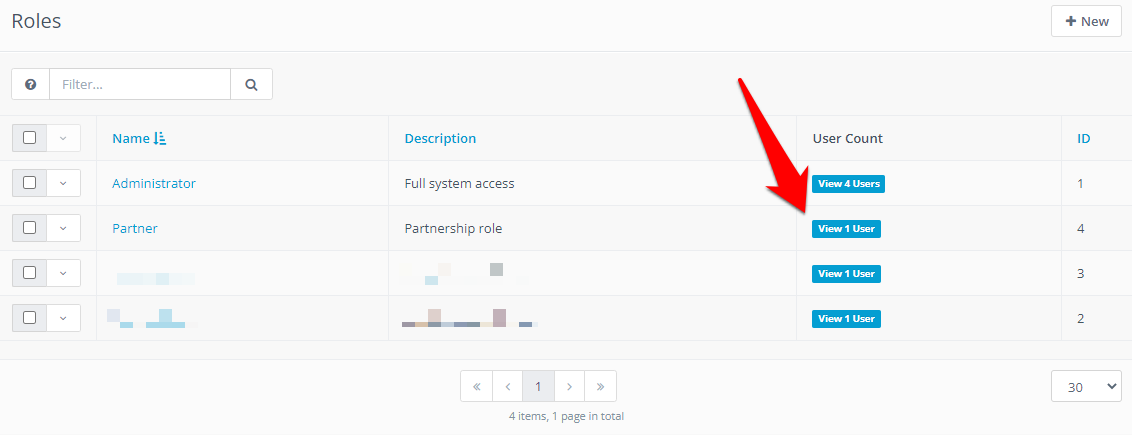
You should see the newly created role listed on the Roles table
1.2 - Adding a user
Now let’s proceed with how to create users.
Click the cogwheel icon on the top right corner to open the
Settingsmenu and selectUsersClick the
Newbutton on the top-right side of the screen to open the form to create a new user
Fill in the required information (they have a red asterisk (*) on the right side of their labels), select a Role for the user in the
Roledropdown, then clickSave & Closeto finish creating the user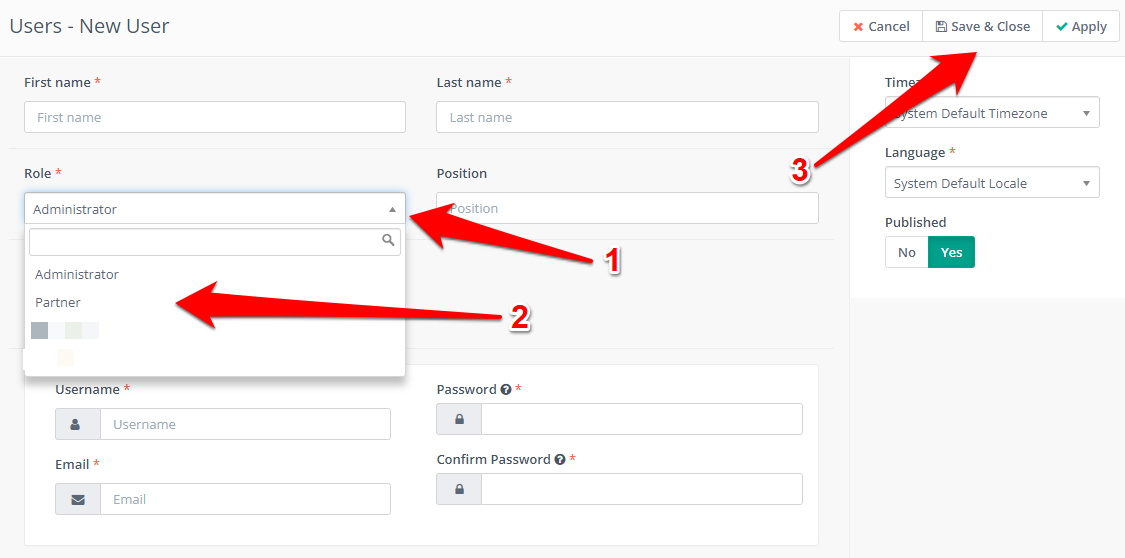
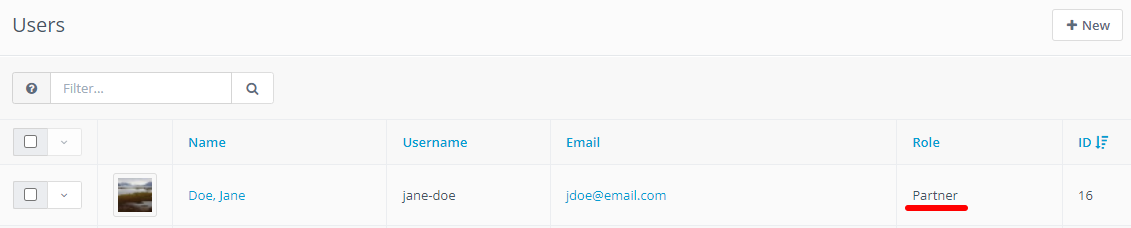
You should see the new user listed on the Users table and the user’s role in the Role column
1.3 - Checking permissions for user
Click the cogwheel icon on the top right corner to open the
Settingsmenu and selectRoles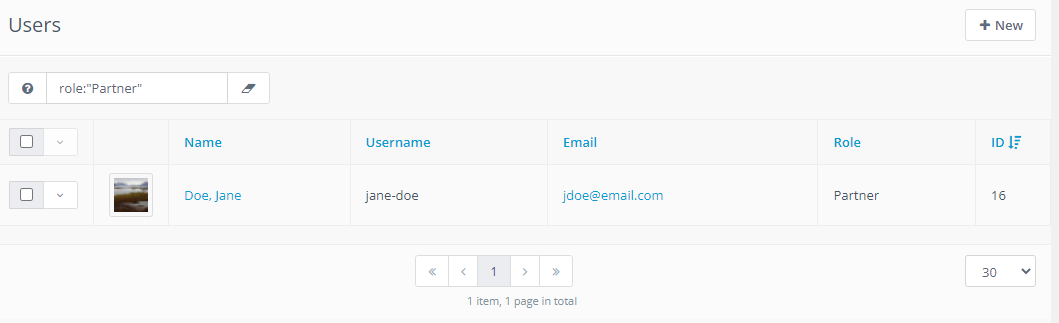
Clicking a Role name on the
Namecolumn will take you to theEdit Rolepage and the permissions available for this role will be listed in thePermissionstab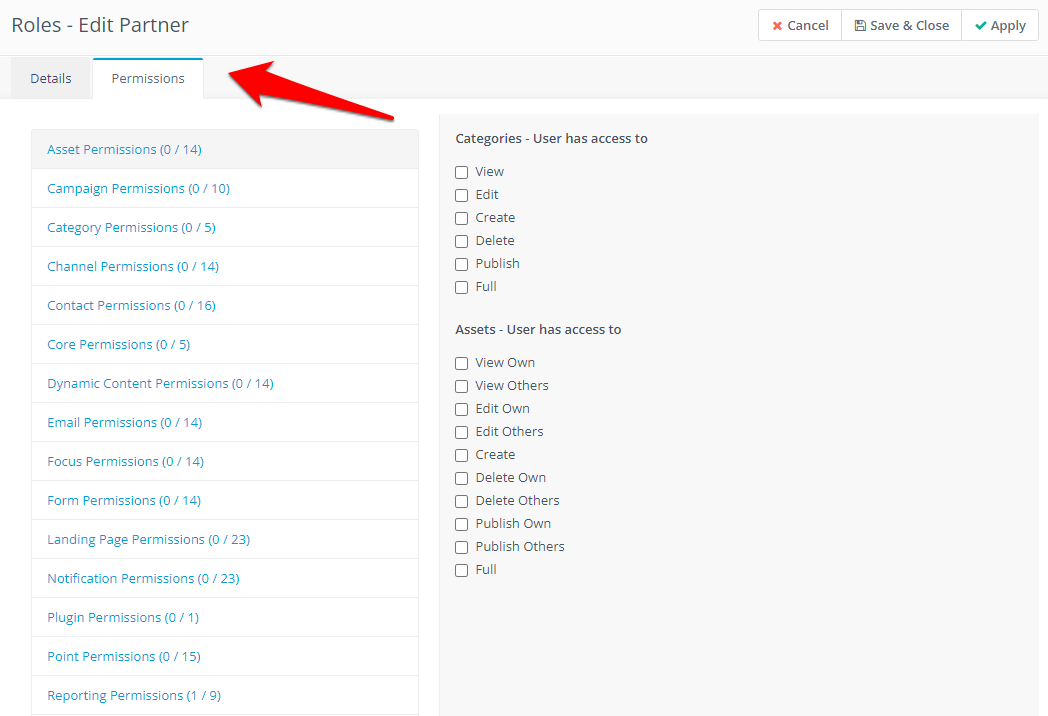
The permissions for users are determined by the role assigned to them. By clicking a User Count badge for a given role, you can see a list of users assigned to that role
1.4 - Creating a report
Navigate to
Reportson the sidebar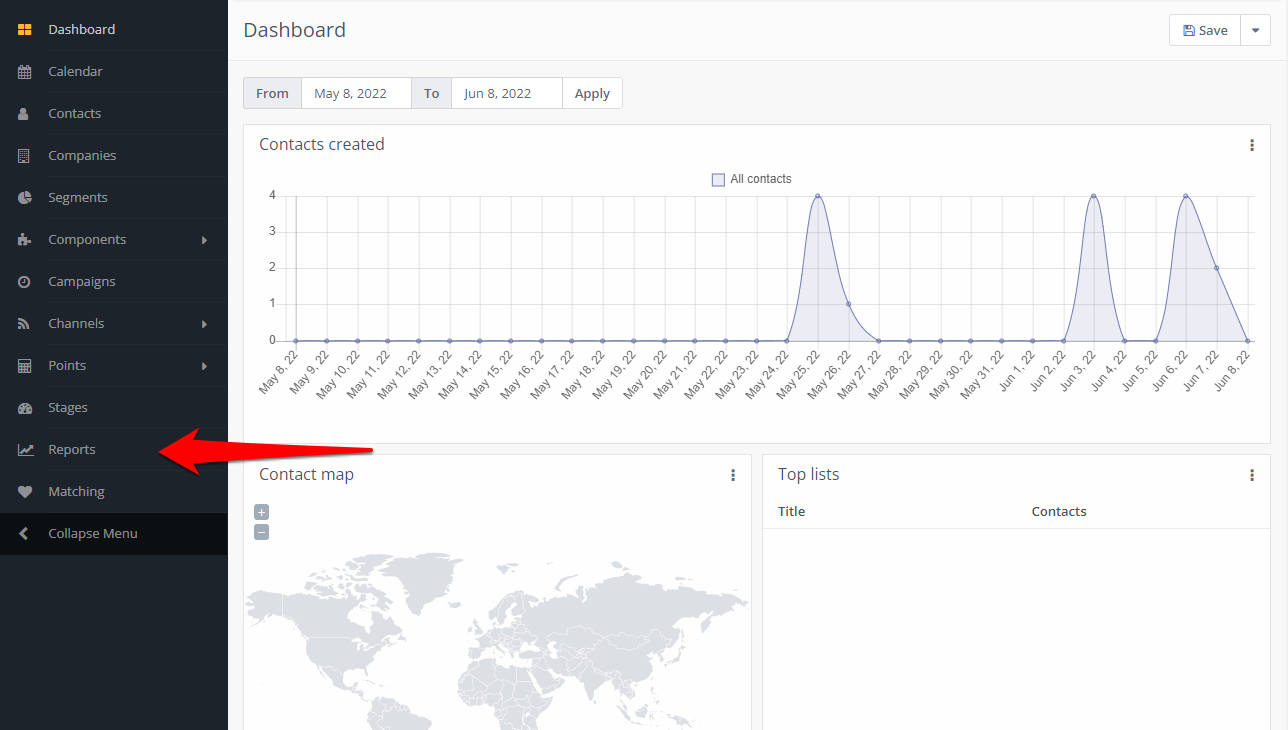
Click the
Newbutton on the top-right side of the window to open the report creator
In the
Detailstab, give a name to the report and a description (optional), select theContactsas the data source for the report under theData Sourcedropdown menu, assign an owner to the report on theOwnerdropdown list if applicable, then go to theDatatab to configure what information will be displayed in the report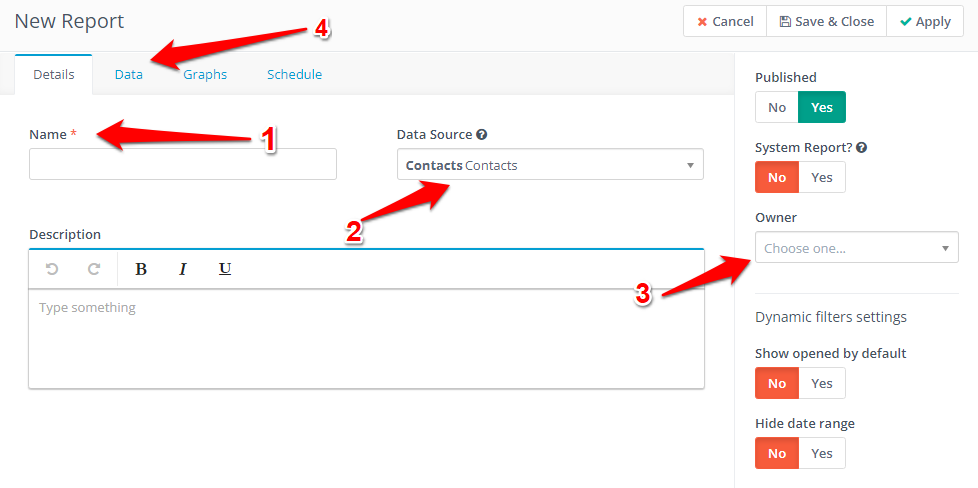
Important notes
If you want to use UTM tags as columns or filters in the report, select
UTM Codesinstead ofContactsin theData Sourcedropdown list.Selecting an owner is required for users who only have
View Ownpermissions.
In the
Datatab, theColumnslist (left side) contains the data available to build the report. The list on the right side refers to data selected to be displayed in the report. Select the ones you want in the report by searching theColumnslist and clicking them. You can also add filters to the report by clicking theAdd Filterbutton (see section 1.6 for more details). When you have finished selecting the data, clickSave & Closeto save your changes and create the report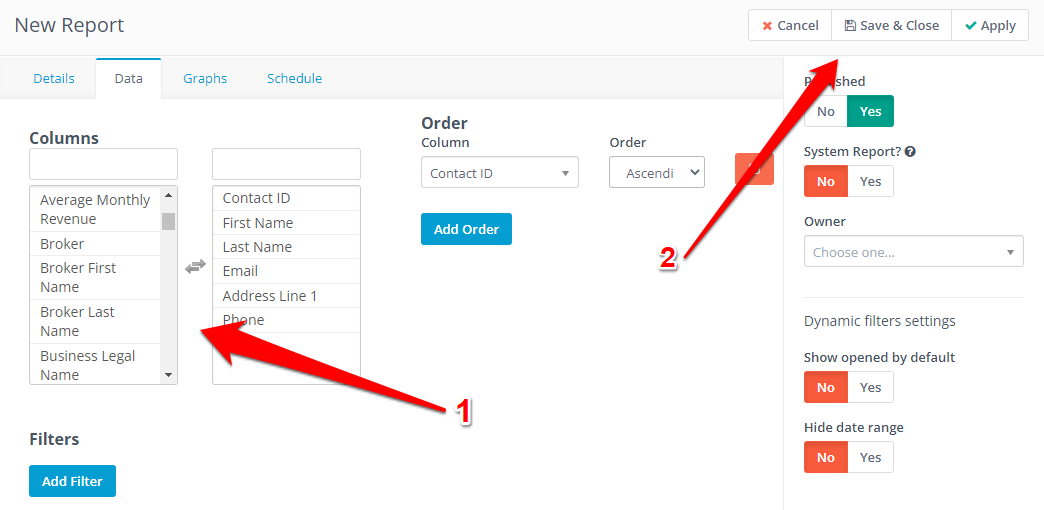
You will be redirected to the report’s page. If you want to modify it, click the
Editbutton on the top-right corner to go to theEdit Reportpage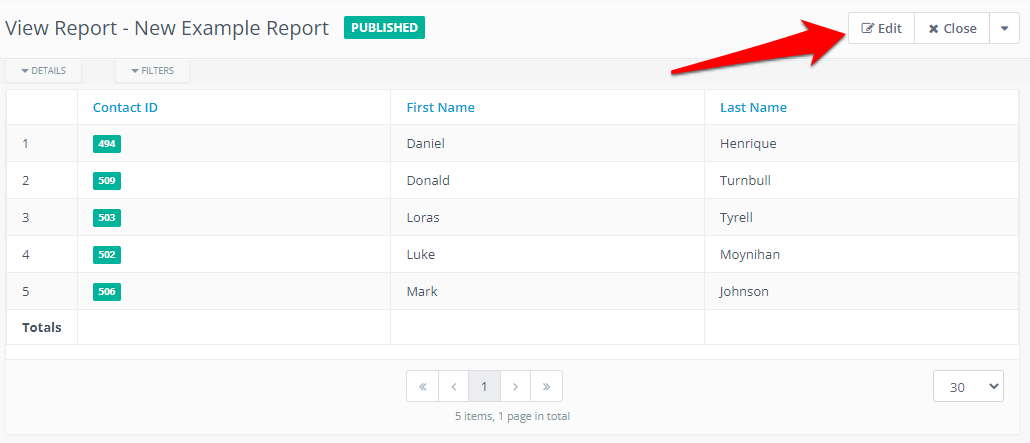
1.5 - Filtering a report
When editing a report, you can apply filters to it by clicking the Add Filter button (1).
You can add as many filters you want and you can use any field available in the Contacts list to build your filter - even if the field is not part of the form (2). The Condition list is where the rule for the filter is determined (3) and the Value input field is where you should insert the values you want to use for filtering (4). Additionally, if there is more than one filter, you can choose the relationship between them by selecting And or Or (5). Finally, to delete a filter, just click the orange button on the right side of the filter card (6).
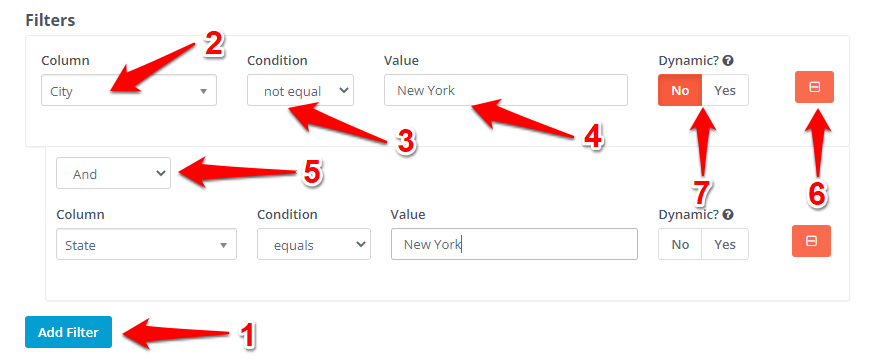
Last but not least, switching Dynamic? to ‘Yes’ (7), will make this filter available on the report page:
1.6 - Assigning report to partner
Navigate to
Reportson the sidebar. ClickNewon the top-right corner of the windowClick
Editon the top right corner to edit the contact's informationScroll down, click the
Contact Ownerdropdown, select the user you want to assign the contact, the scroll to the top of the page and clickSave & Closeto save your changes
2. Vendor/Supplier/Partner (other role)
To log in and access the results for your contacts:
You should receive a username and a password from the financial institution. In the login form, insert both in their respective input fields and click ‘login’ to access the portal

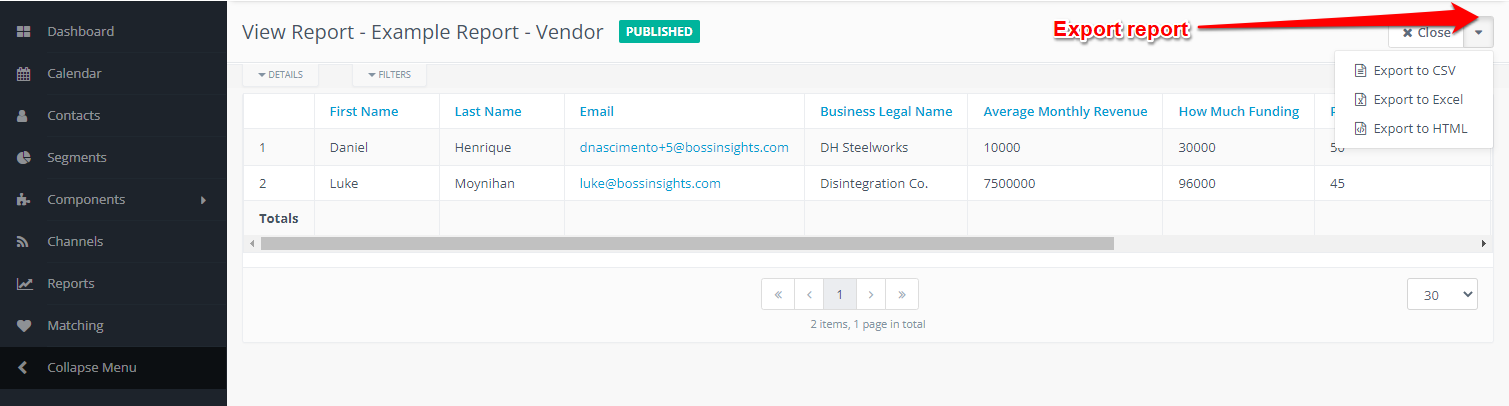
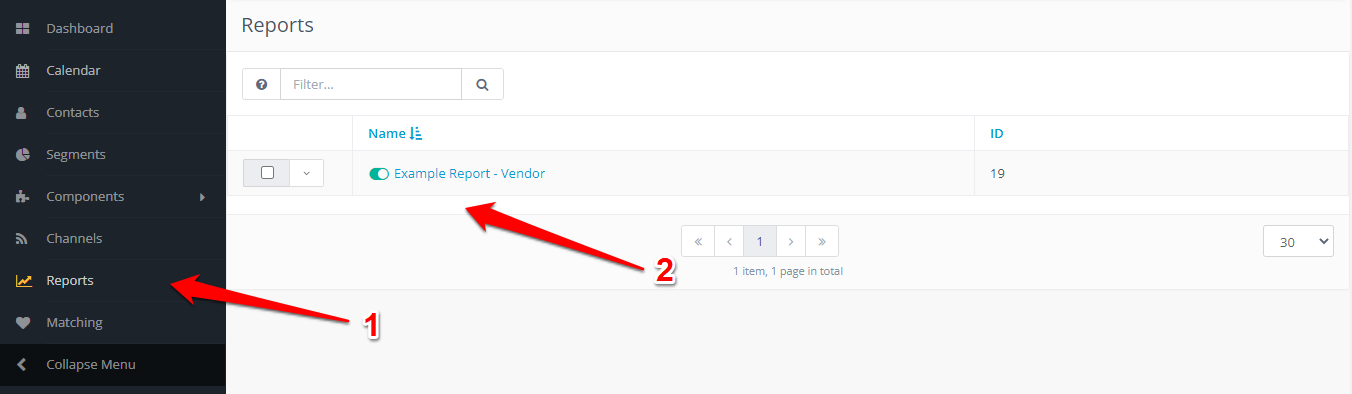
Navigate to ‘Reports’ on the sidebar. Select the report you’d like to view by clicking on the report’s name on the ‘Name’ column
The report containing the information submitted by the contacts in the forms will be displayed in the table. You can also export the results in CSV, Excel or HTML by clicking on the arrow on the right side of the ‘Close’ button and then selecting your preferred format.