Styling Embedded Pages
If you need to edit the UI of one of our embedded pages, you can do so by using a CSS file template. This page will guide you through the steps you need to get it working.
Available templates
You can choose between two CSS templates. The first one is populated with CSS variables and rules (pages-embedded-variables.css) and the second one (pages-embedded-clean.css) contains only the CSS rules with no variables or properties assigned to them.
pages-embedded-variables.css pages-embedded-clean.css
Which template should I choose and what can be edited
The scope of the CSS rules in those templates is more focused on text alignment, font styling, margins, paddings, borders and colours of the pages and some of its components (buttons and input fields*, for example). The CSS templates' rules do not include changes in the positioning or layout of the page elements (e.g. no flexbox or grid rules, for example).
That said, for more simple and cosmetic changes, the pages-embedded-variables.css template will probably suffice. For bigger changes, it is probably best to stick with the pages-embedded-clean.css. We recommend taking a look at both and then making the call on which one to use.
Uploading the file
After deciding on which CSS template to use, you must rename it to pages-embedded.css and upload it to the /public/dashboard/css/embeded folder of your WebDAV server. If you’re not familiar with this process, refer to Uploading Files via WebDAV.
The file must be renamed as mentioned or else the changes won’t take place
Editing the file after upload
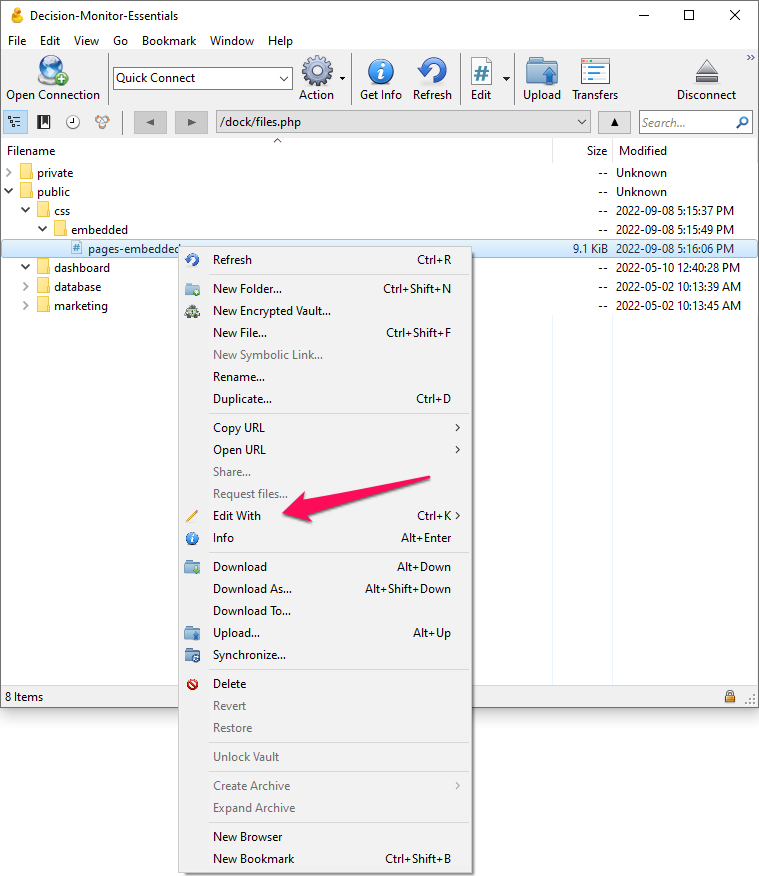
It is possible to edit the CSS file and see the changes on the fly if you’re using Cyberduck to access the WebDAV server. Just right-click on the file and select the “Edit With” option in the menu and select your preferred app to open it. Leave Cyberduck open while you’re editing the stylesheet (or else you’ll be disconnected from the server). Save the file on your code editor and you should get a notification that the file was updated in the server.
