Webhooks Configuration
The Webhooks page is where the initial configuration is completed to add or modify a webhook.
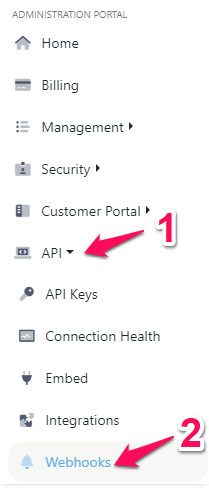
To get to the Webhooks page, please log in to your administration portal, select “API” from the left navigation menu and then “Webhooks”.
Webhooks are a way that web applications can communicate together. It lets you send real-time data from one application to the other when an event occurs. Essentially, it lets you know anytime an event is triggered so the next queue of steps can occur.
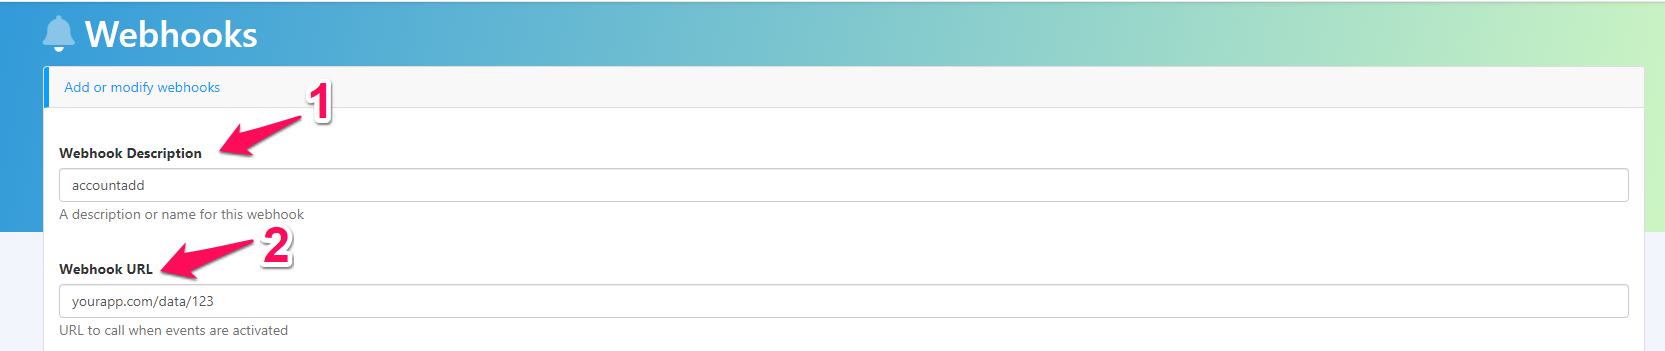
This data exchange happens through a webhook URL. On our Webhooks page, you can start with adding a Webhook description so you remember what it was created for (1) and then enter the URL to call when events are activated (2). In other words, the webhook URL is from the application that you’d like to send data to, Boss Insights is where the data is coming from.
Next, under the “Secret” field, please add a secret value (aka webhook signing key) to sign the webhook requests with (3).
You will also need to provide a user (4) and password (5) for basic access authentication (aka Basic Auth/Auth Basic).

Next, you can select the events for the webhooks, these are the trigger events we mentioned earlier. For example, if you would like the activation event to be whenever an account is added, you would select “Account Added” (6). If you would like to choose more than one option, please hold your CTRL key and select multiple. If you would like to choose all options, you may click and drag to highlight.
Finally, ensure “Active” is checked under “Webhook Options” (7) and then you may select “Save” (8).

The table below this section will show all webhooks.
