How to Setup Tracking
This page contains instructions for how you can add tracking to the applications. There are 3 options available on Originate to do that:
UTM Tags
URL parameters and hidden fields
Assign a contact to a user
1. UTM Tags
What is a UTM?
Urchin Tracking Modules (UTM) are URL parameters used by marketers to track the effectiveness of a campaign. They are tiny pieces of code we add at the end of a URL to see where the traffic is coming from. There are five standard parameters:
utm_source: Identifies from which site the user came from;
utm_medium: Tells which type of link was used (email, some add, etc.);
utm_campaign: Refers to the strategic or promotion (i.e. "Summer Sale", for instance);
utm_term: Tracks keywords that might have been used in a search ("low-interest rates", "lending", for example); and
utm_content: Identifies what element was clicked specifically (if there are different links for the same campaign, A/B testing among others).
Here is an example of what an URL with UTM parameters looks like:
https://mycompany.com/origination-form?utm_source=google&utm_medium=link&utm_campaing=lending_spring&utm_content=50-100
The beginning of the UTM codes is the question mark right after the end of the URL (black text minus the "?"). The ampersands are the syntax for adding more UTMs to the URL. From this sample web address, we can see that:
utm_source=google means that the user is coming from Google;
utm_medium=link is what type of link was clicked on;
utm_campaing=lending_spring tells us that this page was part of the Lending Spring campaign;
utm_content=50-100 makes it possible to identify which one of the three buttons the user clicked to get to the origination form (in this case, the "$50k - $100k" button in the image below).

Setting up UTM tags on Originate
Navigate to
FormsunderComponentson the sidebar. Select the form you would like to modify from the list of forms
After selecting the form, click on
Editin the top right corner to start editingClick the
Actionstab to add/modify the actions assigned to the selected form, click the dropdown menu that readsAdd a new submit actionto expand it, search forRecord UTM Tagsand select it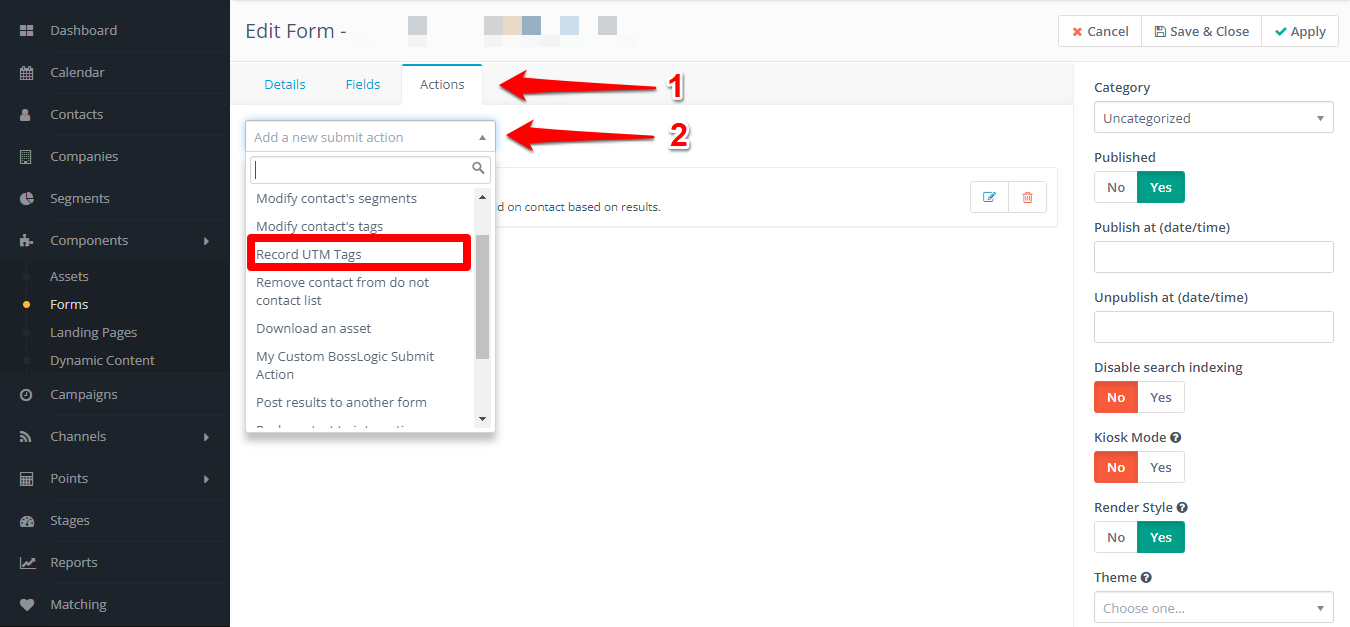
A pop-up will be displayed. Assign a name to this action on the
Nameinput field (e.g. UTM Tags tracking, Tracking), a description (optional) and clickAdd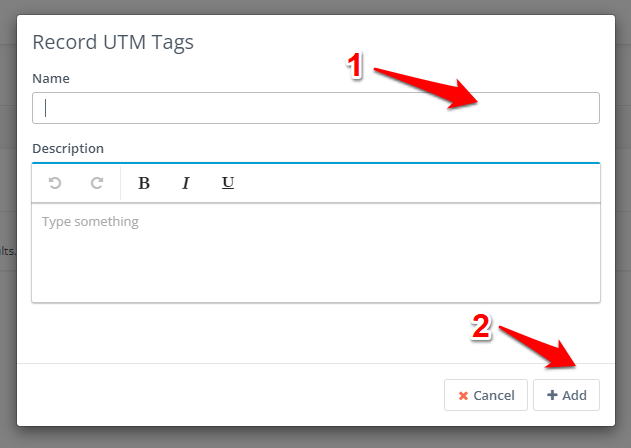
You will notice this new action is now listed among the
Actionsassigned to this form. ClickSave & Closeto save your changes and exit the form configuration orApplyto save them and continue editing the form configuration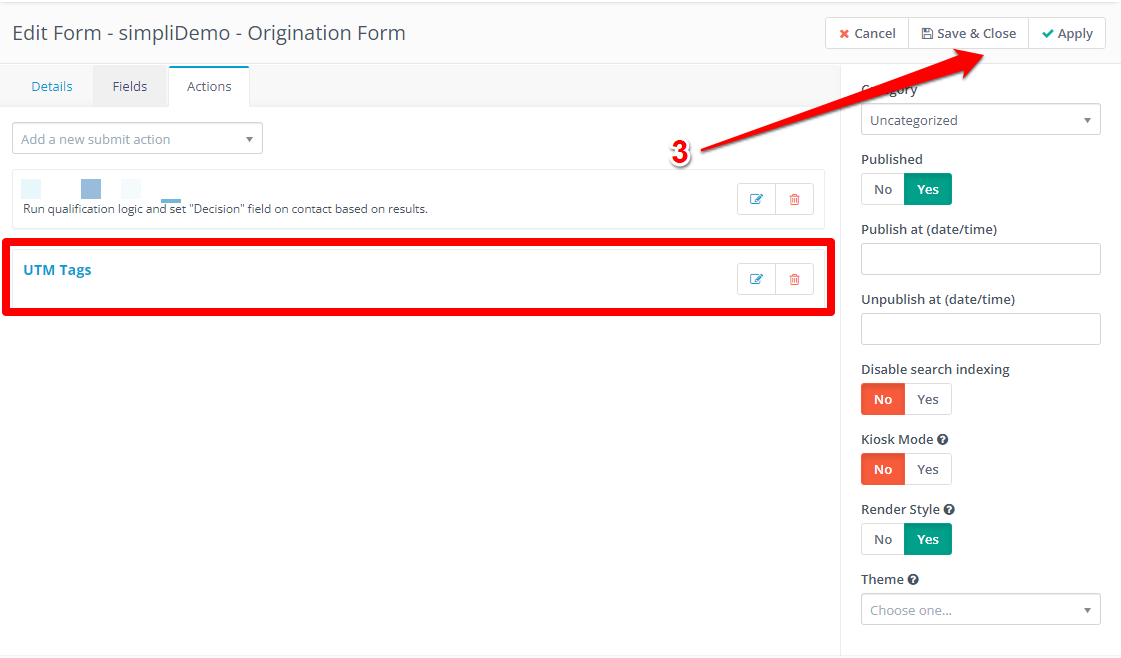
How to check the UTM tags recorded from a form submission
Navigate to
Contactson the sidebar. Select the contact you'd like to inspect by clicking the contact's name on theNamecolumn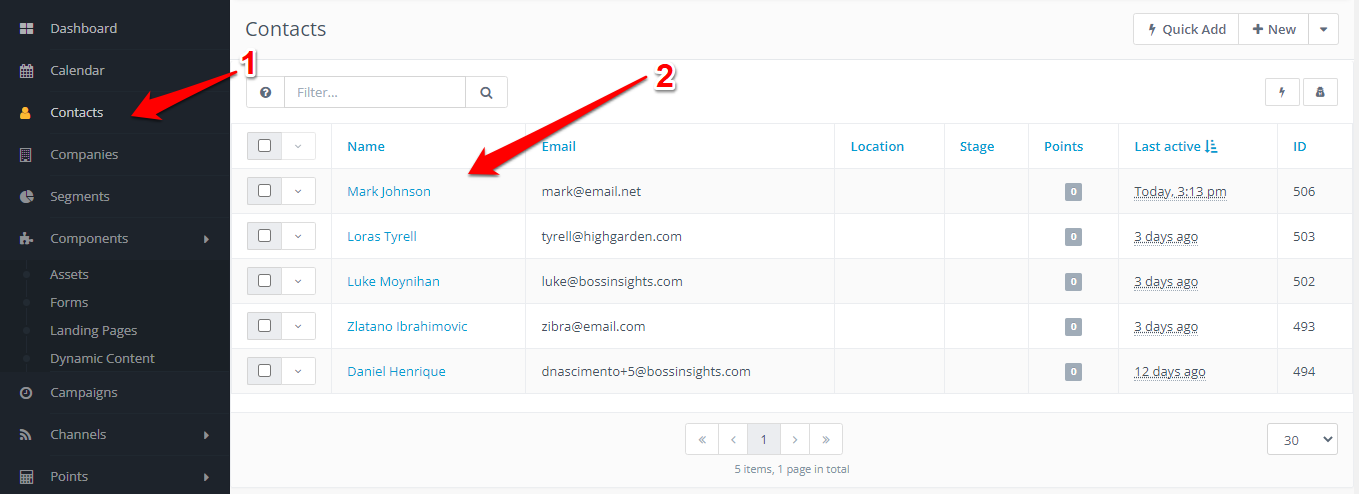
The
Historytab is selected by default. Scroll down and search forUTM tags recorded. Click the tag icon on to left side column to expand it and you should be able to see which UTM tags were recorded for this contact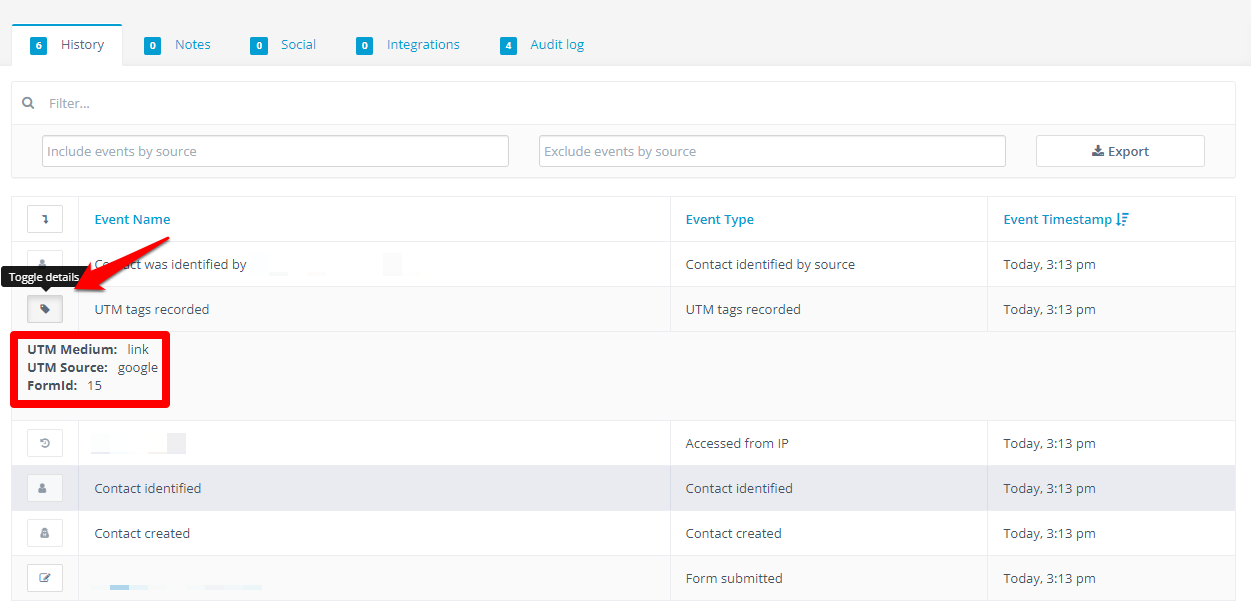
UTM tags can also be included in the Reports and be used as filter parameters. When editing or creating a new report, simply select the Contacts UTM codes option from the Data Sources dropdown menu and the UTM codes will be available in the Data tab. For more information about reports, refer to the this page.
2. URL parameters and hidden fields
To enable tracking on a form by combining URL parameters and hidden fields, you need to add a new field to the form and assign a contact field to it to store the tracking information. Both the input field and the contact field must be configured to read parameters passed to the URL. To learn about URL parameters and how to use and set up them to pre-populate form fields, visit this guide.
The first thing to do is create a custom field to store the tracking information. To do that, click the cogwheel icon on the top right corner to open the
Settingsmenu and selectCustom Fields(if the Custom Field already exists, you skip steps 1 - 4)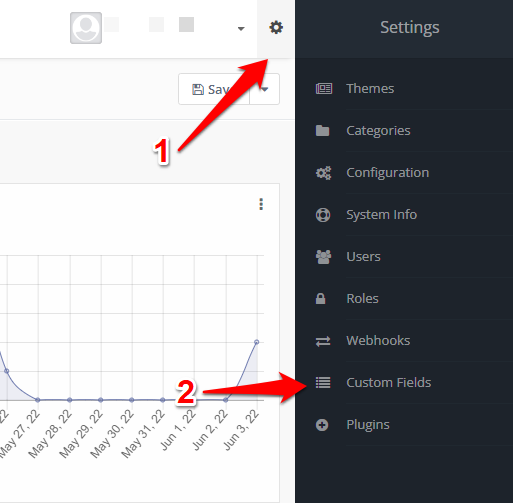
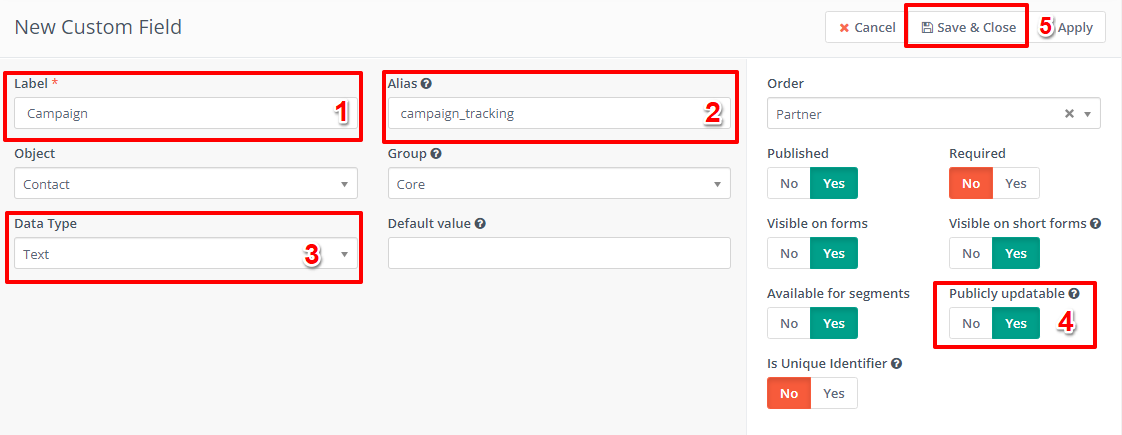
On the top-right corner, click new to open the
New Custom Fieldpage
Fill out the information required to create the custom fields, change
Publiclyupdatable' toYesand click Save & Close to finish creating the fieldLabel: the name that will be assigned to the field on Originate
Alias: The field’s unique identifier. This is the parameter that will be used in the URL to prefill the hidden input field (copy and save the value, you will need it later)
Data Type: Leave as text
You now should see the newly created custom field in the Custom Fields table

Navigate to
FormsunderComponentson the sidebar. Select the form you would like to modify from the list of formsAfter selecting the form, click on
Editin the top right corner to start editingClick the
Fieldstab to add/modify fields in the form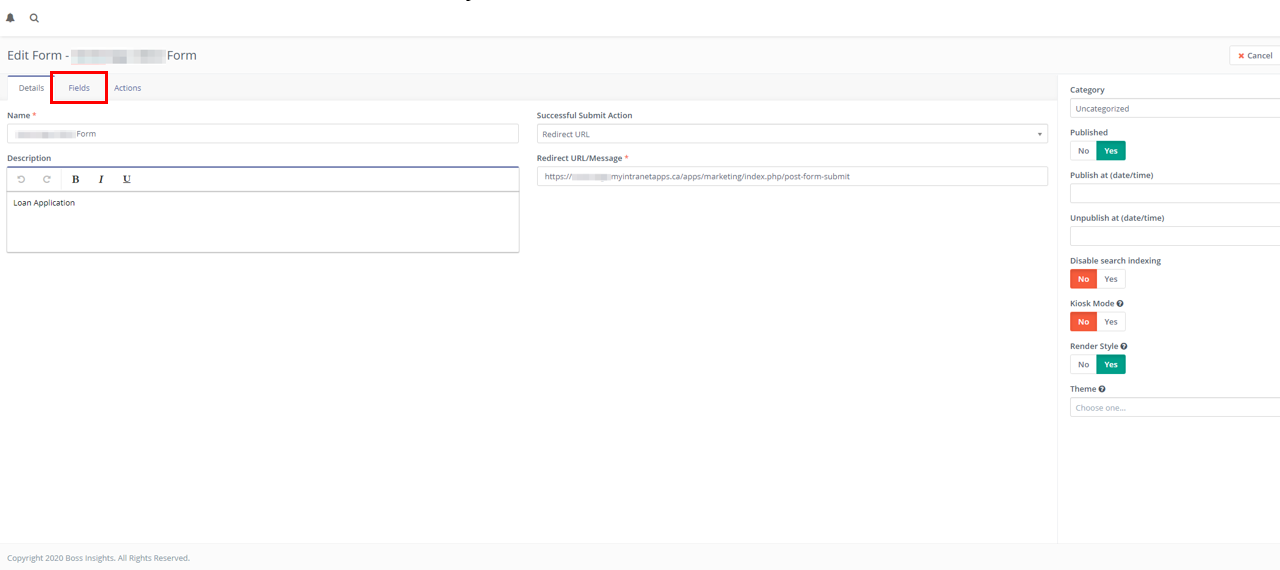
Click the
Add a new fielddropdown and selectHidden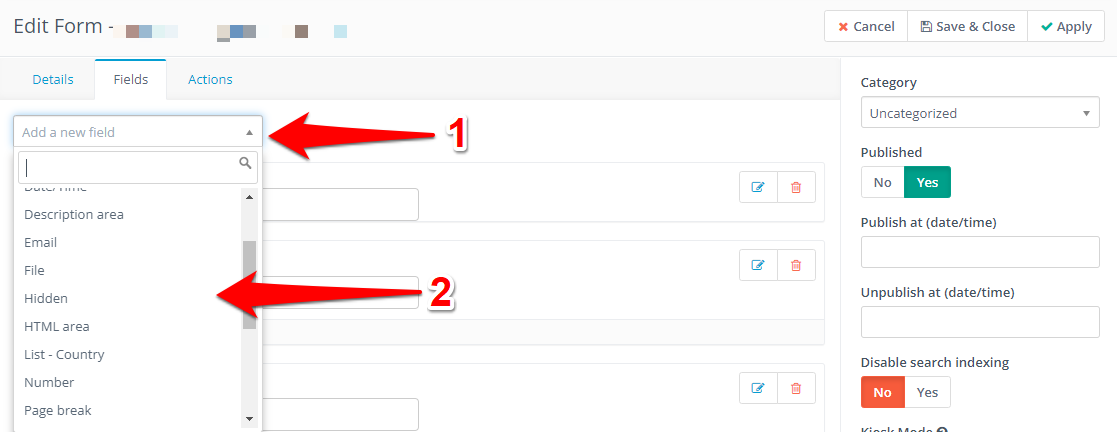
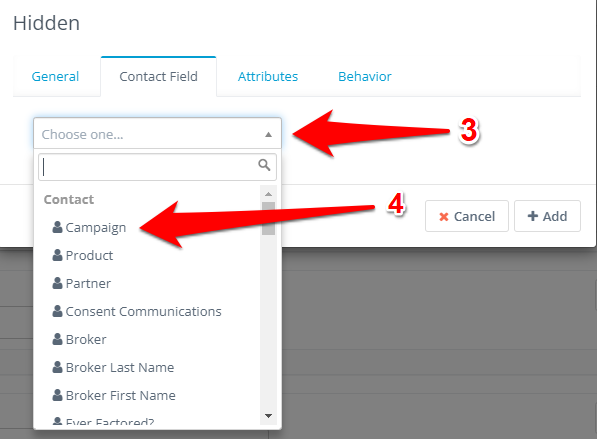
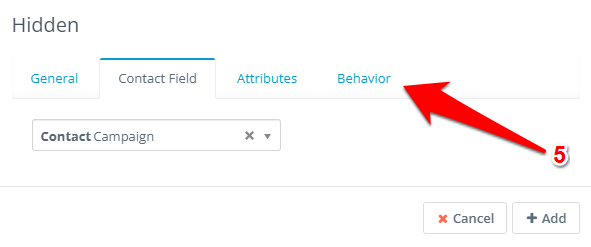
In the
Generaltab, give the hidden input field a name. Then go to theContact Fieldtab, click thechoose onedropdown and select the Custom Field you created in steps 1 -4. Finally, to theBehaviortab, setAuto fill datatoYesand clickAddto include this input field in the form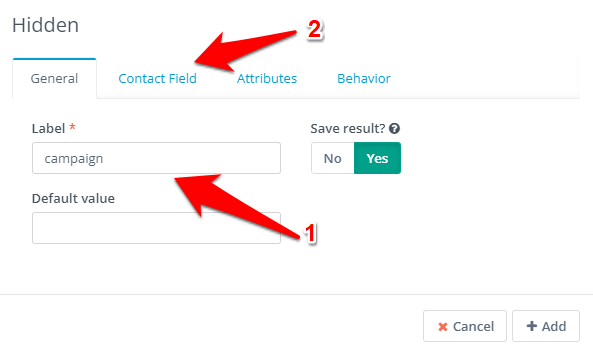
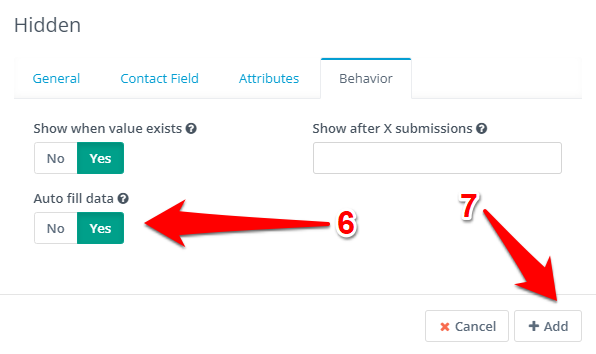
Click
Applyto save those changes and to continue editing the form orSave & Closeto save the changes and exit the form editor
You will be able to see the hidden field you just created listed among the existing form fields

Now, whenever the form’s URL contains this parameter (campaing_tracker - see step 3), the value assigned to it will be automatically filled in the hidden input field and saved in the contact’s info when the form is submitted.
https://mycompany.com/origination-form?campaing_tracker=my campaign

3. Assign contact to user
There are two ways to assign a contact to a user or partner. The first one is to assign an owner to it. The second is by creating a Custom Field with a list of partners and assigning the contacts to them.
3.1 Assign owner to contact (Contact owner)
Navigate to
Contactson the sidebar Select the contact you'd like to edit by clicking its name in theNamecolumn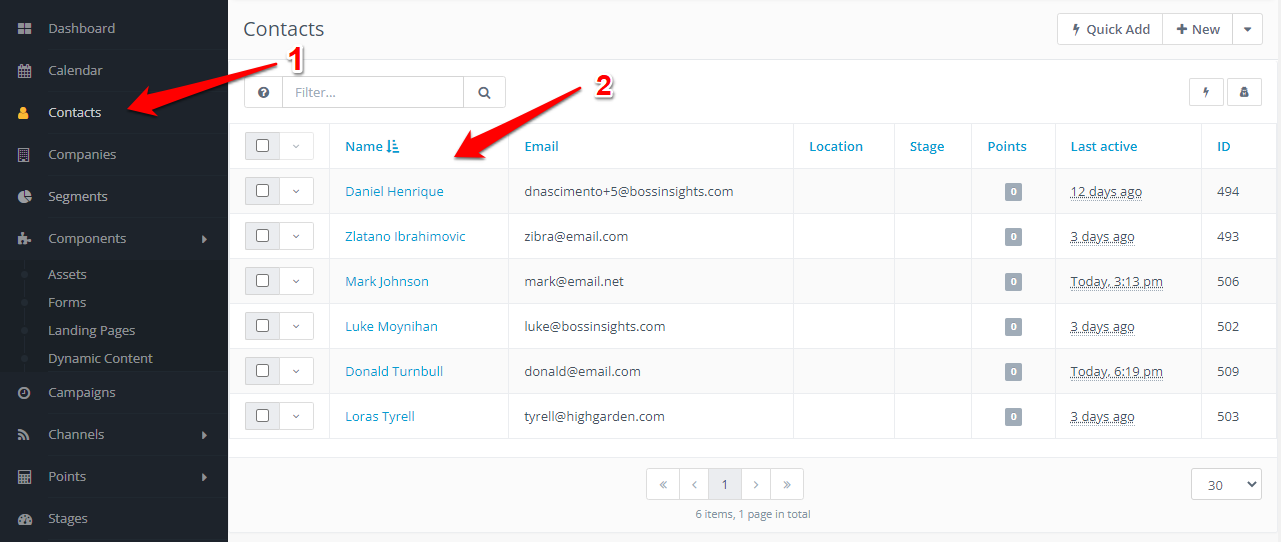
Click
Editon the top right corner to edit the contact's information
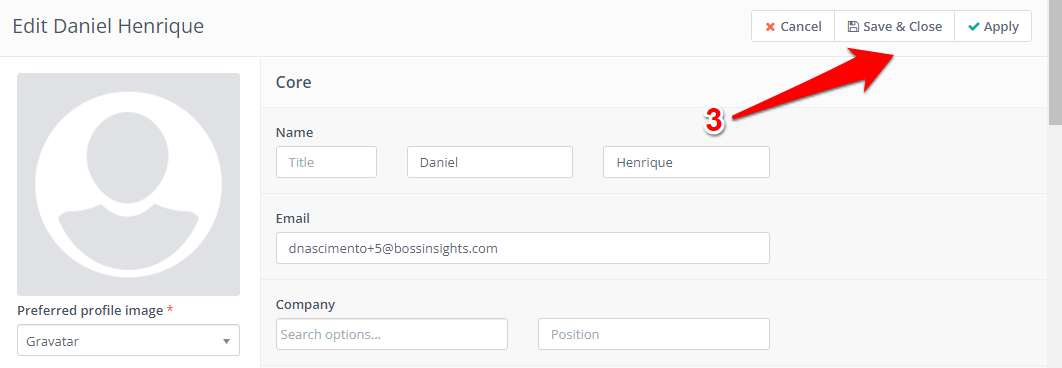
Scroll down, click the
Contact ownerdropdown, select the user you want to assign the contact , then scroll to the top of the page and clickSave & Closeto save your changes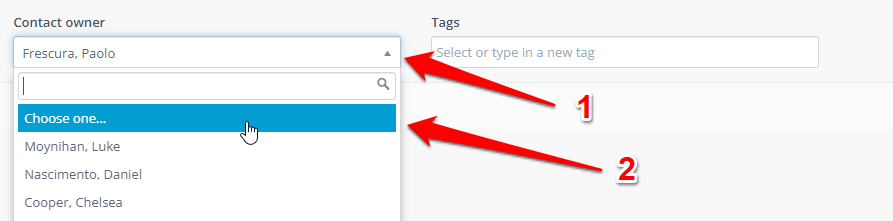
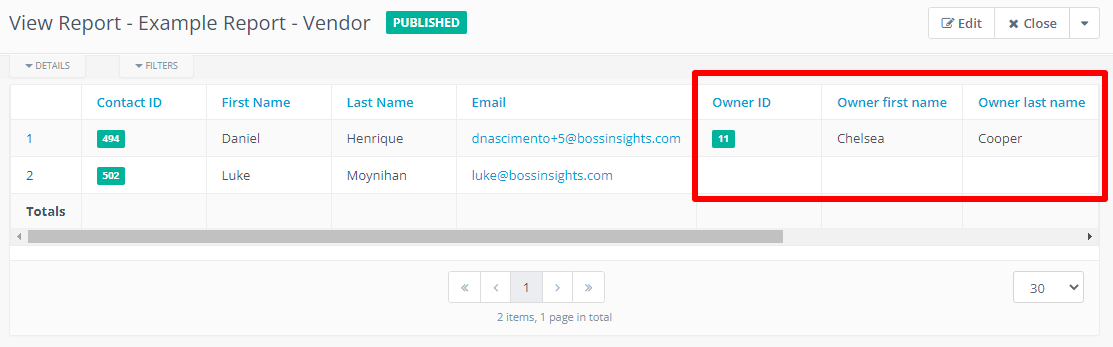
Now that the contact has an owner assigned to it, you can filter them in the reports by the Owner ID, Owner first name and Owner last name
3.2 Assign owner to contact (Custom field)
The first thing to do is create a custom field to store a list of people or partners you’d like to assign contacts to. Click the cogwheel icon on the top right corner to open the
Settingsmenu and selectCustom FieldsOn the top-right corner, click new to open the
New Custom FieldpageIn the
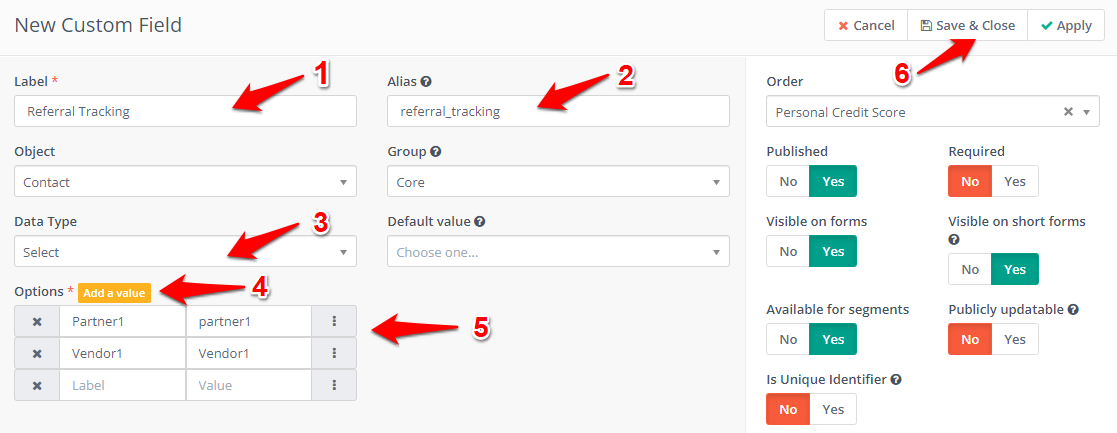
New Custom Fieldpage, give the new custom field a Label (1) and an Alias(2) or leave it blank to be autogenerated by the system. Next, chooseSelectin theData Typedropdown list (3). You will notice theOptionsfield will appear below it. Now you can add items to your list by clicking theAdd Valuebadge (4), which will display new input fields:LabelandValue(5). Fill in both fields for every value you added to your list. After you have finished adding all the values to the list, clickSave & Closeto create the Custom Field.
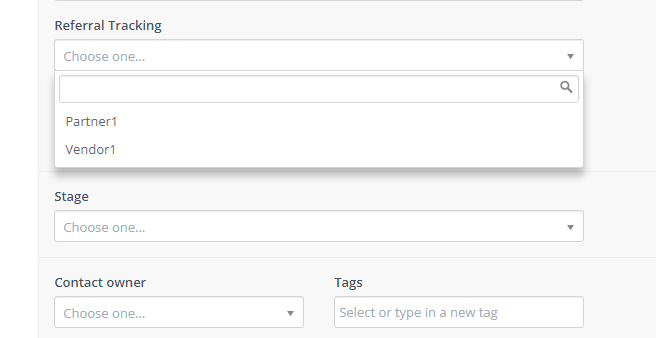
Now this list will be available in your contacts information. You can edit them, select one of the values available in your custom list and save it.
This field will also be available in your reports and you can use it to customize and filter the data displayed on the reports.
