Adding images
Step 1: Access your account folder, navigate to the public folder and create a new folder called images if it does not already exist.
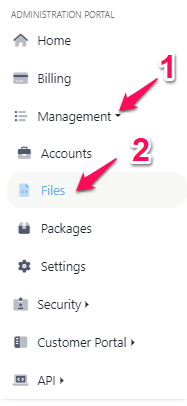
You can access your account folder via the admin portal by clicking Management > Files
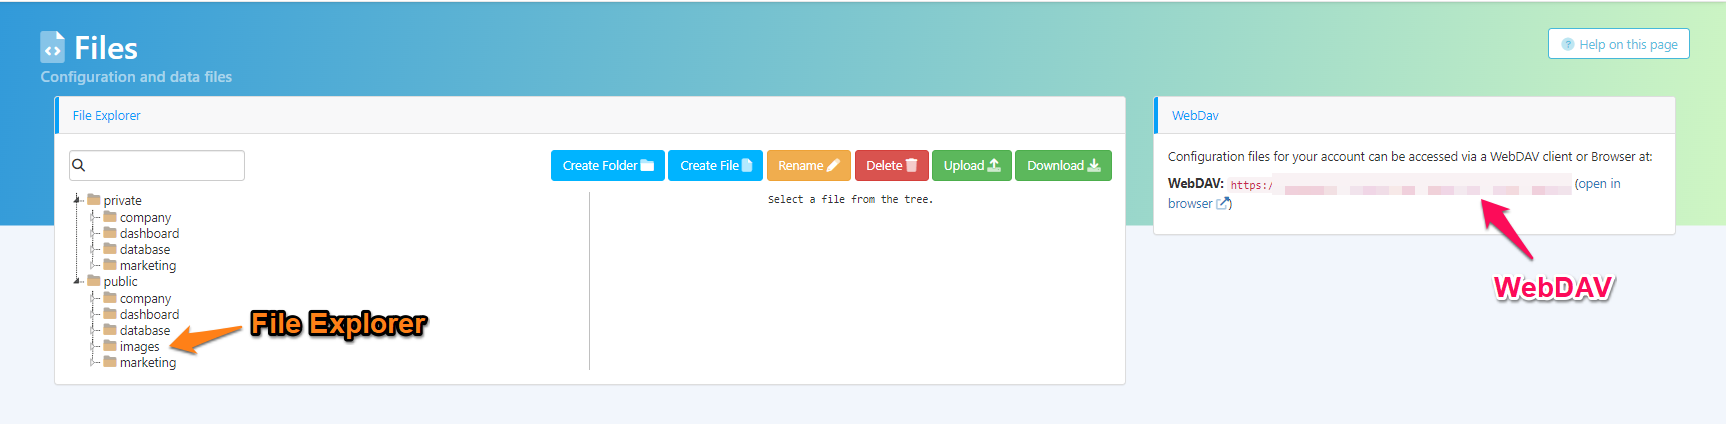
You may choose to create the folder through the file explorer (orange) or through WebDav (pink).
Step 2: Upload an image file to the newly created folder. The image should be optimized for web/email - which means their dimensions should be below 1920 pixels wide x 1080 pixels high ( and be in JPEG, PNG or GIF format). Keep in mind that some email clients might scale down images.
Please note that the folder and file names are case-sensitive.
We also recommend not using spaces or any non-alphanumeric characters (e.g. “&”, “$“, “#“, “*”) when naming any of them.
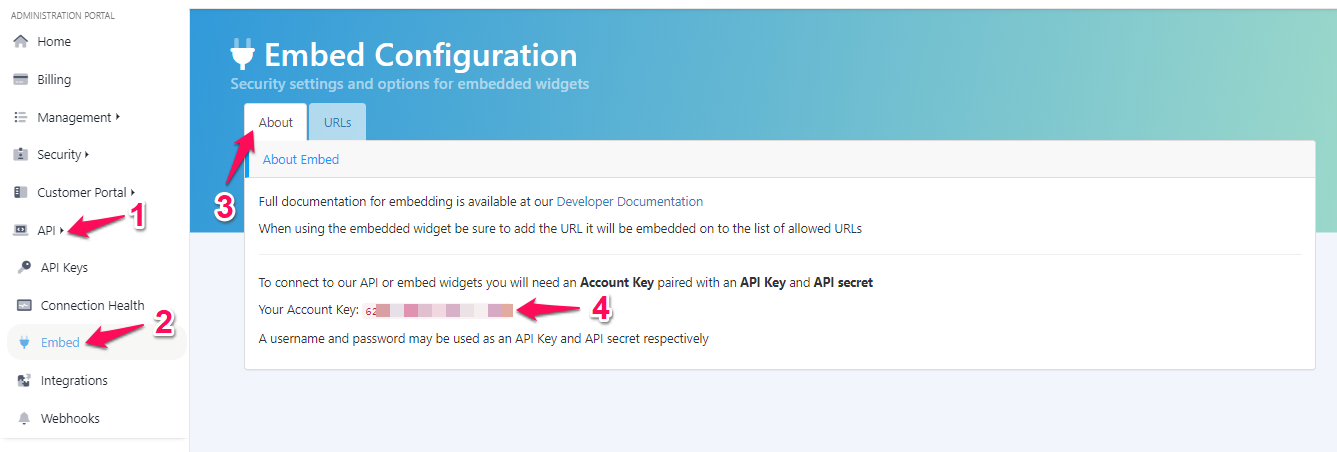
Step 3: Locate your account key (it's under API > Embed > About). You’ll need it for the image’s URL.
Step 4: Identify the URL to the uploaded image and l test it. The mentioned URL will have the following pattern: https://{your_account_url}/media/{account_key}/images/{uploaded_image_file}.
You should use your account’s URL where it reads {{your_account_url}}. It will usually the following pattern: your_company_name followed by one following subdomains (depending where the company is located:
🇺🇸 USA: .myintranetapps.com
🇨🇦 Canada: .myintranetapps.ca
🇬🇧 United Kingdom: .bossinsights.uk
For example, if the myImage.png image is uploaded to the public folder of an account whose URL is myaccount.myintranetapps.com and its account key is 123456789, one should be able to view it by the following URL: https://myaccount.myintranetapps.com/media/123456789/images/myImage.png.
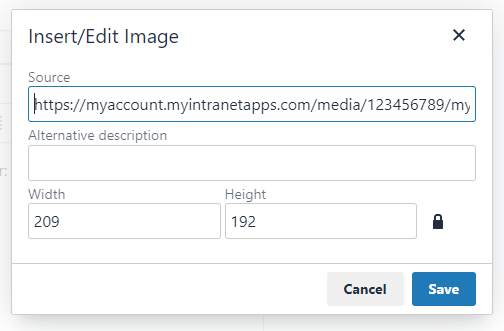
Step 5: Insert the image into the email template you want to use by clicking Insert > Image.

A pop-up will open. Insert the image URL in the Source field. The Alternative description field is optional - it is the text that will display if someone has images turned off in their email app. Width and Height will be filled automatically by the image’s original dimensions.
You can resize the image by clicking it and dragging the mouse pointer and changing the alignment the same way you’d do with the text elements of the template.
Step 6: Send yourself a test email and check if it looks as expected!