Accounts and Packages
Within this article, you will find information on accounts, such adding accounts or removing accounts. Further below, you will find information on packages that can be applied to said accounts, such as adding a package or removing it.
Accounts
Each business is managed as an ‘account’ on the platform and each account may have one or more users. By default, when a new business account is added, an "admin" user is created. The "admin" is the administrator of the account and has administrator privileges such as account creation, therefore being able to create more users
Adding an account
There are three ways an account can be added to the portal:
The Administration Portal
Through a portfolio invitation
Automated process through the API (requires software development expertise)
Adding an account through the administration portal does not add the account automatically to your portfolio for data sharing. To add customers to a portfolio, please see adding customers.
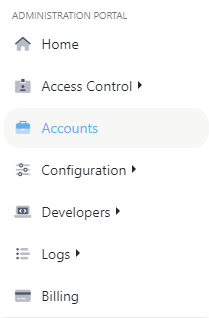
Click on ‘Accounts’ in the side navigation
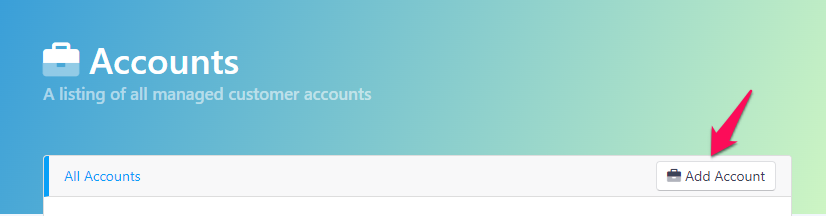
Click the ‘Add Account’ button in the top right corner of the list accounts page
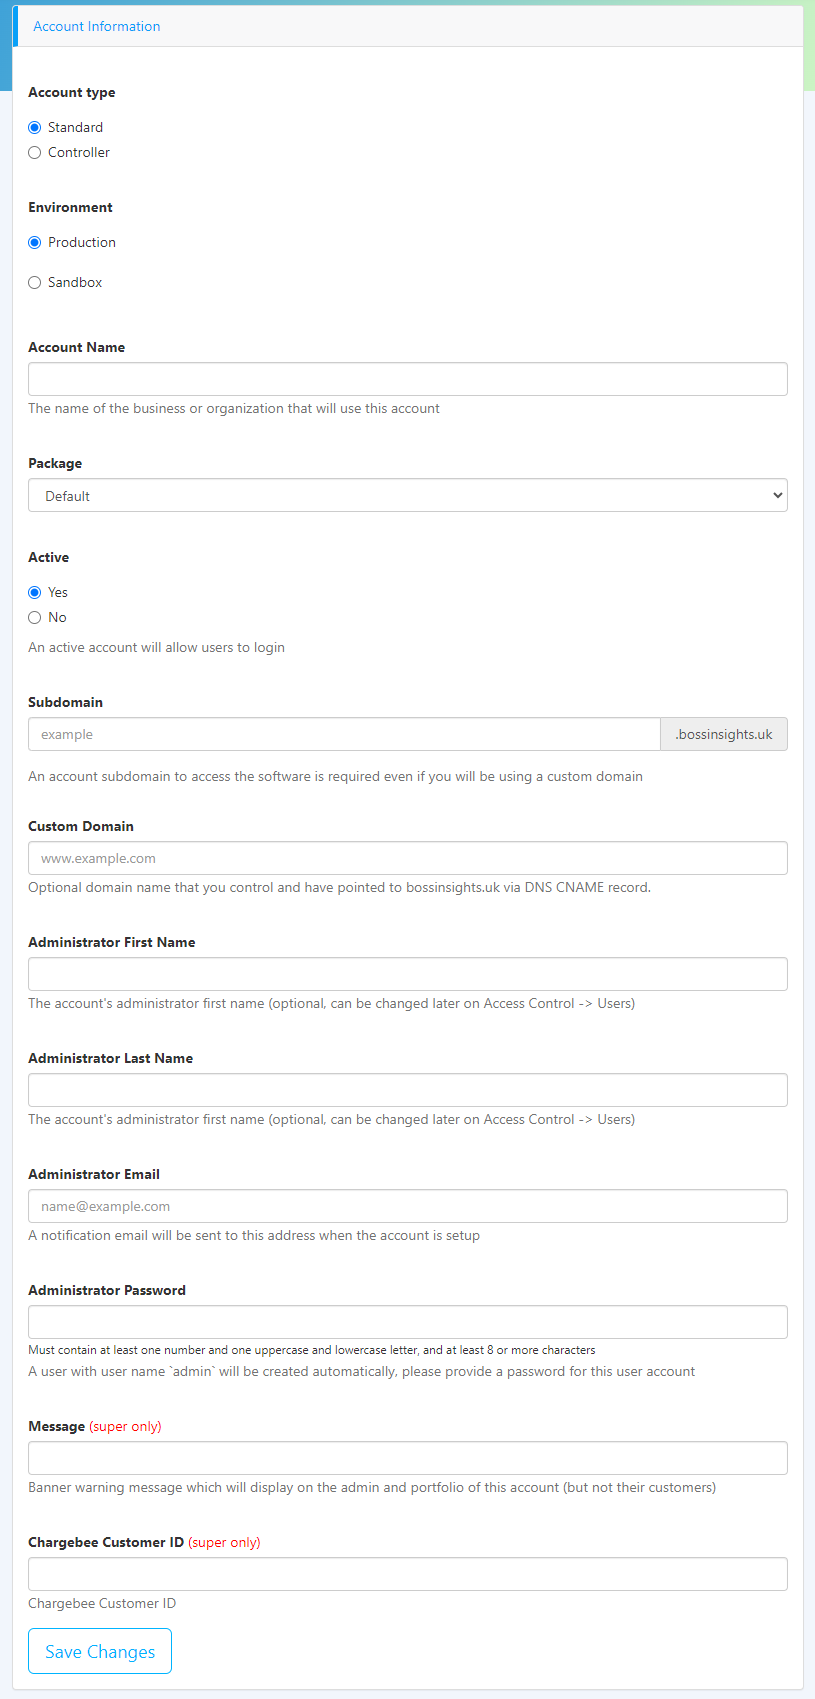
A form is presented to add a new account, the fields are:
Field | Description |
|---|---|
Account Type | Standard account should be selected by default, a Controller account has the ability to add and manage its own separate accounts. This should mostly be set to ‘Standard’ |
Account Name | Typically the name of the business that will be using the new account |
Package | The collection of settings and policies to be applied to this new account, see below for more details. |
Active | Whether the account should be active and ready for use or you may set this to ‘No’ if you want to create the account but defer allowing use of the account |
Subdomain | Every account is accessed via its subdomain, e.g. a subdomain of “mycompany” would log in to the platform at https://mycompany.myintranetapps.com |
Custom Domain | If this account is to be accessed over a domain different from the default domain, then it would be entered here. Usually, this can be left blank |
Administrator First Name | The account's administrator first name (optional, can be changed later on Access Control -> Users) |
Administrator Password | The account's administrator first name (optional, can be changed later on Access Control -> Users) |
Administrator Email | The email address of the user who will have full control over the newly created account |
Administrator Password | A password the administrator will need in order to sign in. |
Click the ‘Save’ button to create a new account. no invitation or welcome email is sent.
Removing an account
You need to be an administrator with access to the administration portal to do the instructions below. The administration portal is different from our loan origination, decisioning & servicing, and PPP loan portals
If you are not an administrator, please contact your administrator and include this link and the email of the borrower you want to remove.
To remove an account we simply update it to be inactive.
Click on ‘Accounts’ in the side navigation, and a table of all accounts is shown
Click on the account name you want to remove
Look for the ‘Active’ option and set it to ‘No’
Click ‘Save’
The account will now be inactive and any user associated with this account will be unable to login.

Packages
A package is a collection of settings that are applied to created accounts that govern their access to some applications and elements on their platform. For example, one package might contain settings to enable sharing information but turn off some other unrelated features.
Adding a package
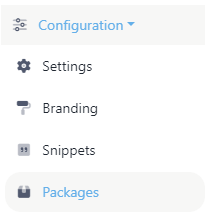
In the side navigation bar, click on ‘Configuration' and then on 'Packages’
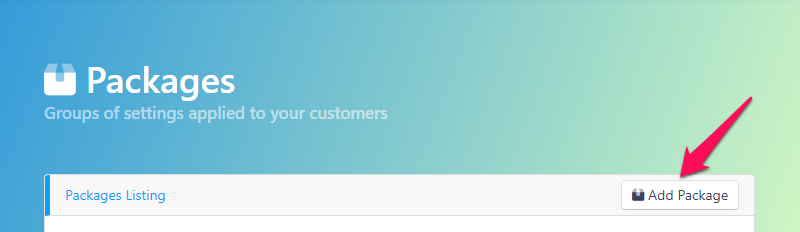
Click the ‘Add Package’ button on the right corner of the ‘Packages Listing’ container
Fill in the required fields displayed on the ‘Add a Package’ form:

Package Name: the name assigned to the package. It is required and must start with a letter and can contain numbers, dashes and underscores. It can be changed later.
Package Key: the unique id/key assigned to the package. It is required and must start with a letter and can contain numbers, dashes and underscores. It can not be changed later.
Select if this package should be set to ‘Active’ or not. A package can only be assigned to an account if it is active.
Under ‘Hide UI’, check the boxes to hide the selected elements in the users' interface or uncheck them to have them displayed.
Click ‘Save Changes’. You will be redirected to the ‘Packages' page and should see a message indicating the package has been successfully created.
Removing a package
Packages cannot be reassigned to difference accounts.
Once created, packages can not be deleted, they can only be set to ‘Inactive’. If you change a package's status from 'Active' to 'Inactive', any accounts that are already assigned to it will not be affected. However, the package will no longer be available for assignment to new accounts. To change the status of a package:
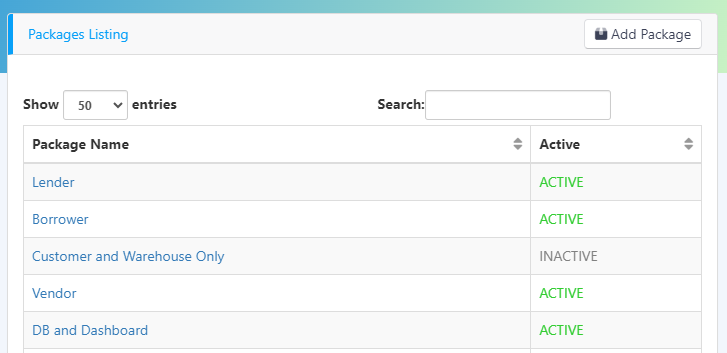
Visit the ‘Packages’ page (step 1 of Adding a Package)
On the Packages Listing table, click on the name of the package you want to inactivate
On the ‘Edit Package’ page, select ‘No’ for the ‘Active’ radio input

Click ‘Save Changes’. You will be redirected to the ‘Packages' page and should see a message indicating the package has been successfully updated.