How to use eSign
We’ve outlined a walkthrough below to show you how our eSign feature works.
This article assumes that you have the eSign feature enabled in your organization. Please contact us at bossinsights.com/support if you want the feature enabled for your organization.
The instructions below are meant for financial institutions. If you are a business customer, please contact your financial institution using their support channels.
Contents
Benefits of eSign
Signatures are important in business processes such as loan origination, data gathering, and contracts. It is one of the primary ways of verifying that a person or a party agrees to what is written on a document.
With eSignatures, you do not need to do any of the following anymore:
No longer need to print the document, sign every page by hand, scan the document, convert the images and save as PDF, and send it via e-mail (and the process repeats for every signatory).
Do not have to wait for each signatory to complete the above process so you can sign.
No need to verify the signature for fraud or verify if the signatory is the actual person who signed the document.
With the eSign feature, you can securely and instantly sign your documents within minutes.
How to start the eSign process
For lenders that need to use the e-sign feature, please follow the instructions below:
Go to and login to your organization's Boss Insights Portal.
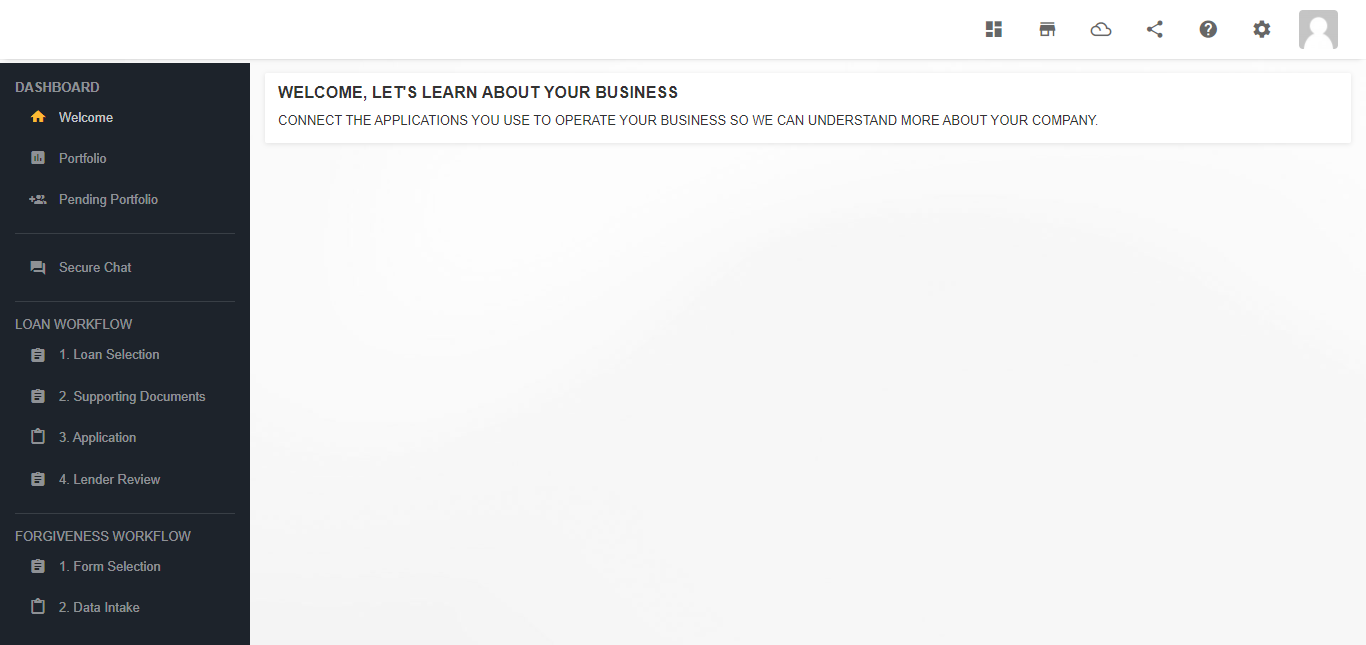
Open an existing loan application that the SBA has approved. Under Loan workflow, go to Lender Review.
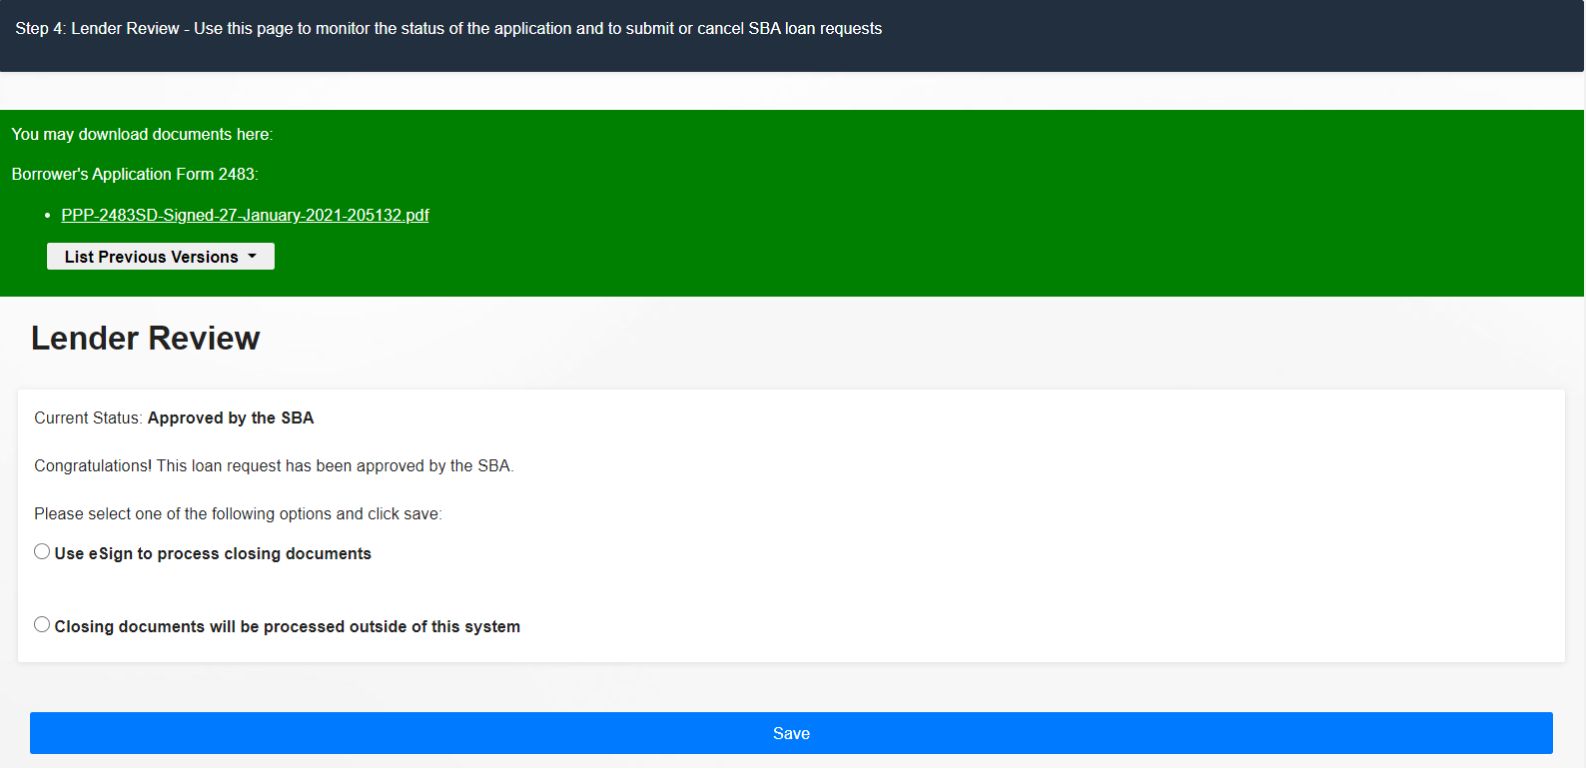
On the Lender Review page, select “Use eSign to process closing documents”. A textbox and your pre-defined form will appear below it.
If you see “eSign not enabled”, this means that your organisation is not setup to use eSign. Please contact us at bossinsights.com/support and we will enable the feature using your forms.
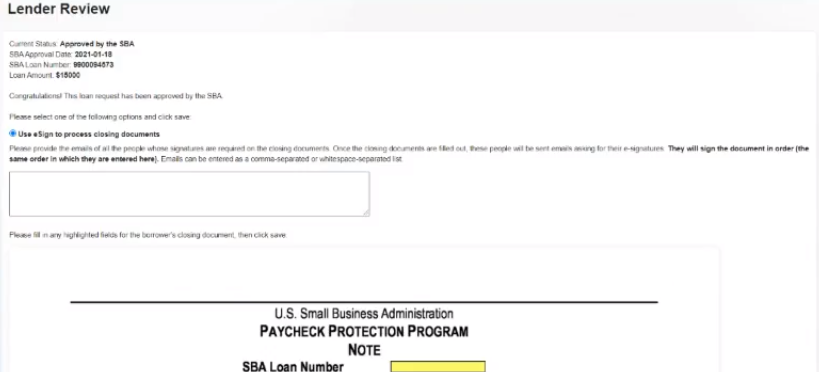
4. Please type in the email addresses of the signatories in the textbox. Note that if your business process requires that the document should be signed in a specific order, you must put the first signatory’s e-mail first, the second signatory’s email as second, and so on.

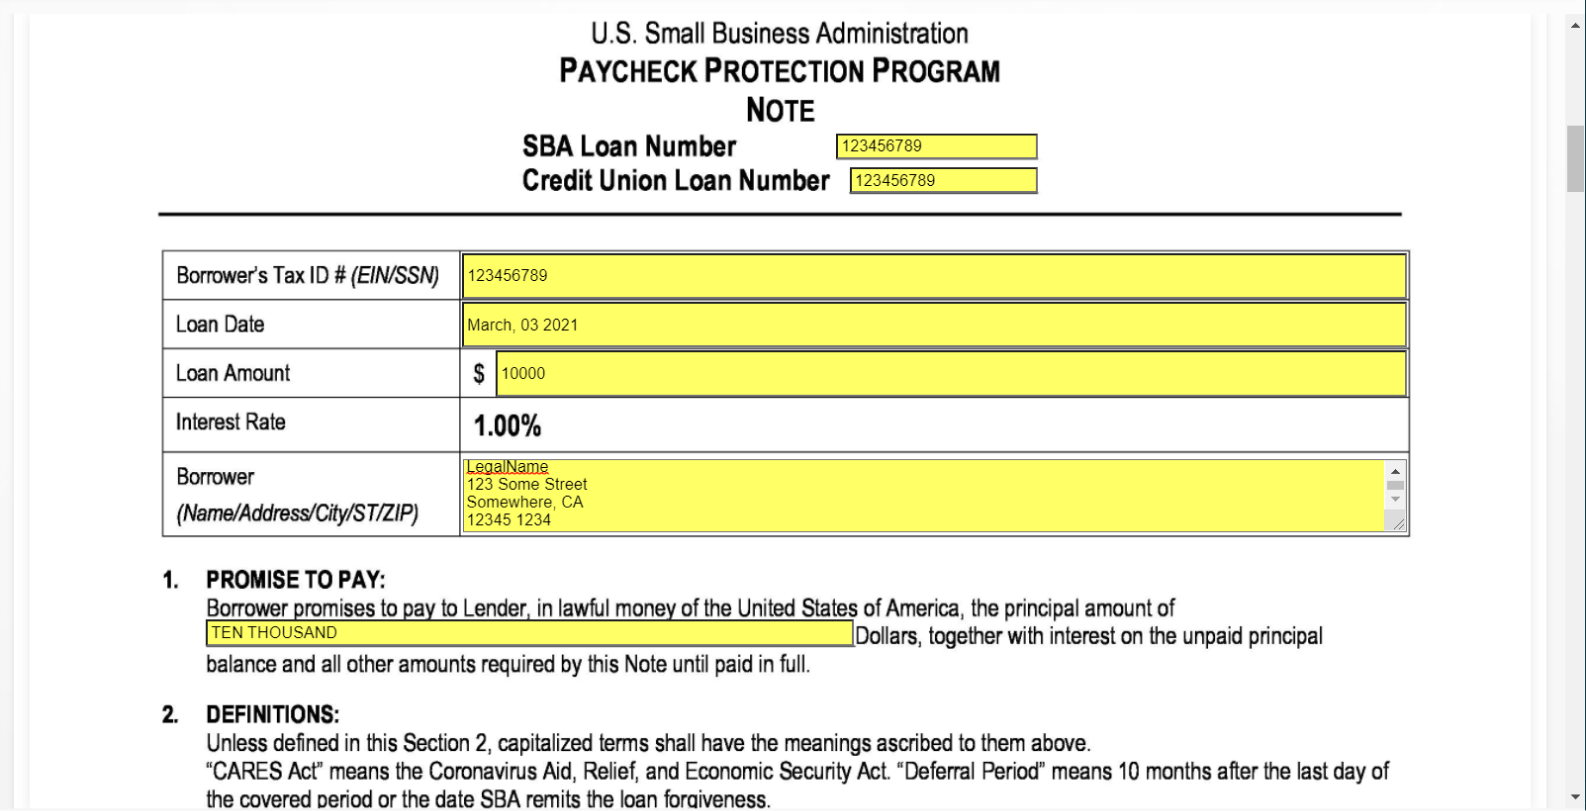
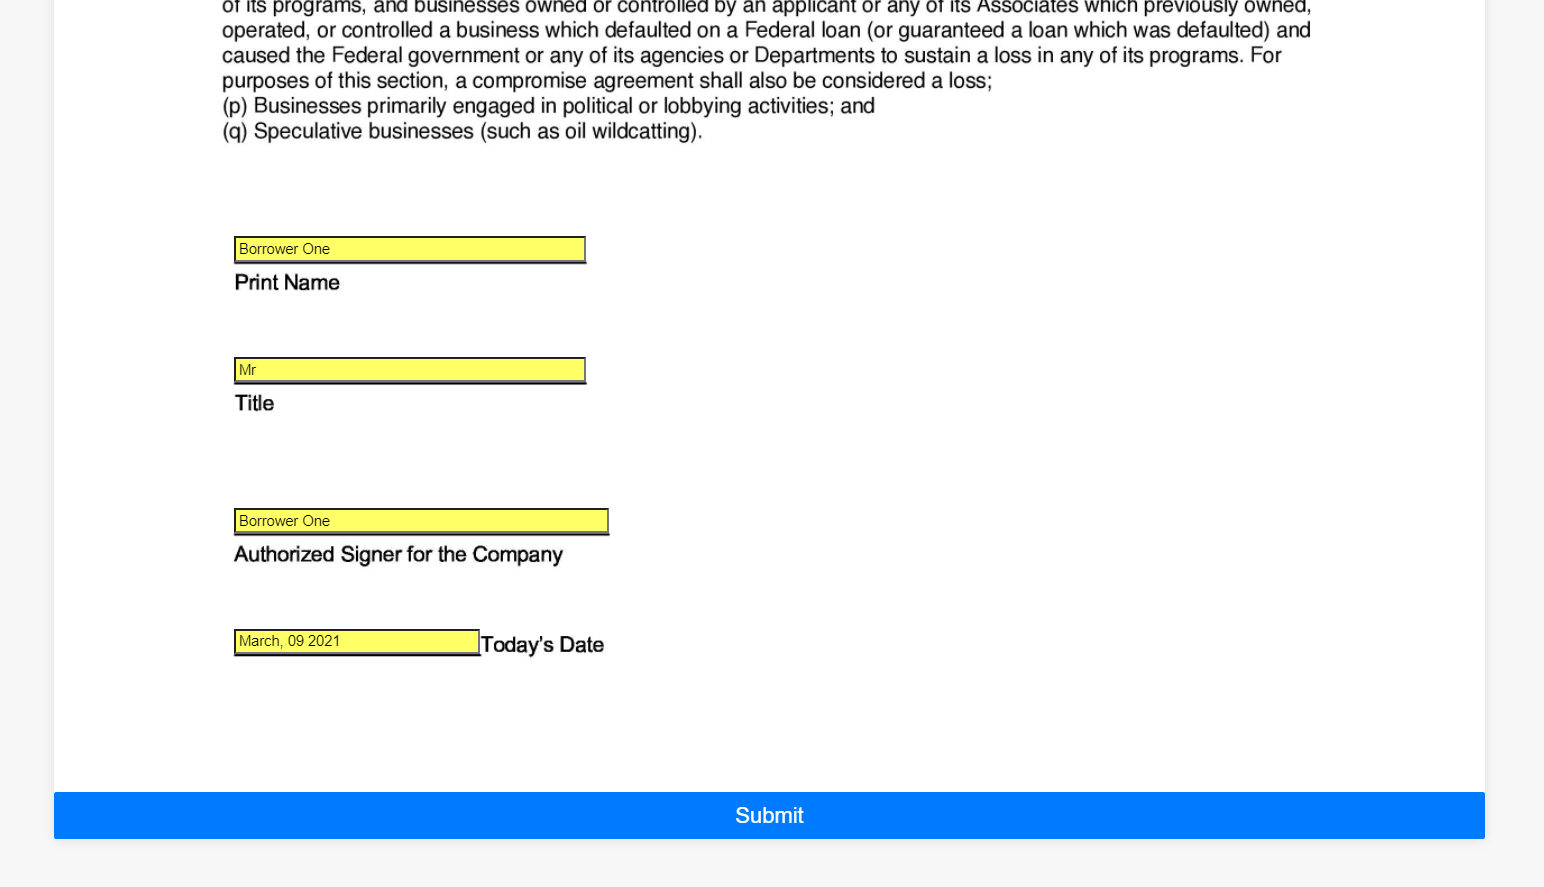
5. In the form, you will see yellow boxes. Please make sure to fill out all the yellow boxes to ensure that no information is missing from the form.
The form in the screenshot is just an example. Your pre-defined form may look different.
6. Once you are finished filling out the form, scroll to the bottom of the page, and click “Save”.

7. After you click “Save”, the borrower will be sent an email notifying that their closing documents are ready.
The email to the borrower will look like this.

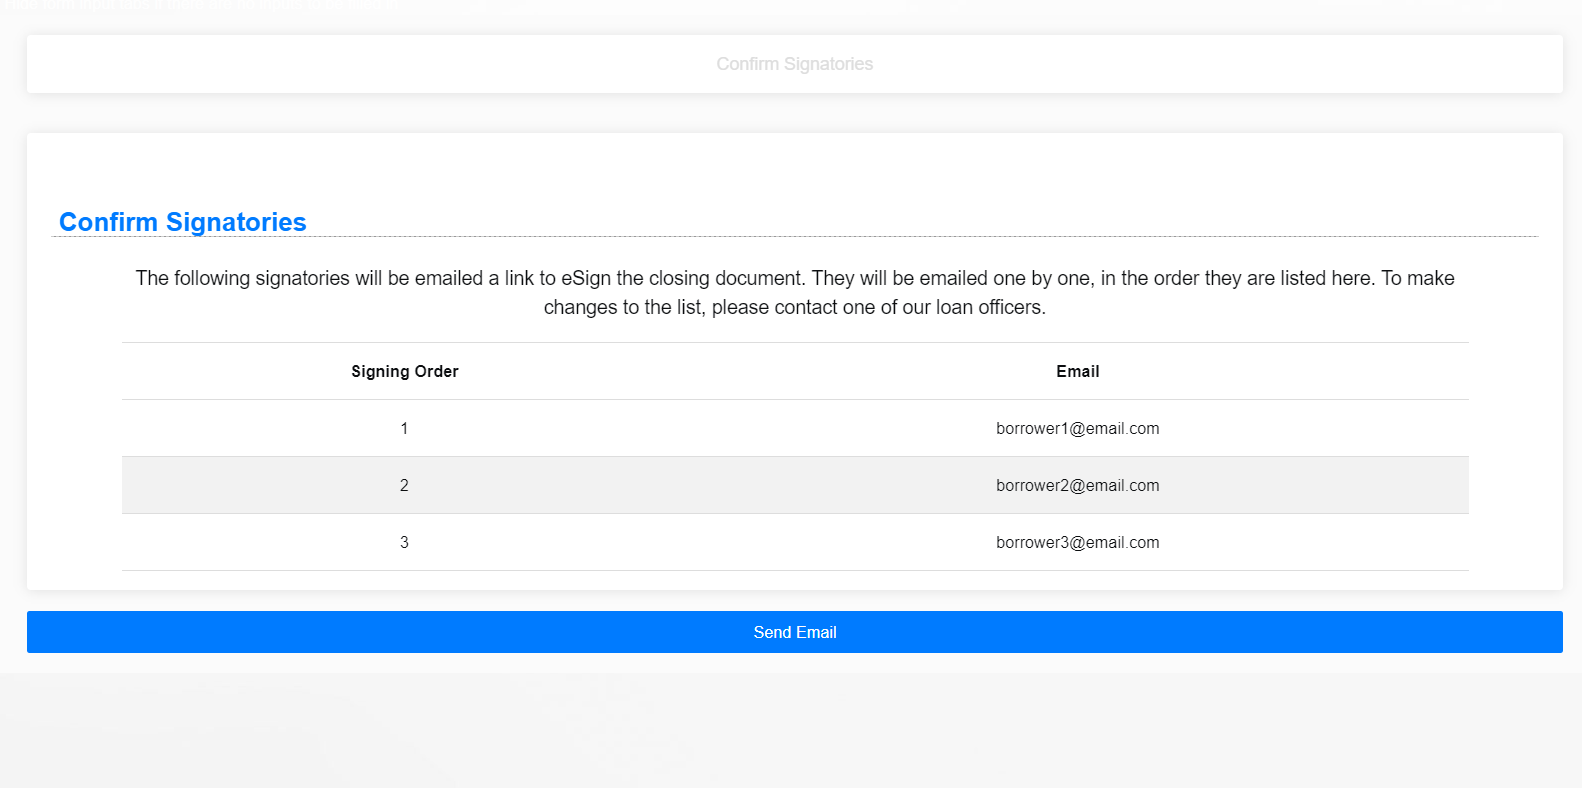
8. After logging in to the portal, the borrower will confirm that the emails for the signatories are correct. Once the borrower clicks “Send Email”, the portal will send the email to the first signatory.
How does it look like for each signatory?
Each signatory will receive an email with a link to review and sign the document.
Once the borrower has verified the closing documents and the email has been sent to the first signatory, the Lender Review page will look like this:
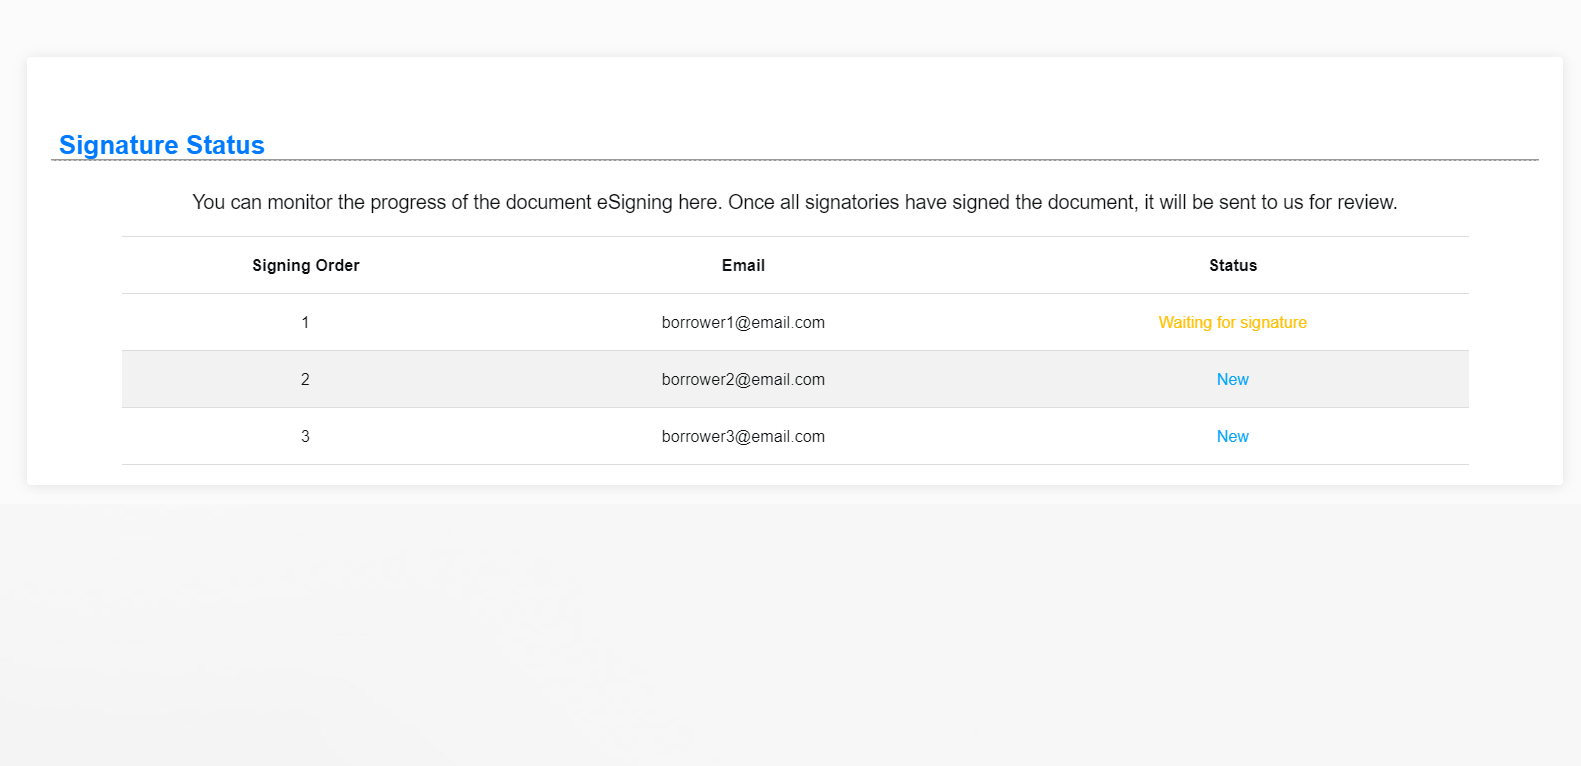
The borrower will also be able to check the signature status using their portal. The information will be the same for both of you.
2. Each signatory will receive their own personal link. Upon clicking the link, they will see the document and sign it. They will have to agree to use the platform and Accept.
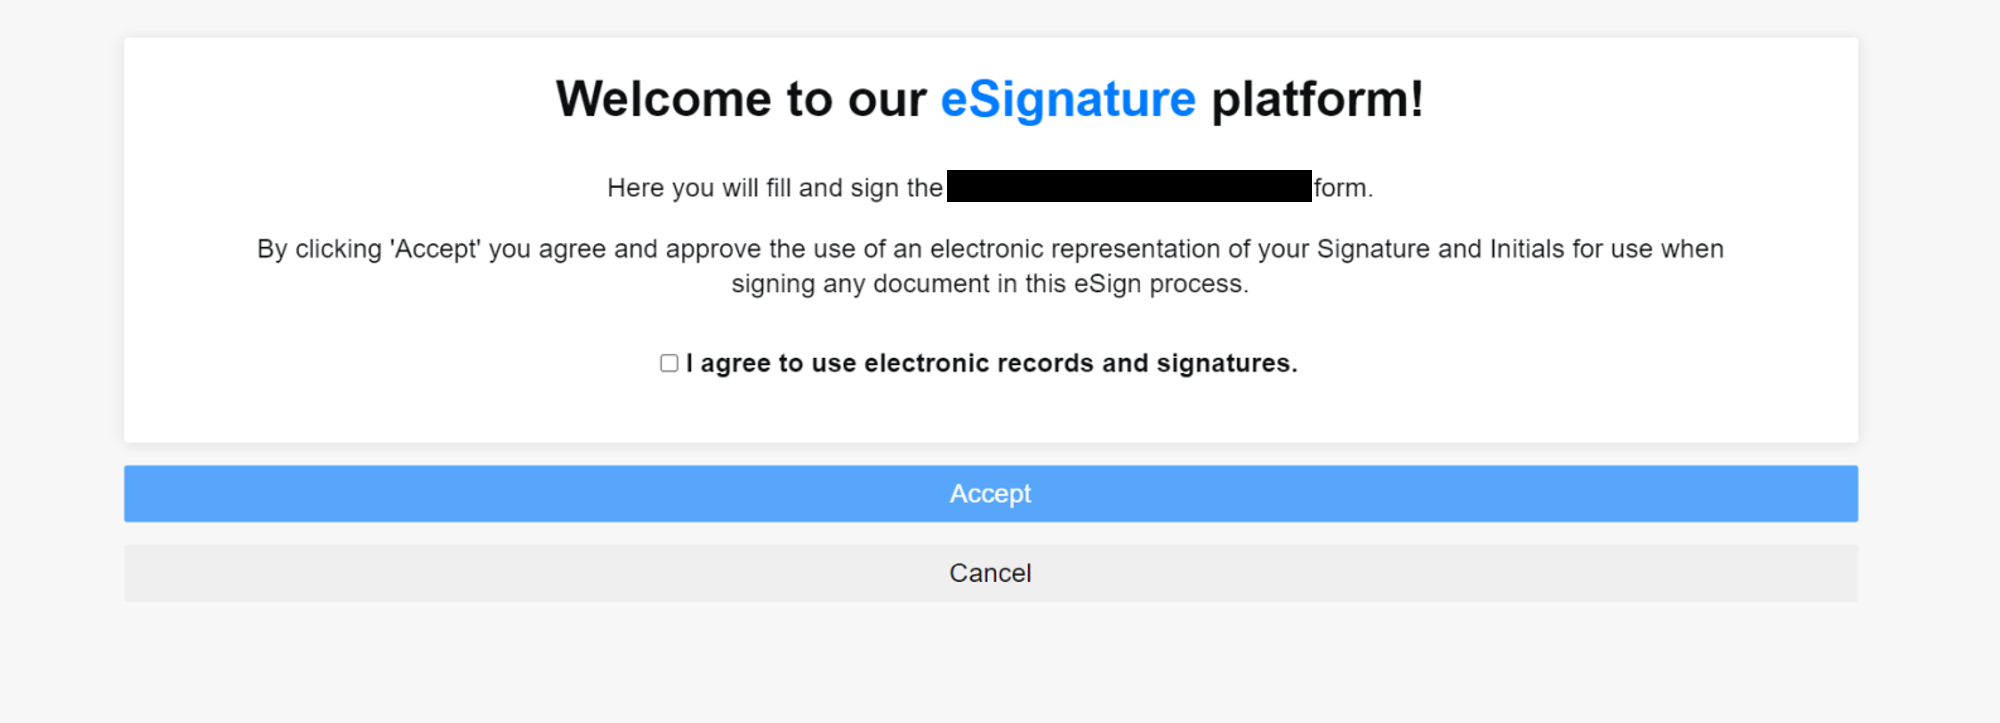
If a signatory intentionally clicks Cancel, they will be shown a short message asking them to contact the lender for other options.
If a signatory unintentionally clicks Cancel, they can refresh their browser and they will be asked to accept the consent again.
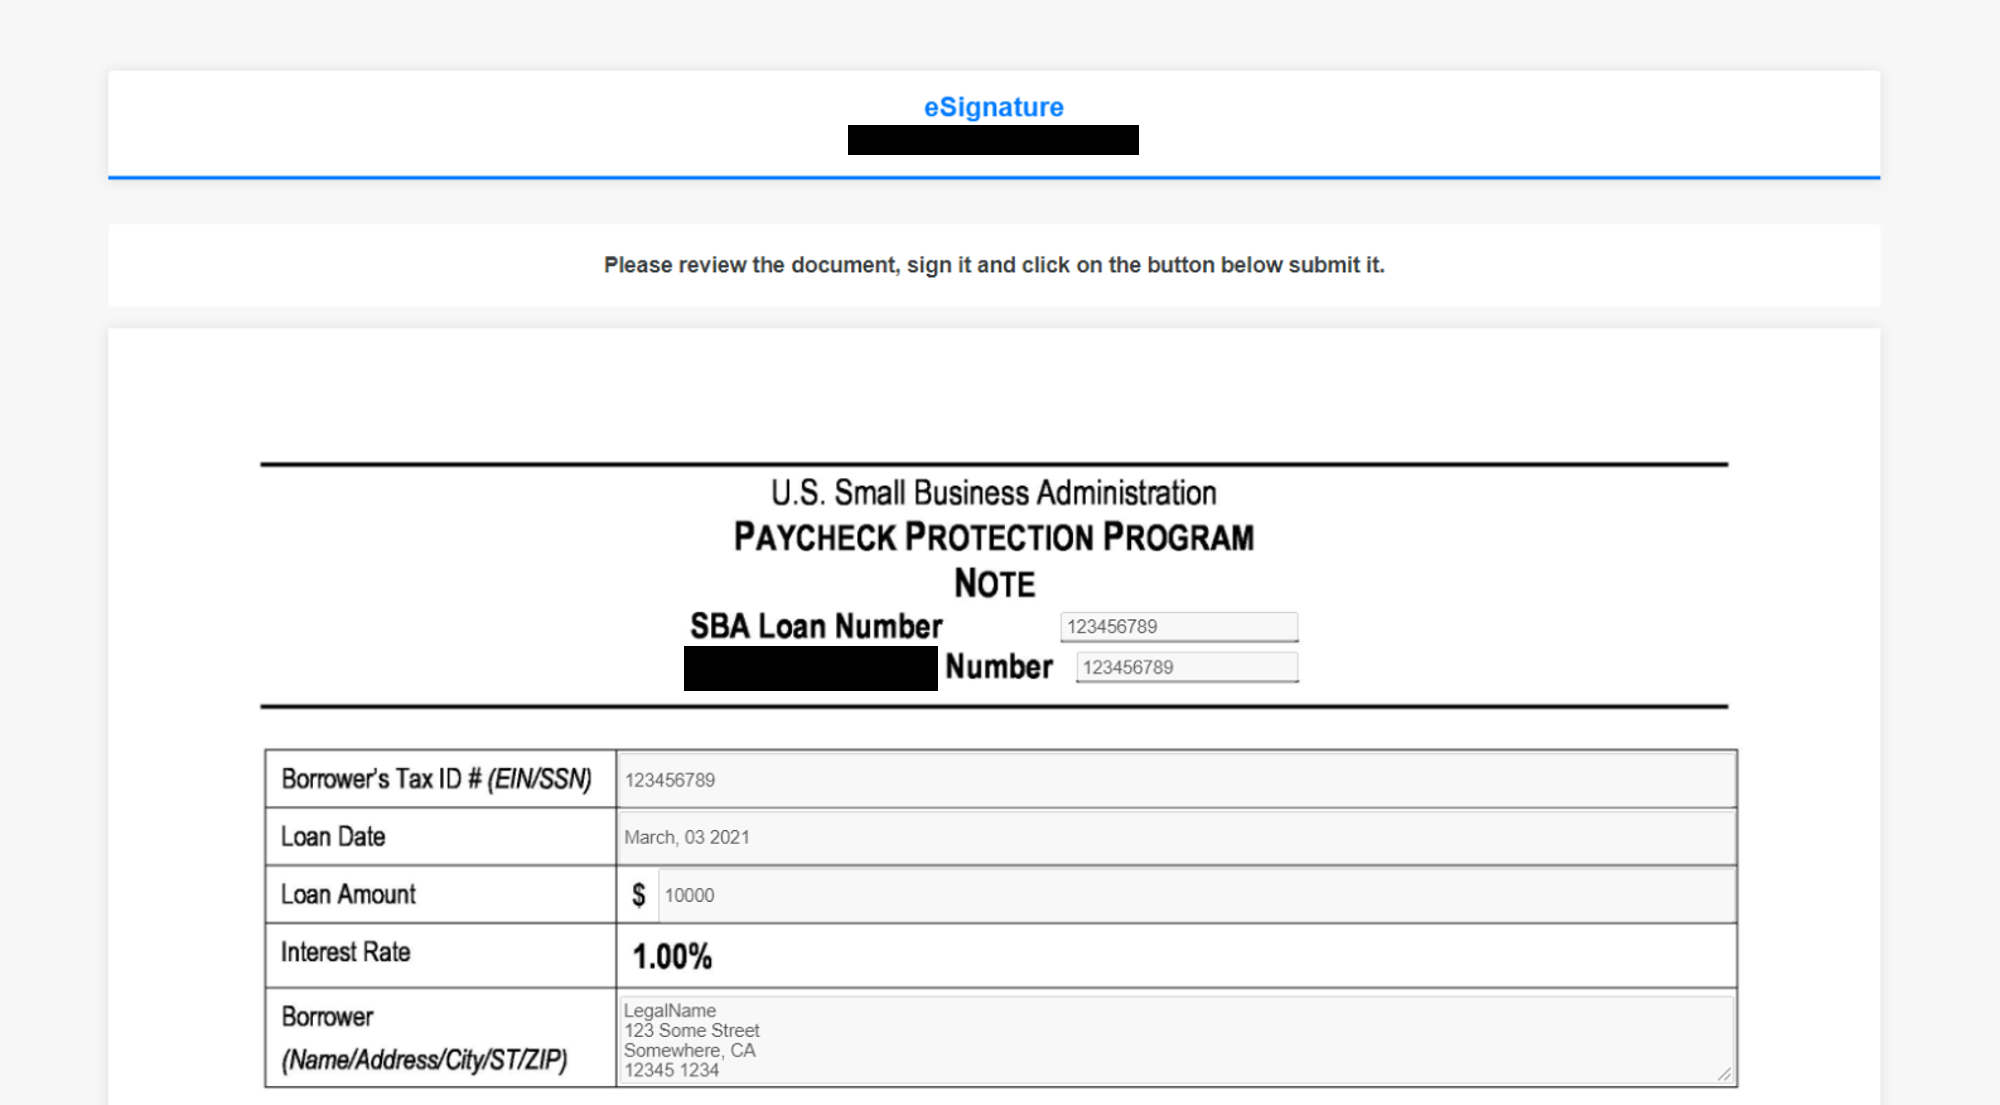
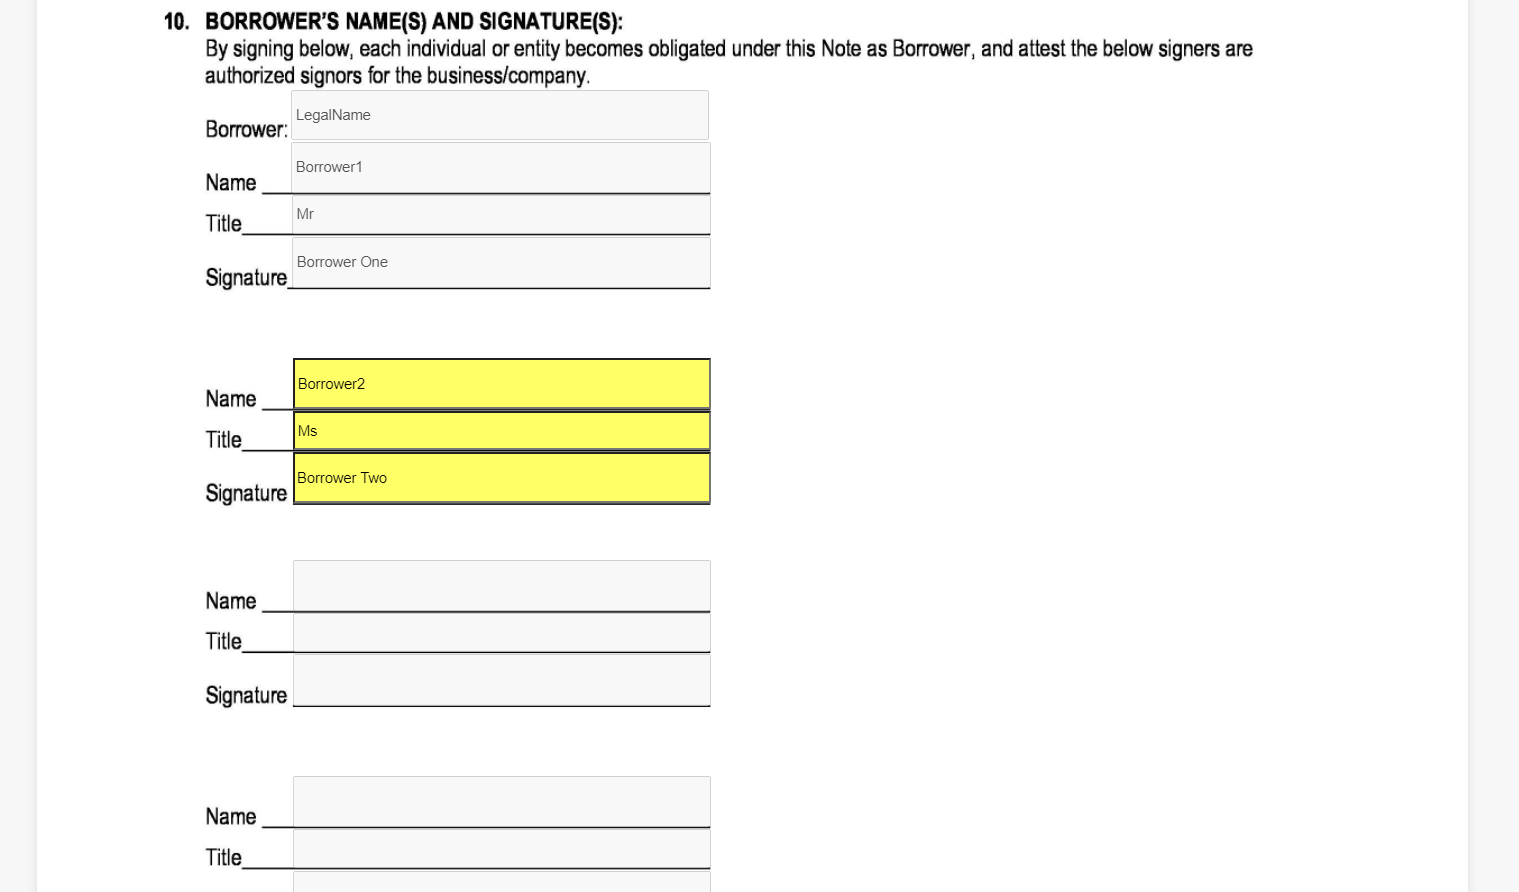
3. Each signatory will be shown the form. Depending on your business process, they may or may not be able to edit the contents of the form. In this example, all boxes are grayed out since the signatory is not allowed to edit any details.
4. At the bottom of the screen, the signatory can fill out the signature panel either on the form, digitally, or both. Here are some examples:
5. The process will repeat for every signatory. You and the borrower will be able to see the progress of the signatures on the Lender Review section of the borrower’s portfolio.
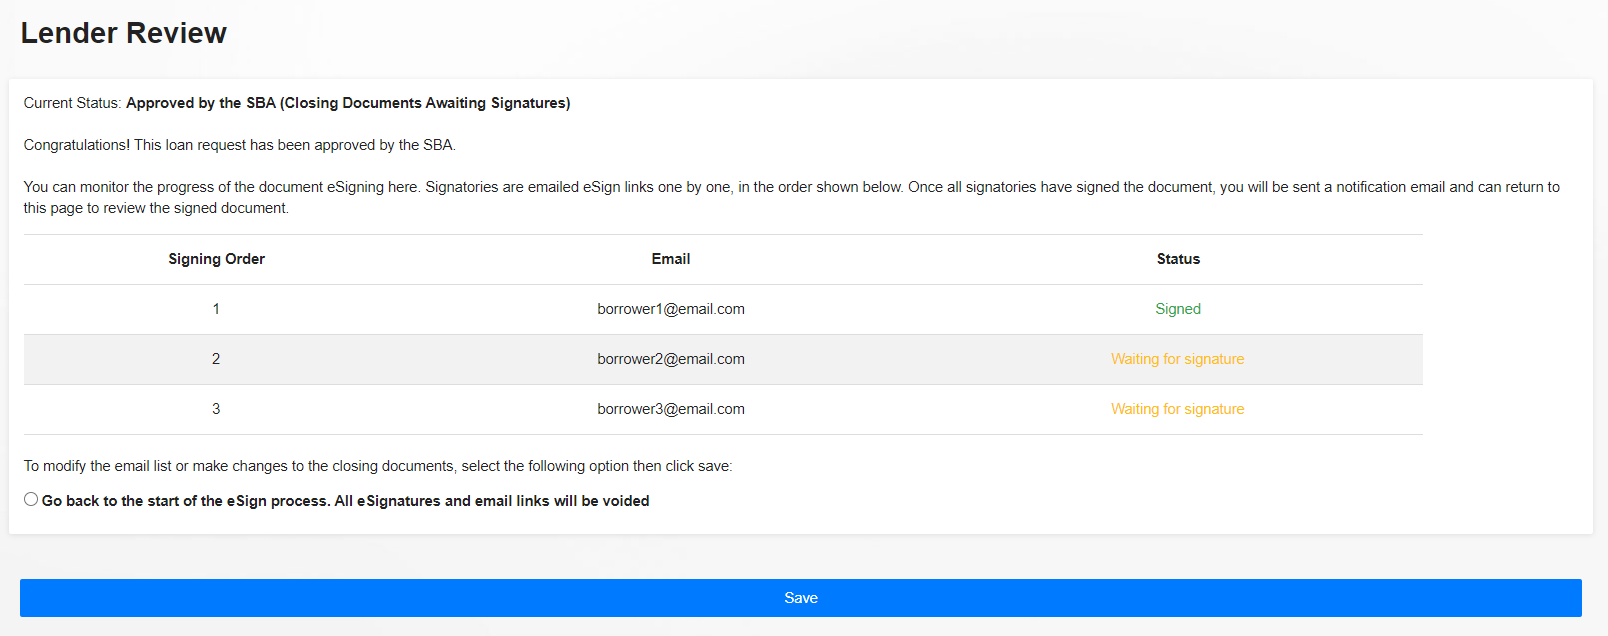
Only the lender has the option to “Go back to the start of the eSign process”. The borrower will only see the status but will not have to option to restart the process.
What happens after all signatories have signed?
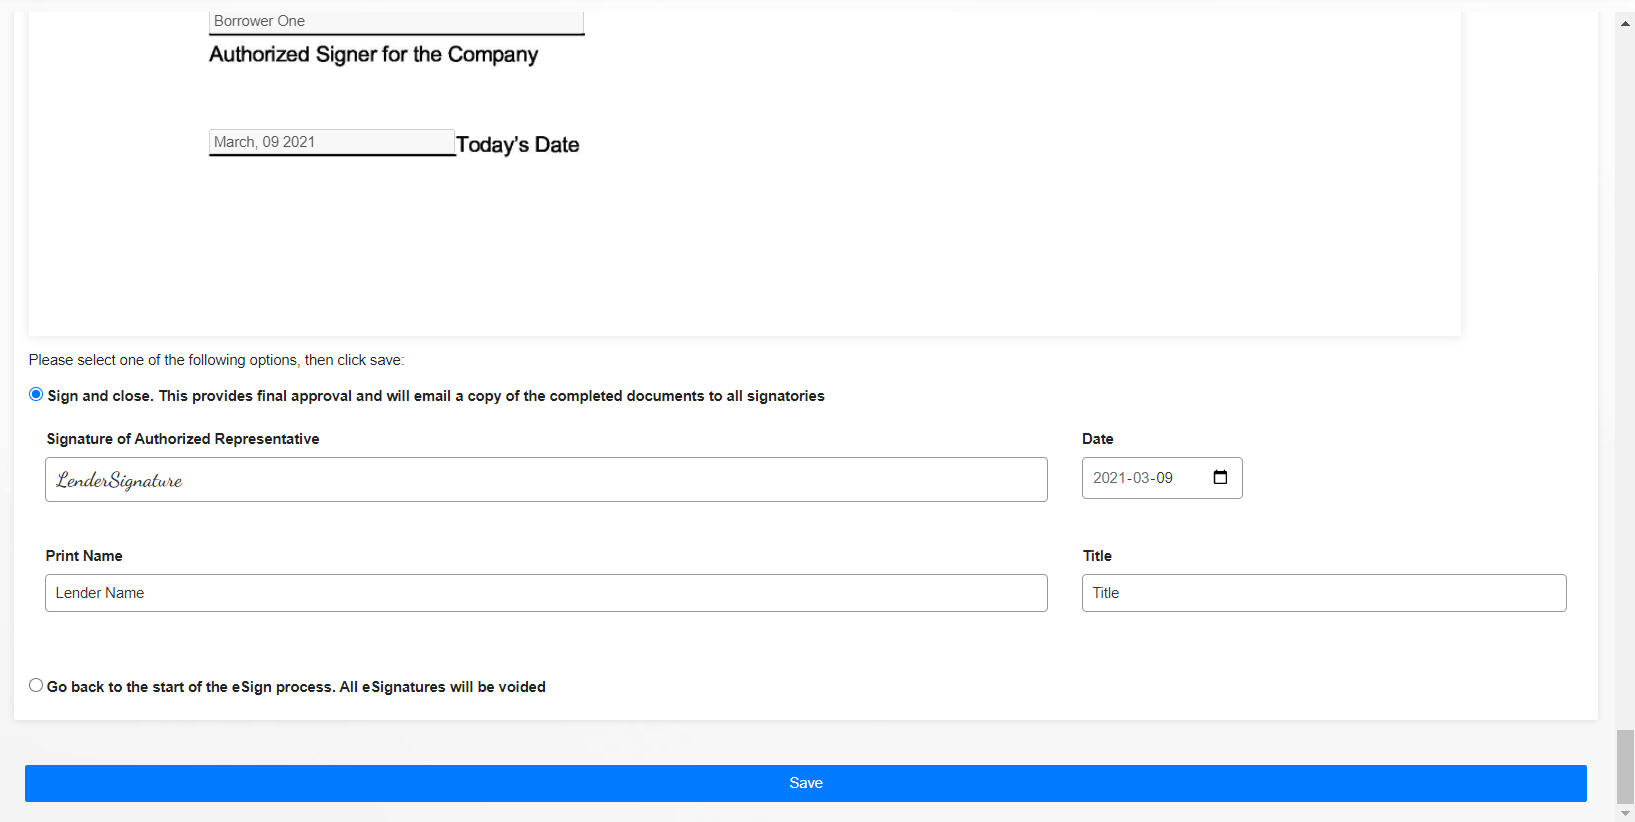
When all external signatories have signed. It’s time for you (the lender) to sign and finish the application. Please fill out the Signature, date, Print Name, and your title (Mr., Ms., Dr., etc) and click on “Save”.
2. All signatories, the borrower, and you will receive a copy of the signed document via email. You and the borrower can also download the signed document using the portal.
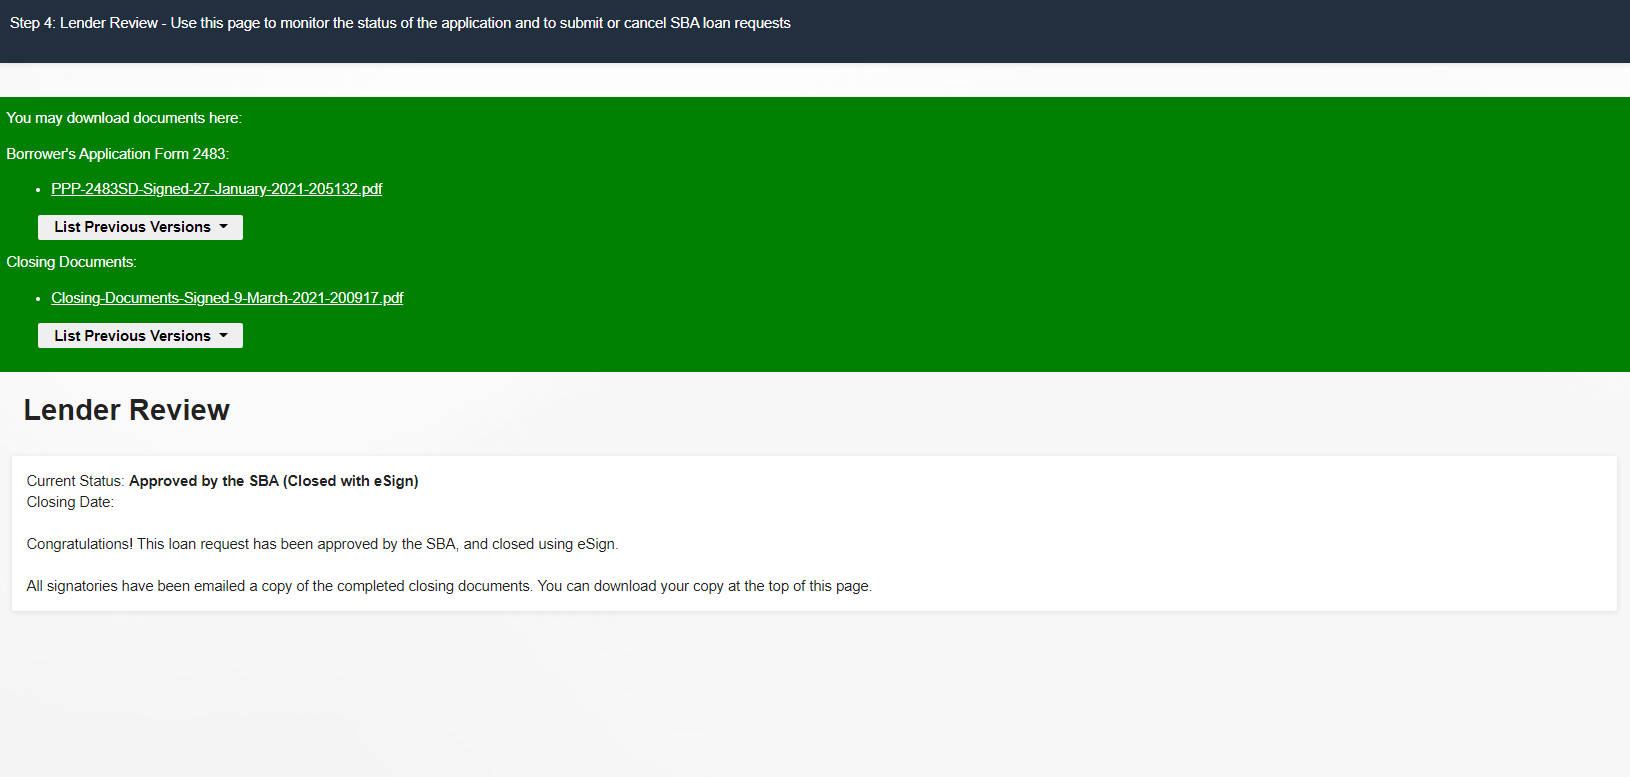
You have now finished and closed the loan application process using our eSign platform.