Connect to Zoho CRM
Our connector is listed on the Zoho Marketplace
Once this integration is successfully established, it creates a bidirectional connection between Zoho CRM and Boss Insights. Any updates made in one platform will automatically reflect in the other, streamlining the process of managing both platforms and saving valuable time for our shared customers.
This connection facilitates daily data synchronization, including essential account details like first names, business names, email addresses and more. An additional feature of this connection includes automatic invitation sending. Boss Insights will extend automatic invitations to customers after a successful connection, encouraging them to share data for accounts in their chosen deal stage on the Boss Insights platform.
An appropriately configured Boss Insights account must be created in order to use this integration. If you have not yet created an account, please do so and Boss Insights will configure an account for you. You may create an account here.
Video Demonstration
We have prepared a video demonstration on connecting to Hubspot. This video complements this tutorial.
Prerequisites/Requirements
In order to integrate with Boss Insights, there are some prerequisites to be completed.
Boss Insights account. Please create a Boss Insights account if you have not already done so.
Forms configured. Your account will have a configuration file (data.json5) already set up by Boss Insights. This file will have forms preset for you as an out of the box solution. If you would like to edit these forms, please scroll down to the Editing Forms section.
Zoho CRM account. Please ensure you have a Zoho CRM account.
Connecting To The Integration
Please ensure that the prerequisites are completed before continuing with this guide. Your domain will be provided upon account creation.
Step 1: Log into your account
You will need to log in to your Boss Insights account to get started. Please enter your username/email address and then your password to log in to your account (Figure 1).
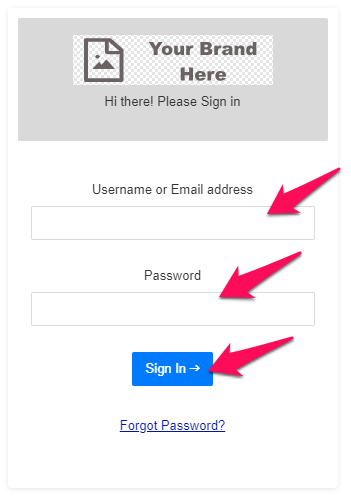
Figure 1. Log in screen
Step 2: Access the Integrations Page
In the top navigation, please click the “Settings” button and then “Integrations” from the dropdown menu (Figure 2).

Figure 2. Using the top navigation to visit Integrations page
Step 3: Begin the Connection Process
On the integrations page, you will see instructions for connecting to an application in a blue box, below that there is a search bar where you may type in “Zoho CRM” to find the respective tile.
You may click the “Zoho CRM” tile to begin the connection process (Figure 3).
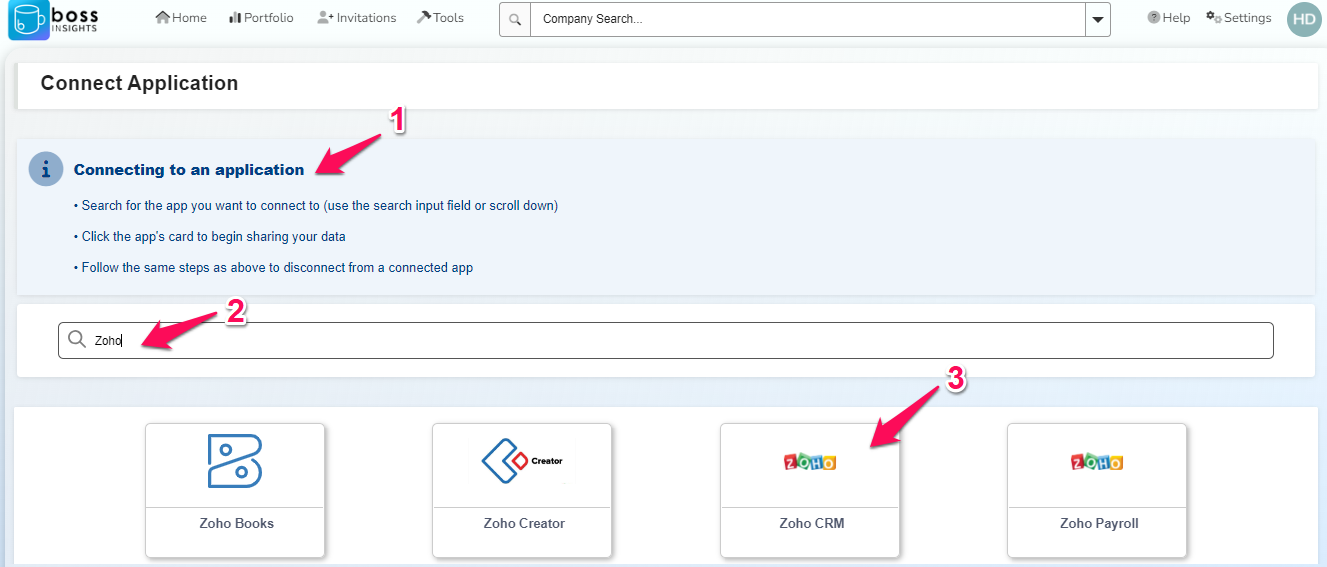
Figure 3. The Integrations page and finding Zoho CRM
Step 4: Authenticate and Authorize Zoho CRM
You will be prompted to log in. Please log in with your Zoho CRM account (Figure 4.1). You will then be redirected to an authorization page in the same window.
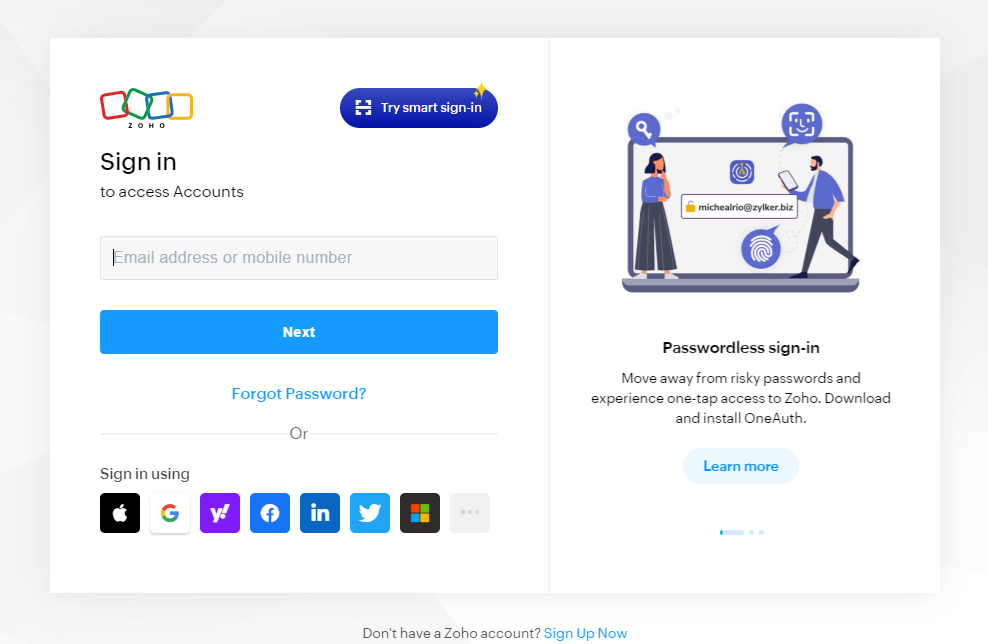
Figure 4. 1. Zoho CRM login screen
After reading the permissions, please click the green “Accept” button to proceed (Figure 4.2).
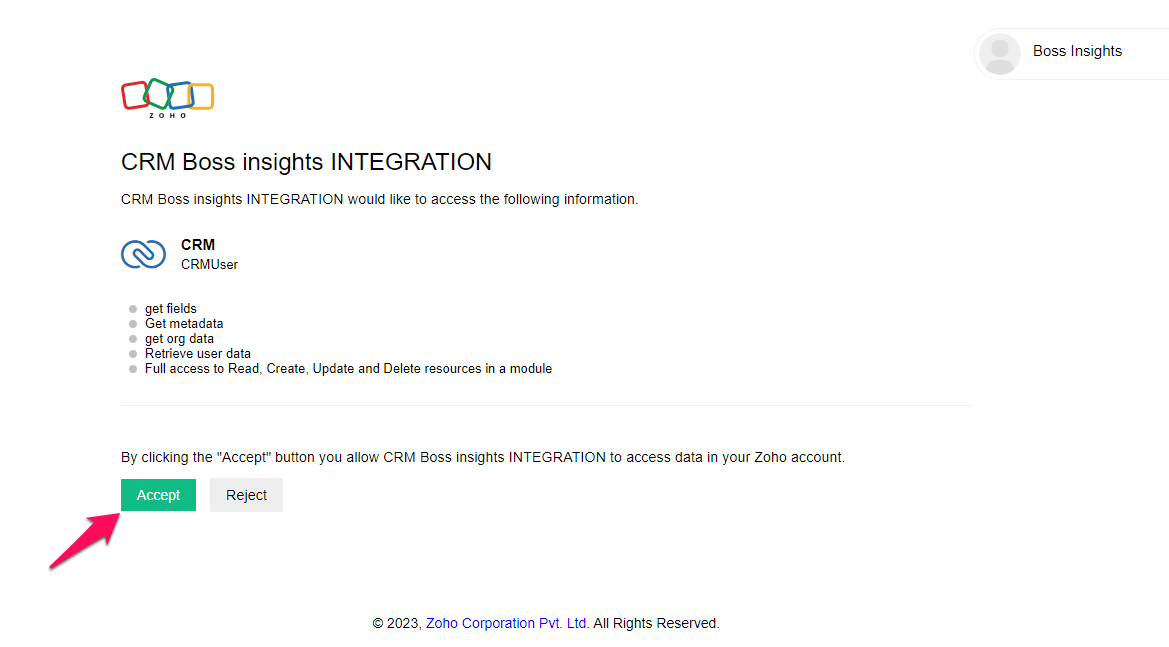
4.2. List of permissions
Step 5: Select Deal/Opportunity stage
You will be presented with a screen with several Deal/Opportunity stages to select. Please select the desired checkboxes and then click submit (Figure 5).
Only contact information for clients that fall within the selected categories will be pulled.
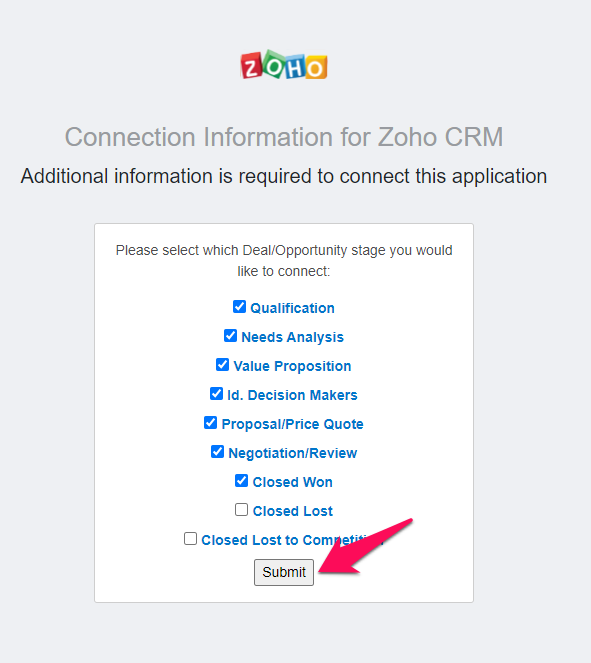
Figure 5. Deals/Opportunity stages
Step 6: Confirmation and Data Sync
Upon a successful connection, you will receive a confirmation message. The message will also indicate that the data will begin to sync. You may click the return to Dashboard button (Figure 6).
After this point, a daily sync will happen within 24 hours, once the sync occurs, invitations for contacts from the selected deal/opportunity stages will be sent out.
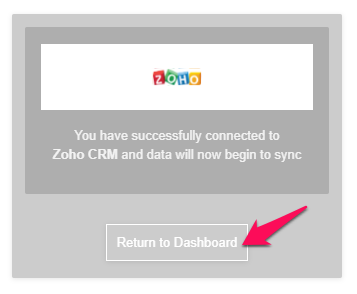
Figure 6. Successful connection
Viewing Sent Invitations
If you would like to view the invitations that have been sent you can click on the “Invitations” button from the top navigation (Figure 7).
Invitees will receive an email to their inbox, inviting them to join the Boss Insights platform. Once they have set up an account, you will be able to see them from your portfolio. The portfolio can be viewed by clicking the “Portfolio” button next to “Invitations” in the top navigation.
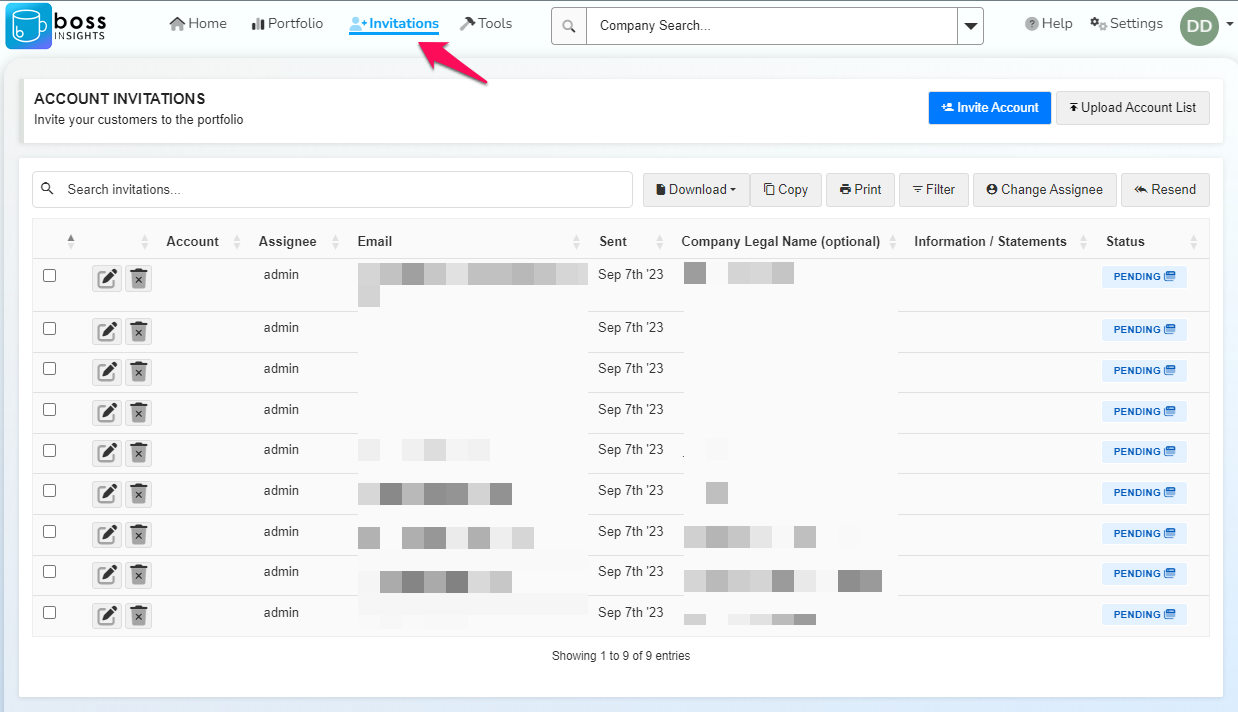
Figure 7. Invitations page
For more details on the process for adding customers and invitation statuses please visit our Adding Customers page. If you would
Updating Information And Portfolio Management
After a business has successfully joined the platform. You are able to edit account information if necessary. Please visit Portfolio Management to view the business portal through the business’ perspective.
Once you are viewing the portal through the business view, you can edit information through the workflow, the navigation menu to the left. Any changes will be reflected in 24 hours on Zoho CRM.
Please note that these fields may look different depending on how your forms are configured.
Company Legal Name
You can update the company legal name by clicking the account information tab from the workflow. Depending on how you have configured your workflow this will typically be the first item and will be called “Information” or “Account Info” or similar.
Within this form, you will find a field called “Company Legal Name”, you may edit this and then click “Save” (Figure 8).
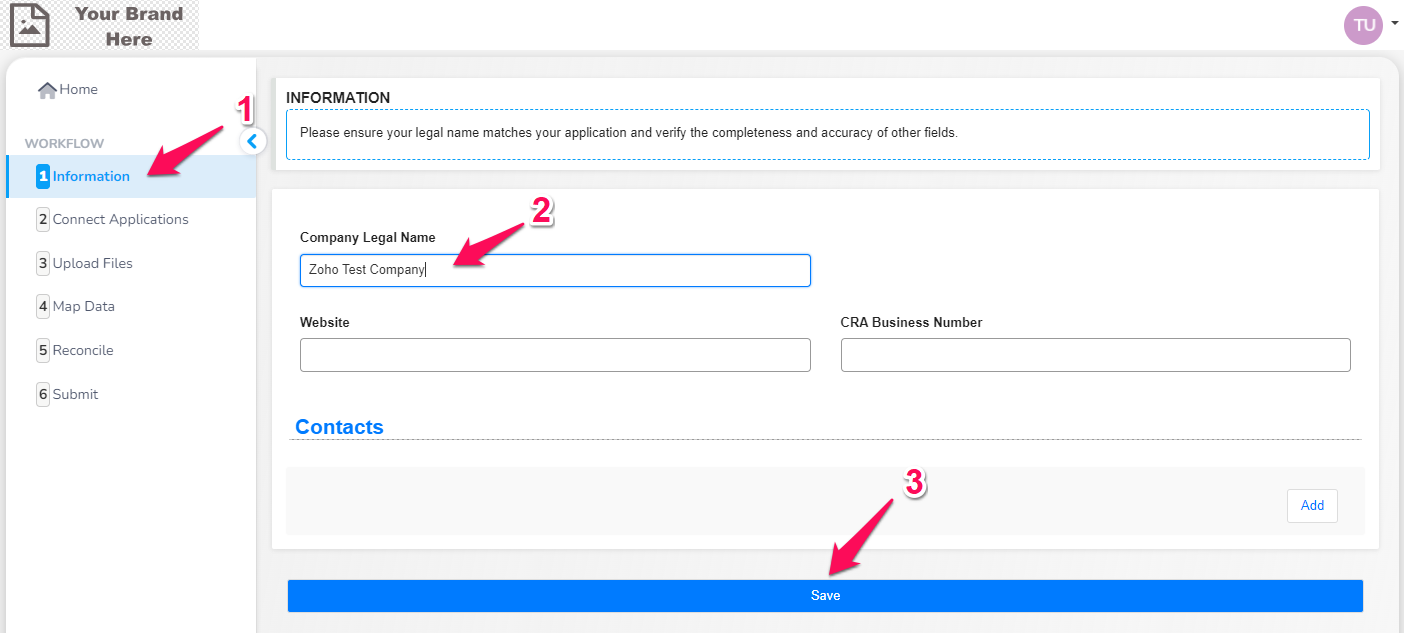
Figure 8. Editing Company Legal Name
Adding Contacts
From the same section as above, you might also see a “Contacts” section. From here, you may click the “Add” button to add a new contact. You can fill out the necessary fields and then click the “Save” button at the bottom of the screen (Figure 9).

Figure 9. Adding Contact
Editing Contacts
From the “Contacts” section, you may also edit information. You can do so by changing either the “First Name”, “Last Name”, “Email”, or “Phone” fields and then clicking “Save” at the bottom of the screen. In the example below, the “Email” field is being changed (Figure 10).
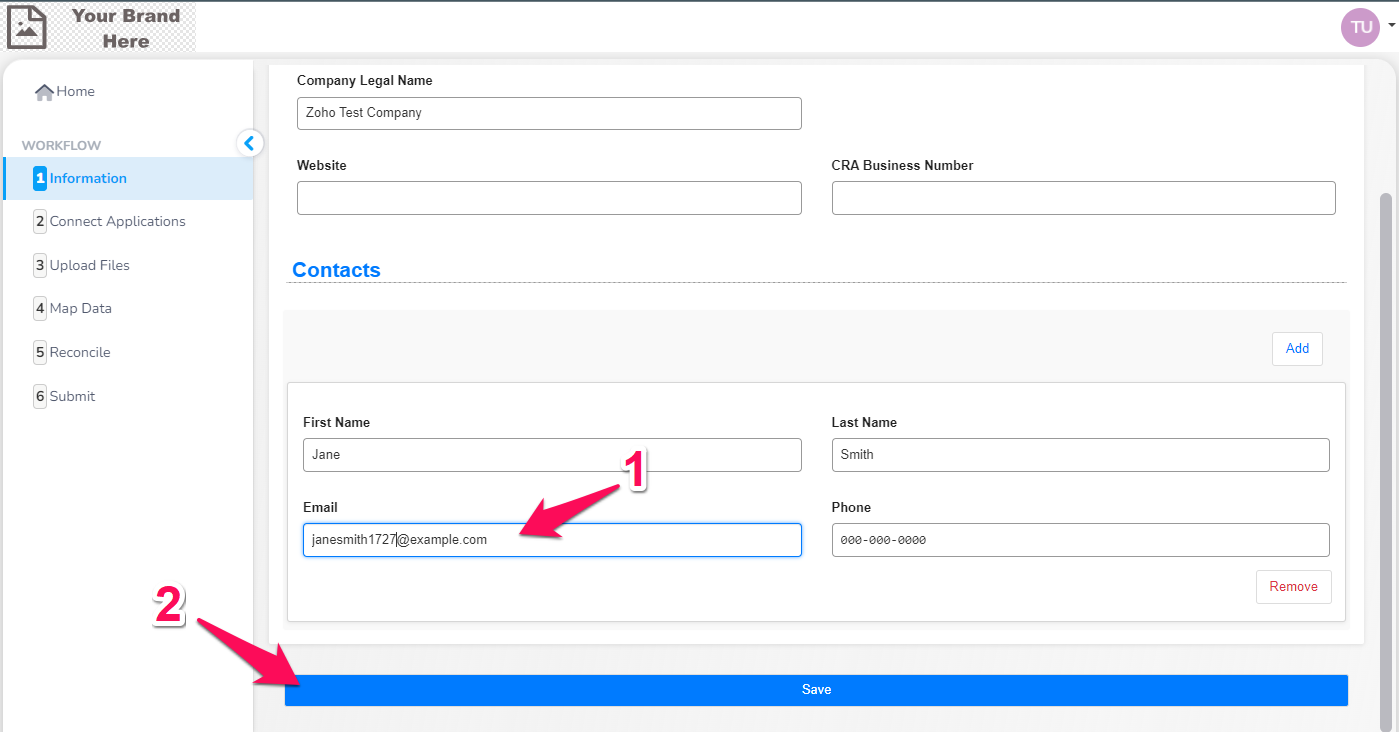
Figure 10. Editing Customer Information
Deleting Contacts
From the “Contacts” section, you may also delete a contact. You can do so by clicking the “Remove” button and then clicking “Save” at the bottom of the page (Figure 11).
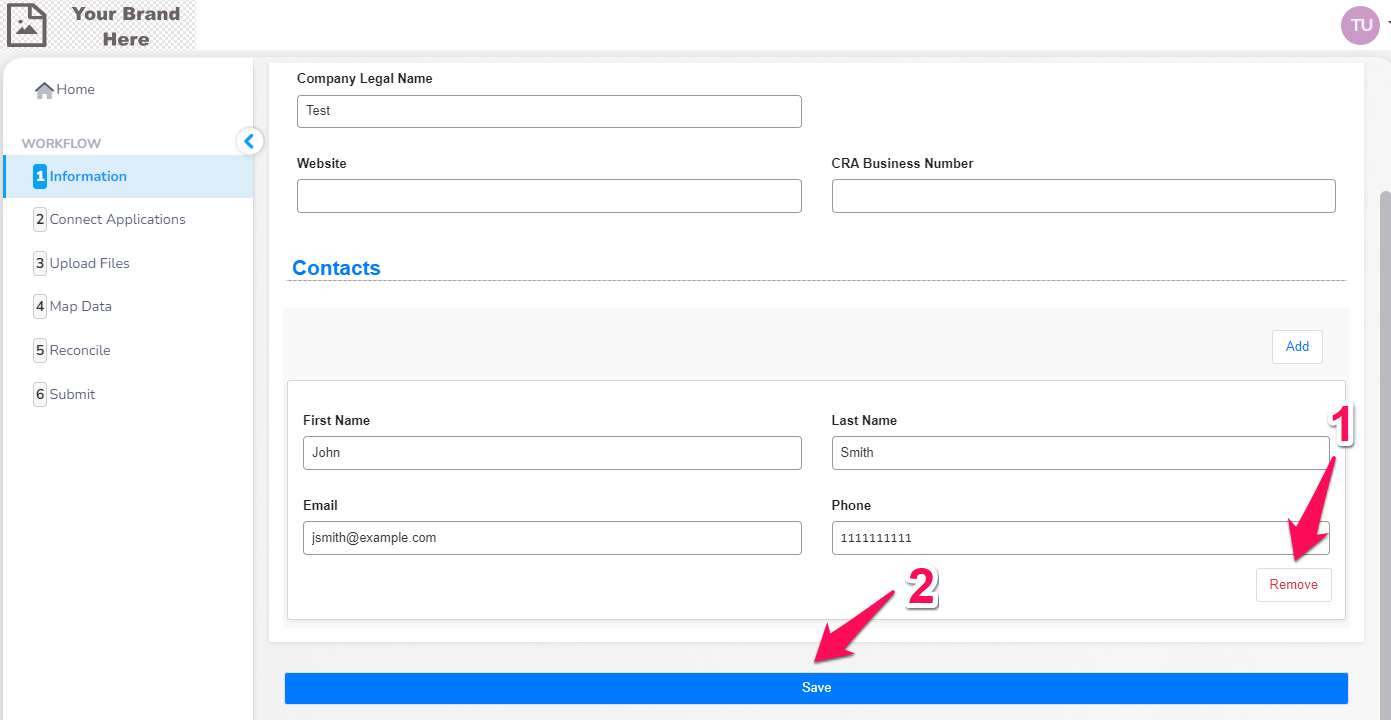
Figure 11. Deleting A Contact
For more helpful articles, you may visit our Product Guide or see some relevant links below
Editing Forms
Forms can be edited to choose which information gets synced between Zoho CRM and Boss Insights. If you would like to edit this information, you are able to edit it through either the form editor or by directly editing the data.json5 file. We highly recommend using our form editor, as it provides an easy to use interface and prevents the risk of creating errors to unrelated code when editing the data.json5 file. Please read our form data model before getting started.
You may visit our Configuring Forms For CRM Sync page to for more information.